23
USER'S MANUAL
bit One HD /
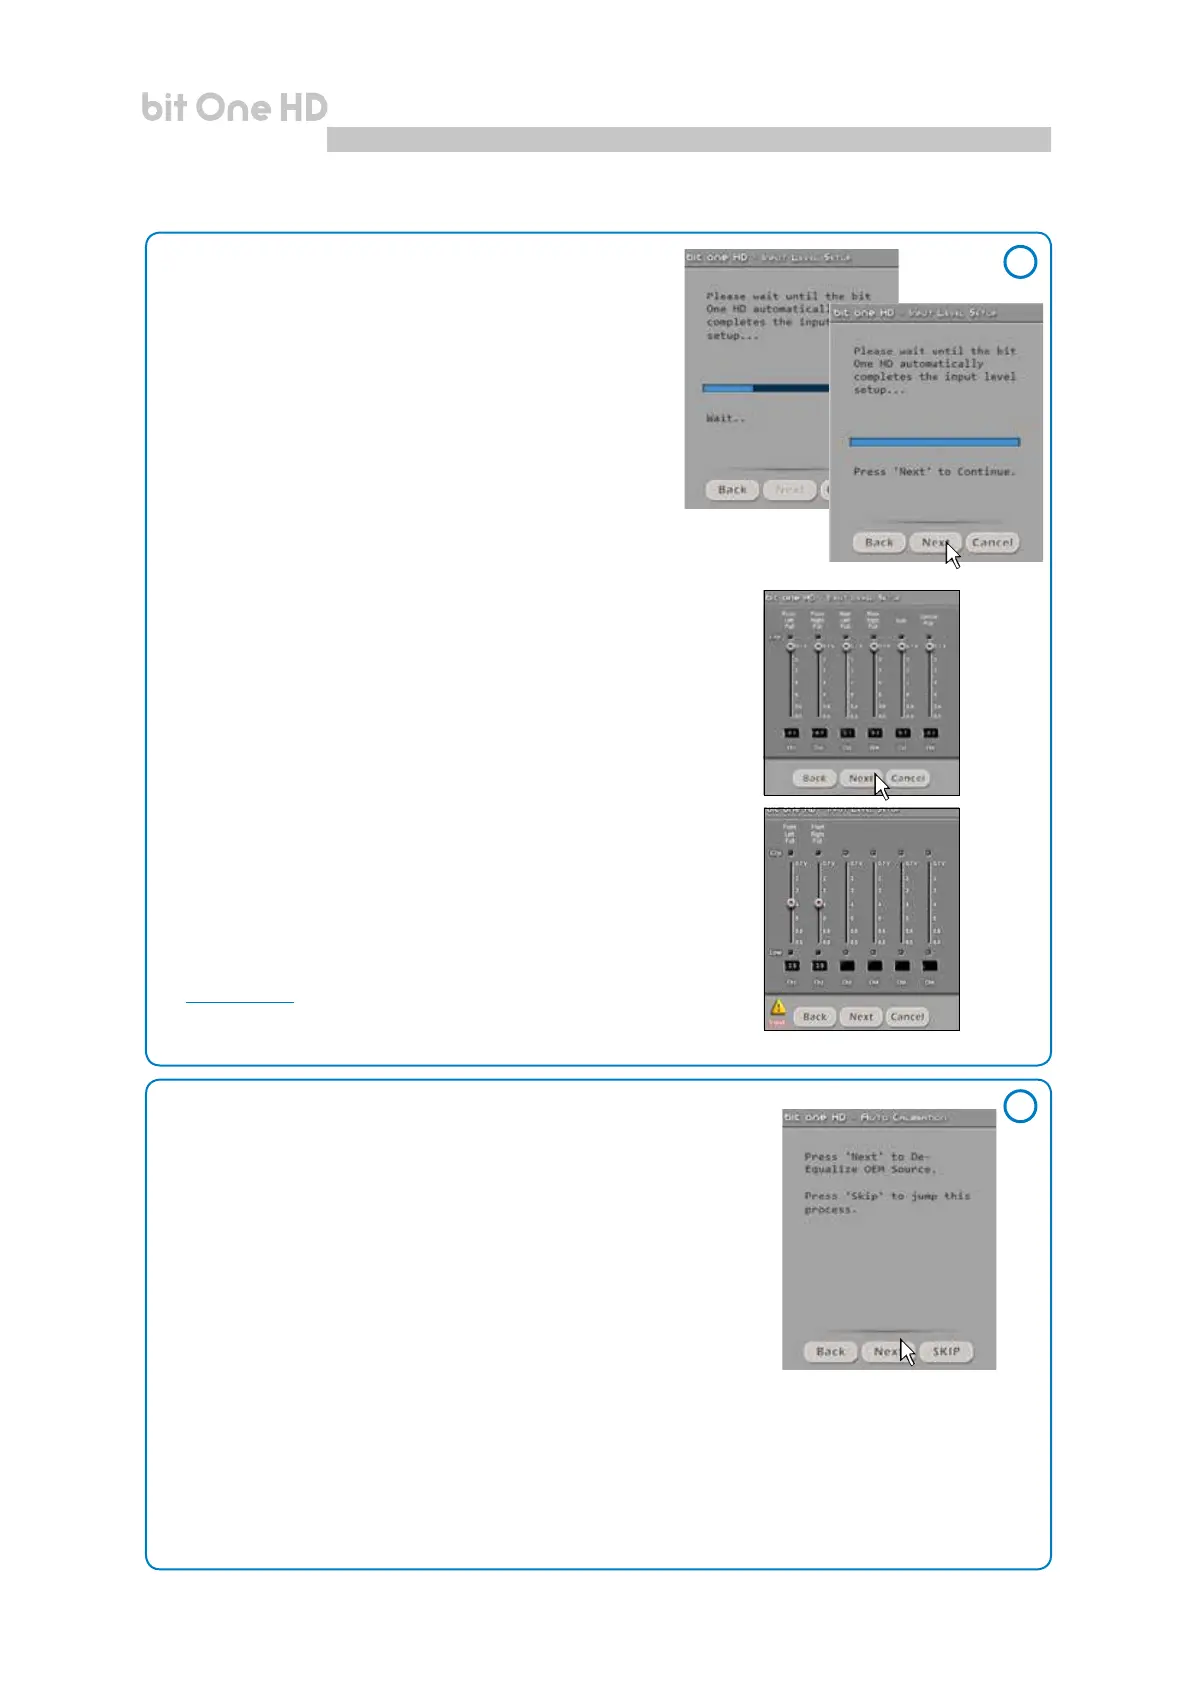
3. Automatic calibration
A progress bar and specic messages show the procedure’s
implementation. Once the procedure is completed, the
window will show the message “Press Next to Continue”.
Press BACK to go back to the previous step.
Press NEXT to go ahead with the setup procedure.
Press CANCEL to exit the program.
ERROR MESSAGE MAY APPEAR
“Input Level too low”
Should a message informing the user that the input signal is too low
appear when the inputs calibration is completed, proceed as follows:
Press BACK to go back to the previous step, check the inputs connection
to the bit One HD and repeat the calibration procedure.
Press NEXT to go ahead with the setup procedure, check the inputs
connection. And then proceed with the manual sensitivity calibration
(see section 8.11).
Press CANCEL to exit the program.
Once the procedure is completed the window will show the sensitivity
levels setup according to the source interfaced with the bit One HD.
This window is active and a further manual sensitivity adjustment can
be performed.
Press BACK to go back to the previous step.
Press NEXT to go ahead with the setup procedure.
Press CANCEL to exit the program.
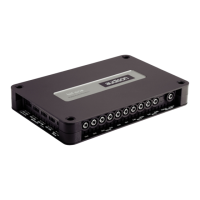
4. Source de-equalization
Optional.
The de-equalization process performs an analysis of the electrical
frequency response coming from the different channels of the OEM
source, automatically applying an equalization contrary to the original
one, thus generating a linear signal, much more suitable to drive high
quality audio systems.
Regardless of the input channels used, the de-equalization will
be performed for each functional group.
E.g.: even though Front Left Full and Front Right Full inputs are used, the software will perform the
de-equalization also on Rear, Center and Subwoofer inputs as the processor will have to use the
signals identied as Front to possibly also manage the Rear, Center and Subwoofer outputs.
Press BACK to go back to the previous step.
Press NEXT to go ahead with the setup procedure.
Press SKIP to bypass the de-equalization procedure.
Screen
image
sequence
3
4
7