03/10 Rev. 5.04-04 SERVICE MANUAL Service Mechanics
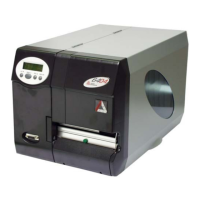
64-xx – 64-xx Dispenser
48
Adjusting the printhead voltage
This adjustment can not be applied to the currently (since 01/2008) built-in
power supplies. It is only applicable to NT400 power supplies, which were
built-in in 64-04/-05 and -06 printers up to 01/2008.
Proper adjustment of the printhead voltage to the same limit values is
required to make printouts comparable.
The printhead voltage can be adjusted to a lower limit of 20 V and an upper
limit of 28 V, using the parameters SERVICE FUNCTIONS > Headvo. adj. 20 V or
SERVICE FUNCTIONS > Headvo. adj. 28 V.
Adjust the printhead voltage as follows:
1. Switch the printer off.
2. Remove the rear hood.
For a description read chapter Rear hood on page 7 for details.
3. Connect a multimeter to the print head voltage.
4. Switch the printer on while pressing the Feed + Prog buttons.
See chapter Special key combinations on page 4.
5. Select parameter SERVICE FUNCTIONS > Headvo. adj. 20 V.
6. Change the head voltage by pressing the Cut or Feed key until you
measure 20 V +/- 0.1 V .
7. Press the online key to store the value into the power supply.
8. Select parameter "Headvo. adj. 28 V".
9. Change the head voltage by pressing the Cut or Feed key until you
measure 28 V +/- 0.1 V .
10. Press the online key to store the value into the power supply.
11. Switch the printer off.
12. Connect the voltage cable to the power pack.
13. Close the rear hood.