03/10 Rev. 5.04-04 SERVICE MANUAL Service Mechanics
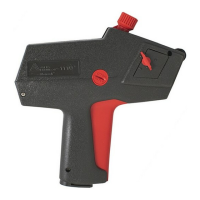
64-xx – 64-xx Dispenser
77
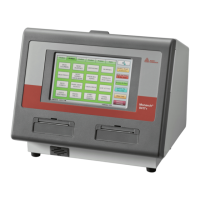
Remote operator panel
Prerequisites
•
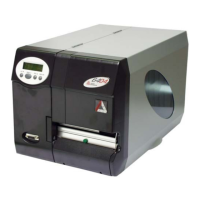
Printer with electronics Gen. 3
(CPU board A6621)
•
Drilling for connector mounting is
available
•
Remote operator panel upgrade kit
(article number A8719)
The upgrade kit contains:
– Remote operator panel (article number
A8293)
– Internal cable (article number A8380)
Tools
•
Cross-head screwdriver, small size
•
Hex socket wrench, size 4
Assembly of internal cable
1. Remove the rear hood, see paragraph
Rear hood on page 7.
2. a) Drilling hole [4] for connector
mounting is available: remove the cap.
b) Drilling hole for connector mounting is
not available: drill the holes according to
[2] and [4].
3. Hold the connector from inside against
the side panel
The connector key [3] must face the
built-in boards.
The contact area of the connector at the
printer housing must be free of paint.
4. Push two screws (M2x16) from outside
through the side panel and the
connector holes. Mount lock washers
and nuts on each of the screws; tighten
the nuts. Lock each nut with a second
nut [5].
Continued overleaf.
19±0,1
Ø12,70
-0,1
2x 2,50Ø
1
2
5
3
4
5