MENU FUNCTION
-24-
6.2 Timer
In this menu list, you can schedule up to 7 sets of time for recording.
Press “MENU” button on the front panel to enter the main menu list. Move the cursor to “TIMER”, and press ”ENTER”.
The screen will show the following options.
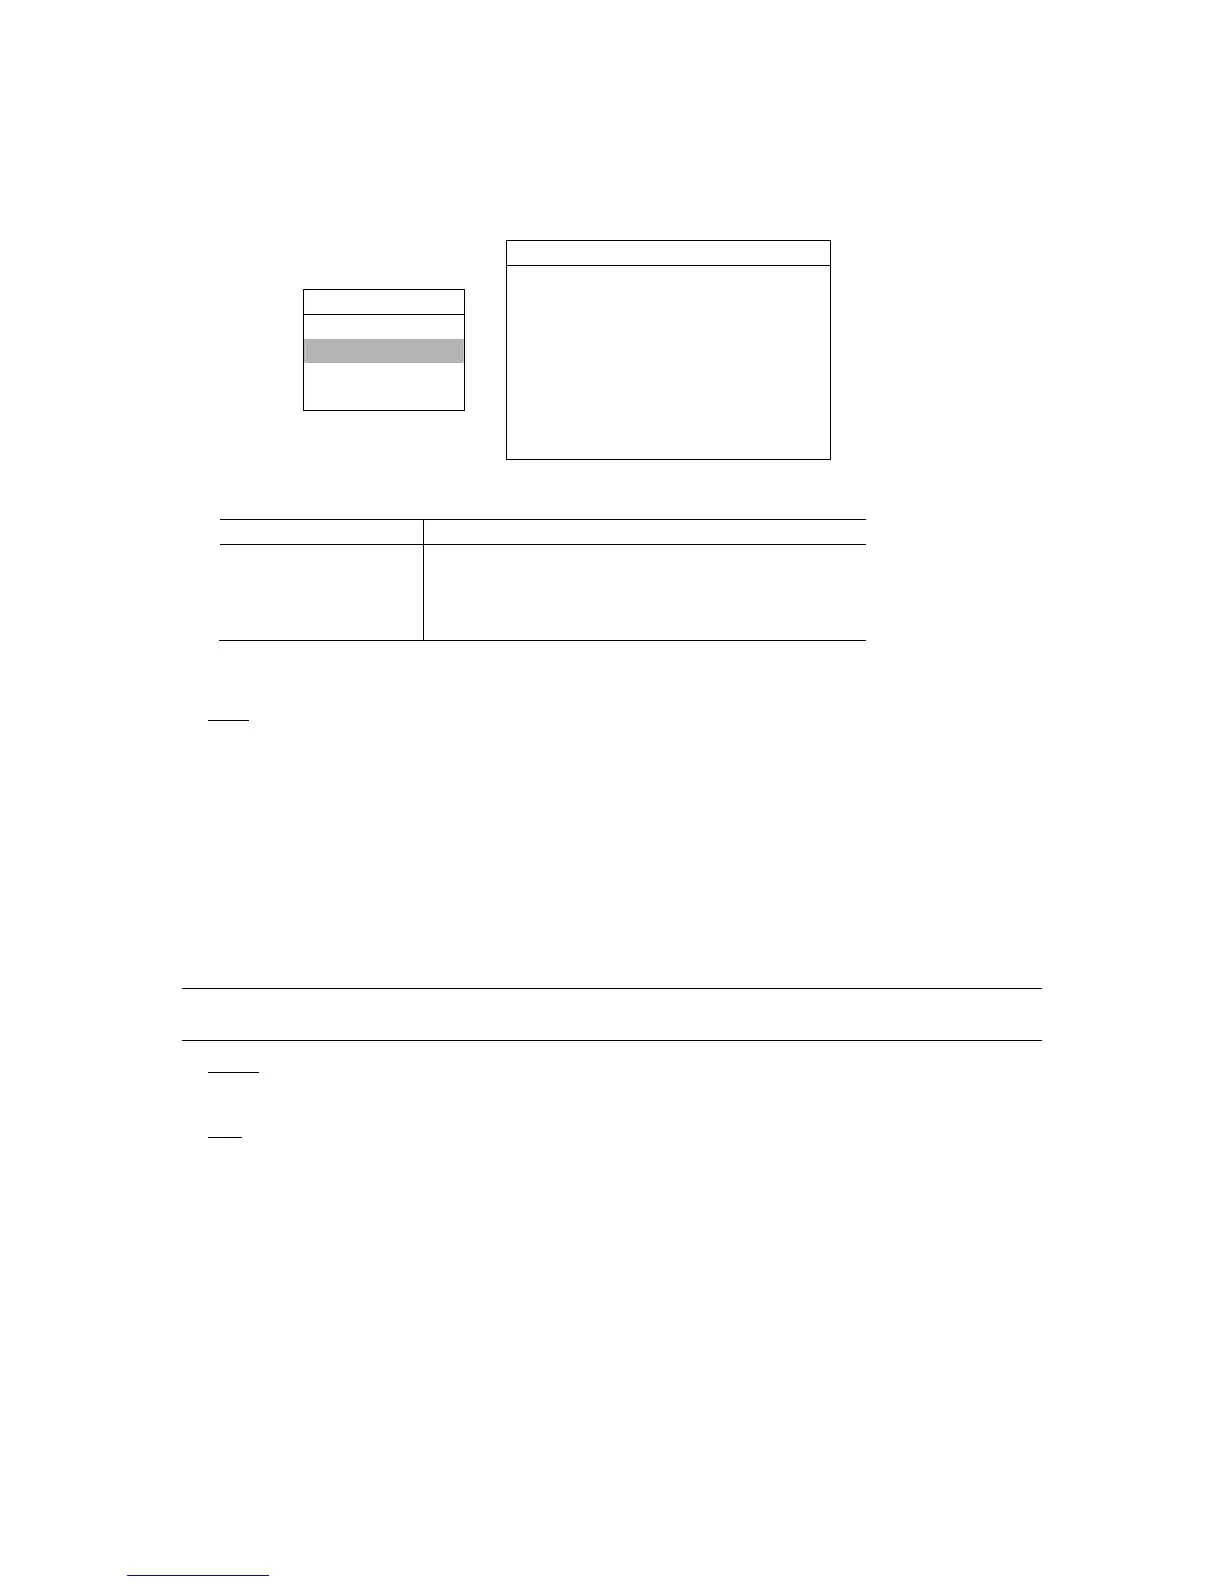
RECORD
DATE START END
MENU
OFF 00 : 00 - 00 : 00
RECORD DAILY 08 : 00 - 18 : 00
TIMER
SUN 06 : 00 - 23 : 00
DATE MON-FRI 18 : 00 - 23 : 00
ADVANCE OFF 00 : 00 - 00 : 00
OFF 00 : 00 - 00 : 00
OFF 00 : 00 - 00 : 00
You can use the following buttons for menu setting:
BUTTON FUNCTION
UP, DOWN, LEFT, RIGHT Move the cursor.
+ , -
Choose numbers / selections.
ENTER Go to the submenu / confirm the selection.
MENU Go to the menu list / confirm the change / exit the menu list.
The submenu items are described below:
1) DATE
Select from the following 11 options to schedule up to 7 sets of recording days: SUN / MON / TUE / WED / THU / FRI /
SAT / MON–FRI / SAT-SUN / DAILY / OFF.
If you plan to set the timer recording across the midnight, there are two ways to set the timer recording schedule.
Please check the examples below.
Example 1:
If you only want to set the recording schedule from Sunday 23:30 to Monday 23:30, set the schedule as Sunday from
23:30 to 23:30.
Example 2:
If you want to set the recording schedule from Sunday 08:00 to Monday 15:00, set the schedule as Sunday from 08:00
to 24:00, and Monday 24:00 to 15:00.
Note: Before setting the timer recording schedule, please turn on “TIMER RECORD ENABLE” in “RECORD”
menu list. For details, please refer to the section “6.1 Record” at page 22.
2) START
Select the start time for the recording.
3) END
Select the end time for the recording.