MENU FUNCTION
-29-
8) ALARM
Select LOW / HIGH for the alarm polarity. The default alarm value is OFF.
9) PREV / NEXT
(Only for 16CH model)
Select “PREV” to go to the previous page, or “NEXT” to go to the next page.
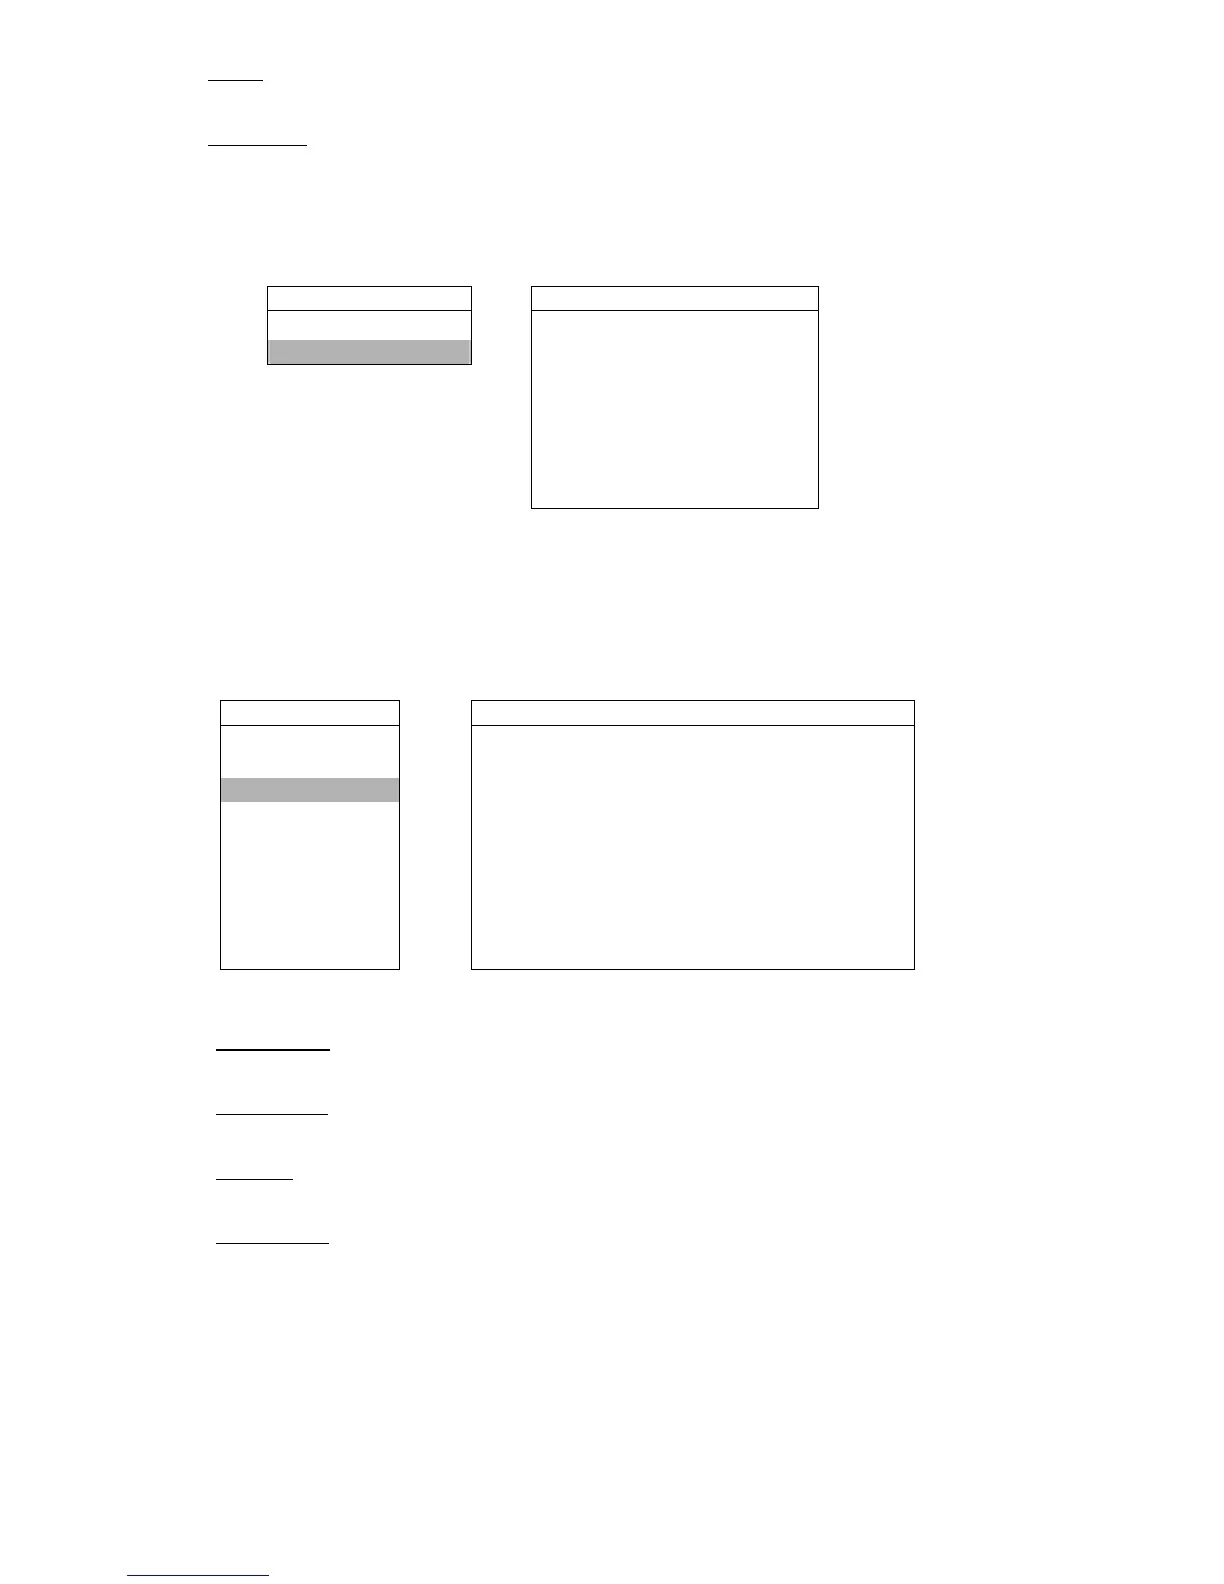
(2) Detection Timer
Move the cursor to “DETECTION TIMER”, and press ”ENTER”. You will see a similar screen as the following:
DETECTION
DETECTION TIMER
DETECTION SETUP DATE START END
DETECTION TIMER
OFF 00 : 00 - 00 : 00
DAILY 08 : 00 - 18 : 00
SUN 06 : 00 - 23 : 00
MON-FRI 18 : 00 - 23 : 00
OFF 00 : 00 - 00 : 00
OFF 00 : 00 - 00 : 00
OFF 00 : 00 - 00 : 00
Set the date, start time and end time for the detection function. The setting method is similar to “TIMER”. Please refer to
the section “6.2 Timer” at page 24.
6.4.3 Display
In this menu list, you can check and change some display settings.
Move the cursor to “DISPLAY”, and press ”ENTER”. You will see a similar screen as the following:
ADVANCE
DISPLAY
CAMERA
TITLE DISPLAY ON
DETECTION DATE DISPLAY ON
DISPLAY
HDD INFO ON
ALERT LOSS SCREEN BLUE
REMOTE PLAYBACK INFO NORMAL
SYSTEM DWELL DURATION (SEC) 2
NETWORK DE-INTERLACE ON
BACKUP MONITOR OUT MAIN
HDD INFO OSD SETUP
EVENT LOG WATERMARK ON
The submenu items are described below:
1) TITLE DISPLAY
Select to display the channel title or not (ON / OFF).
2) DATE DISPLAY
Select to display the date or not (ON / OFF).
3) HDD INFO
Select to display HDD remaining capacity or not (ON / OFF).
4) LOSS SCREEN
Set the color for the video loss screen (BLUE / BLACK).