Section 4: Using the AXIS 700
42 AXIS 700 User’s Manual
Scanning to a Destination
Note:
❏ Before scanning to an e-mail address or a file on an FTP server,
the destinations must be set up from a Web browser as described
in “Destination” on page 30.
To scan to a destination, perform these instructions from the AXIS
700 user interface. See “The AXIS 700 User Interface” on page 12.
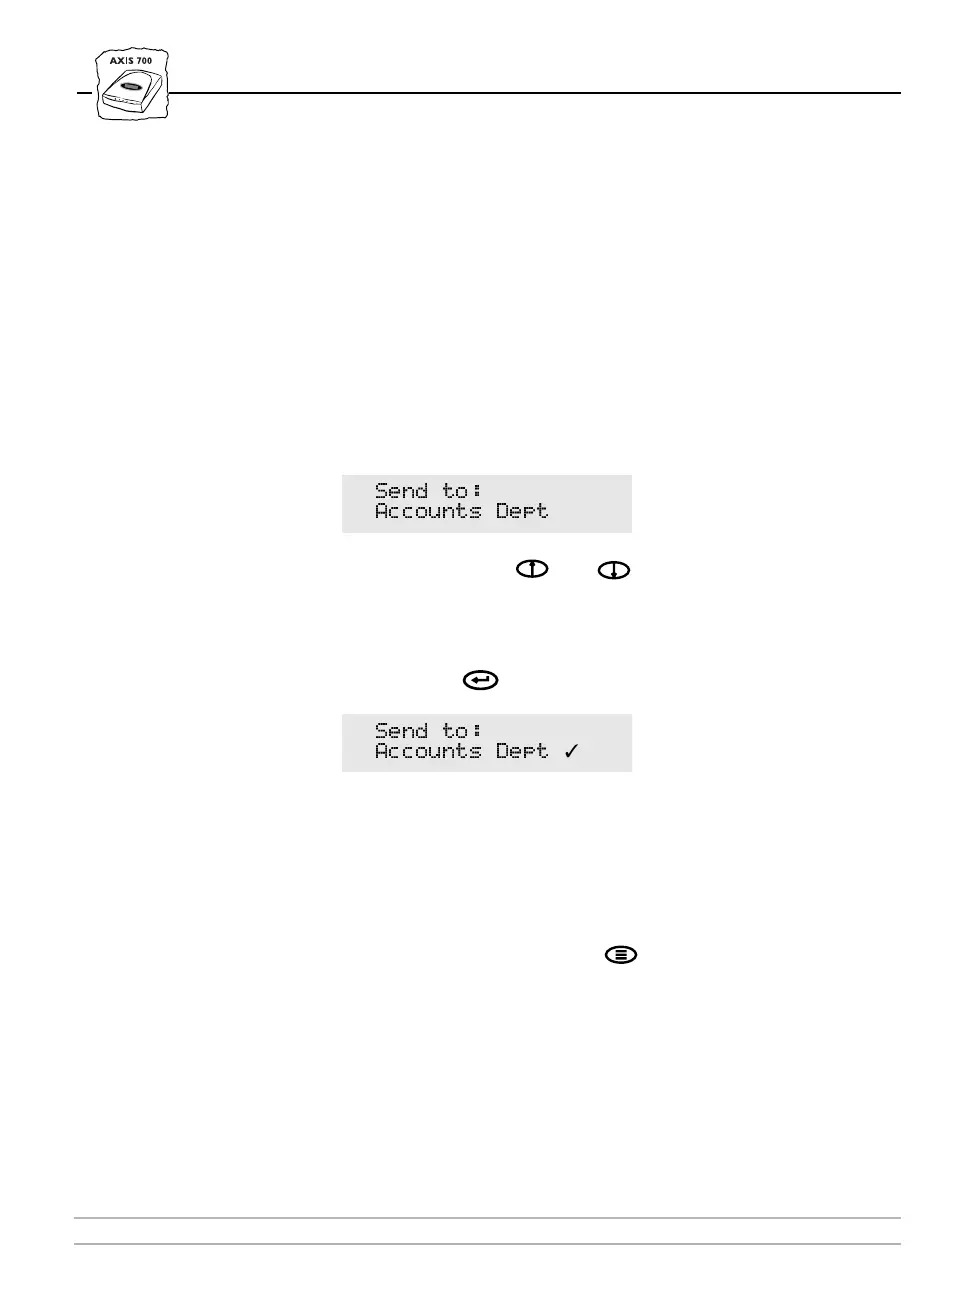
1. The AXIS 700 LCD displays “
Send to: xxxxxx
” when it is
ready for use. For example:
2. Use the Arrow keys and to scroll through the possible
destinations, until the desired destination is displayed.
3. If you want to send the image to more than one destination, press
the Enter key to select each destination:
4. Repeat steps 2 and 3, until all desired destinations are selected.
Note:
❏ Be careful not to transmit images to an unwanted destination.
The scanned image will always be sent to the last destination
displayed in the LCD, whether explicitly selected or not.
5. Optionally, press the Menu key to specify scanning parameters.
See “Specifying Scanning Parameters” on page 44.
6. Insert a single page on the flatbed or multiple pages into the sheet
feeder of the attached scanner.
6HQG WR
$FFRXQWV 'HSW
6HQG WR
$FFRXQWV 'HSW
✓