Bandit
68
Copyright 12/17
MODEL 20XP
SERVICING / CHANGING CHIPPER BEARING
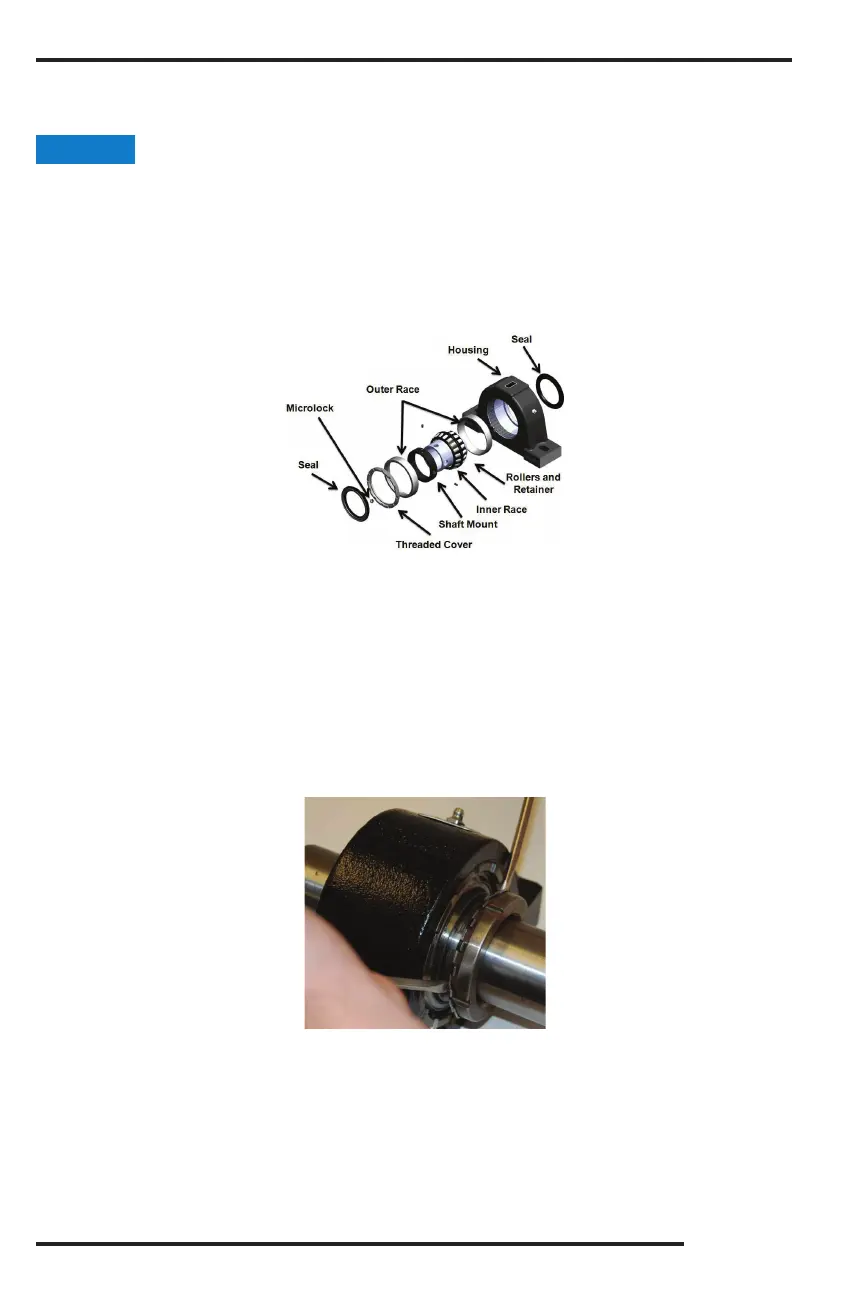
(FOR REXNORD LINK BELT B22600 SERIES)
MAINTENANCE
3. Center the chipper drum inside the base and bolt the bearing down on the road side of the machine and
tighten the four bearing bolts to 220 ft.-lbs. (298 Nm) of torque.
Keeping the drum centered and the weight of the drum head o the bearings, take a large at blade
screwdriver to wedge between the bearing’s face and lockwasher on the road side of the machine. Use
the screwdriver to draw the adapter through the bearing until there is a snug t between the adapter
and chipper drum shaft. Finger tighten the locknut, then use a hook type spanner wrench to bring the
locknut to a snug t.
5. Mark the locknut and chipper drum shaft with a grease pencil or a dark marker. Use a soft steel drift pin
and a hammer to drive against the face in a circular movement of the locknut as shown in the following
picture. Retighten the locknut with a spanner wrench and repeat procedure until 7/8 of a turn is achieved.
6. Find the tang of the lockwasher that is in line with a slot in the locknut and bend it over into the slot. If
needed tighten the locknut slightly until one of the slots line up.
7. O set the bearing on the curb side of the machine about 1/8” (3.2 mm) to 3/16” (4.8 mm) away from the
drum housing, so that when the bearing is tightened up on the shaft, the bolt holes will line up. The bearing
housing should not be wedged up against the base, if it is the bearing will have a preload.
Repeat steps 4 through 6 to tighten the curb side bearing on the shaft.
9. Loosen all the bearing bolts to release the preload on the bearings if there is any. Bolt both bearings
down and torque the bolts to 220 ft.-lbs. (298 Nm)
10. If the drum head does not spin freely, there is a preload on the bearings and steps 7 through 9 need
to be repeated.
1. Clean the shaft so that it is free from burrs and rust. Do not coat the chipper shaft or the bore of the
bearing adapter with a preservative or lubricant.
2. Remove the bearing adapter and apply a light weight oil to the outer surface and threads. Reassemble the
adapter in the bearing with about 1/4” (6.4 mm) of clearance between the bearing face and lockwasher.
Repeat the process to the other bearing.
NOTICE
Proper installation is critical to bearing life. Improper installation could cause premature or immediate failure.
Particular care must be taken not to create a preload on the bearings while tightening the locknut. Use of a
good quality torque wrench is also important to your safety as well as proper bearing installation.