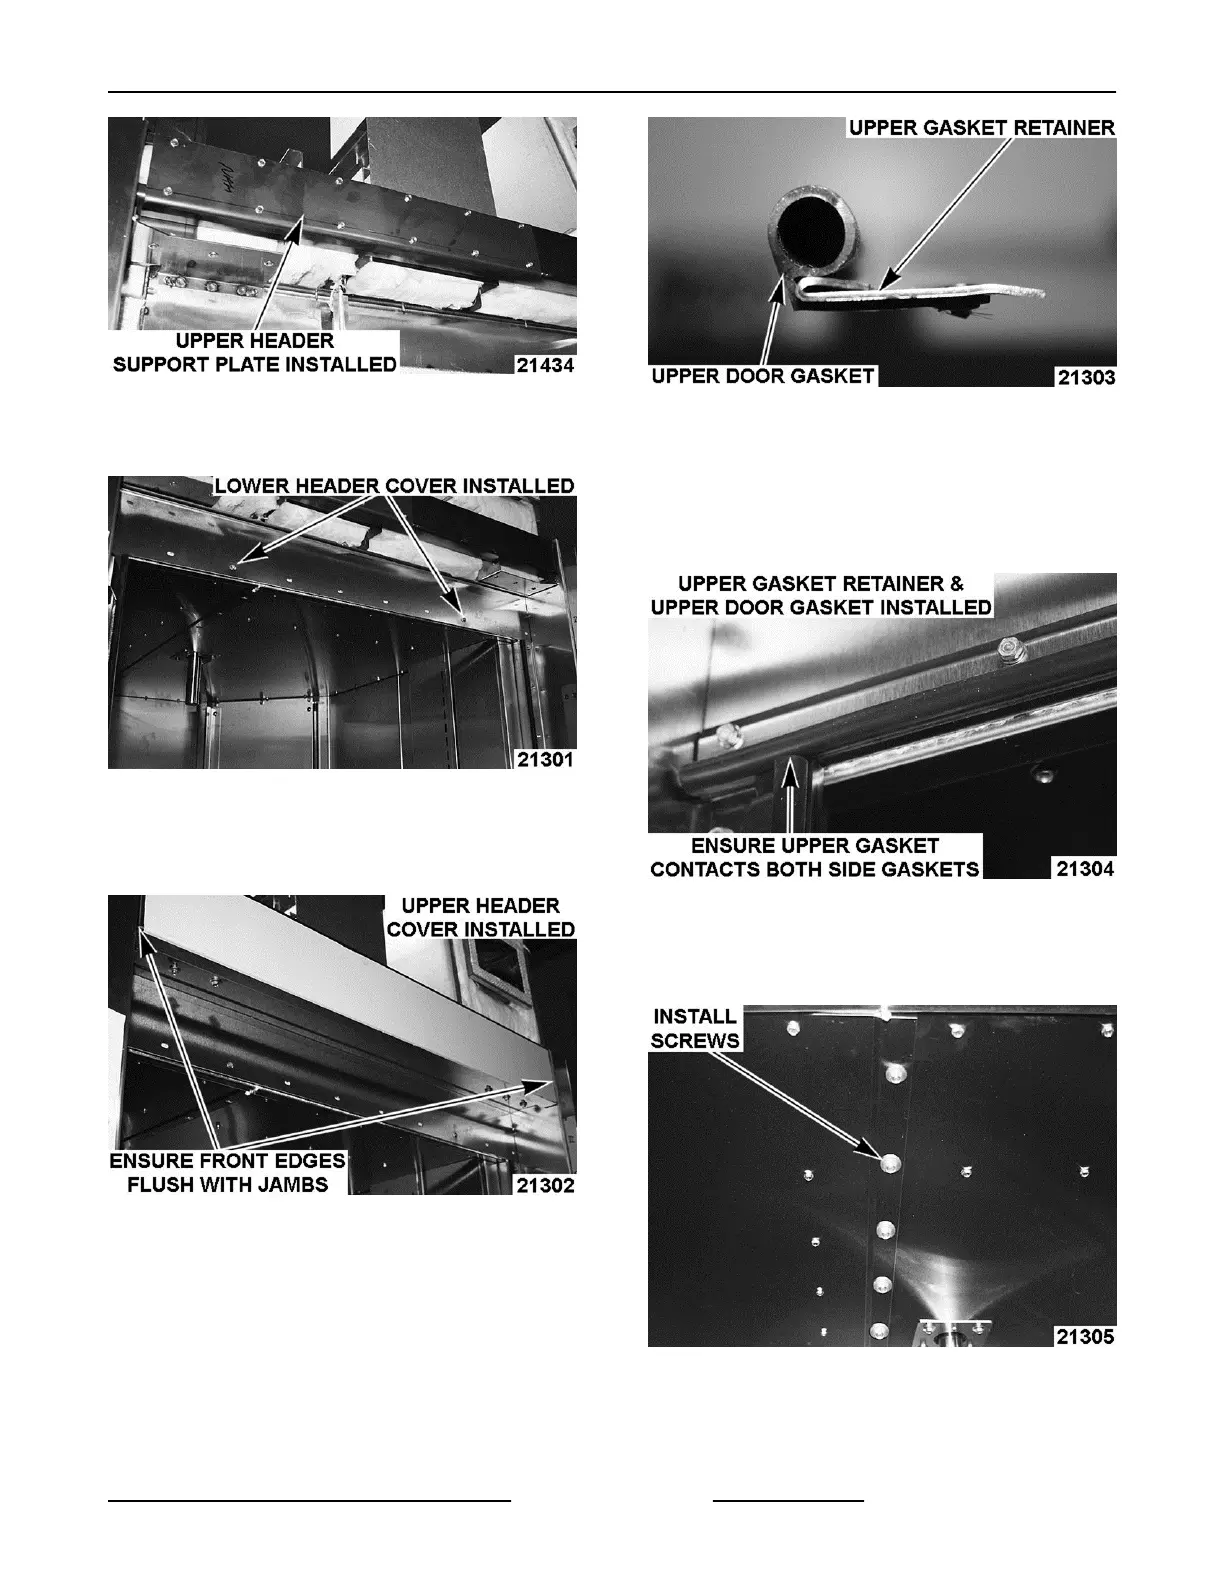
Fig. 21
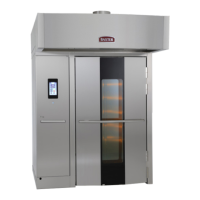
13. Install lower header cover with two 10-32 screws
lose to hold cover in place.
Fig. 22
14. Install
upper header cover with #10 X 3/4" screws
on top and 1/4-20 screws on the bottom with front
edge of cover flush with door jambs.
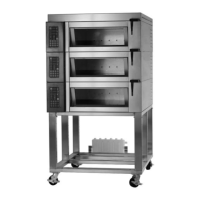
Fig. 23
15.
Install upper door gasket to upper gasket
retainer.
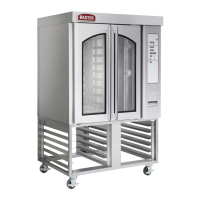
Fig. 24
A. Cut off gasket material to length of retainer.
B. Install upper door gasket & upper gasket
retainer by removing the two lower header
cover screws then secure gasket & retainer
to cover with 10-32 gimlet screws.
Fig. 25
16.
Install 1/4-20 X 3/4" hex head serrated flange
screws onto ceiling offset inside baking
compartment.
Fig. 26
17.
Install insulation pieces.
NOTE: Before installing rear panel on double rack
ovens, tighten the drain line union fitting.
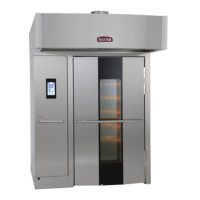
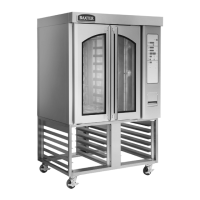
INSTALLATION INSTRUCTIONS OV500-EE SERIES GAS RACK OVENS AND OV500 SERIES ELECTRIC RACK
OVENS - INSTALLING OVEN
Page 21 of 49 F45469 Rev. D (1019)