HD-973P Series Multi-Level Parking Lift 66 P/N 5900076 — Rev. B3 — January 2024
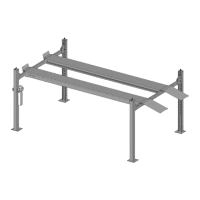
To install the Crossbeams:
Pick a Crossbeam to start with, then align the Crossbeam holes on either end to the Mounting
Brackets on the Post.
⚠ WARNING The Crossbeams are heavy; you will need at least one person hold a Crossbeam
while another person bolts it into place.
Connect the Crossbeam on both ends to the Mounting Brackets using a Bolt, Washer, and Nut for
each hole, then tighten until secure.
Repeat Steps 2 and 3 for the remaining Crossbeams.
Installing Accessories
The accessories available for your Lift include
• Runway Covers. Installed underneath the Runways. Covers the Cables and Hydraulic Cylinder.
• Tire Stops. Installed at the Front of the Lift. Holds the front Tires of the Vehicle in position.
• Drive-up Ramps. Installed at the Rear of the Lift. Allows Vehicles to be easily driven onto the
Runways.
• Anti-Slip Tape. This Tape is designed to increase the friction between the metal surface of the
Lift and Vehicles or personnel on the Lift.
Runway Covers
Each Runway has three Covers that go on the underside. They cover the Lifting Cables and Hydraulic
Cylinder on the Powerside Runways; there is nothing underneath the Offside Runways.
Note: The longer Runway Covers go with the Upper Platform, and the shorter Covers with the
Lower Platform.
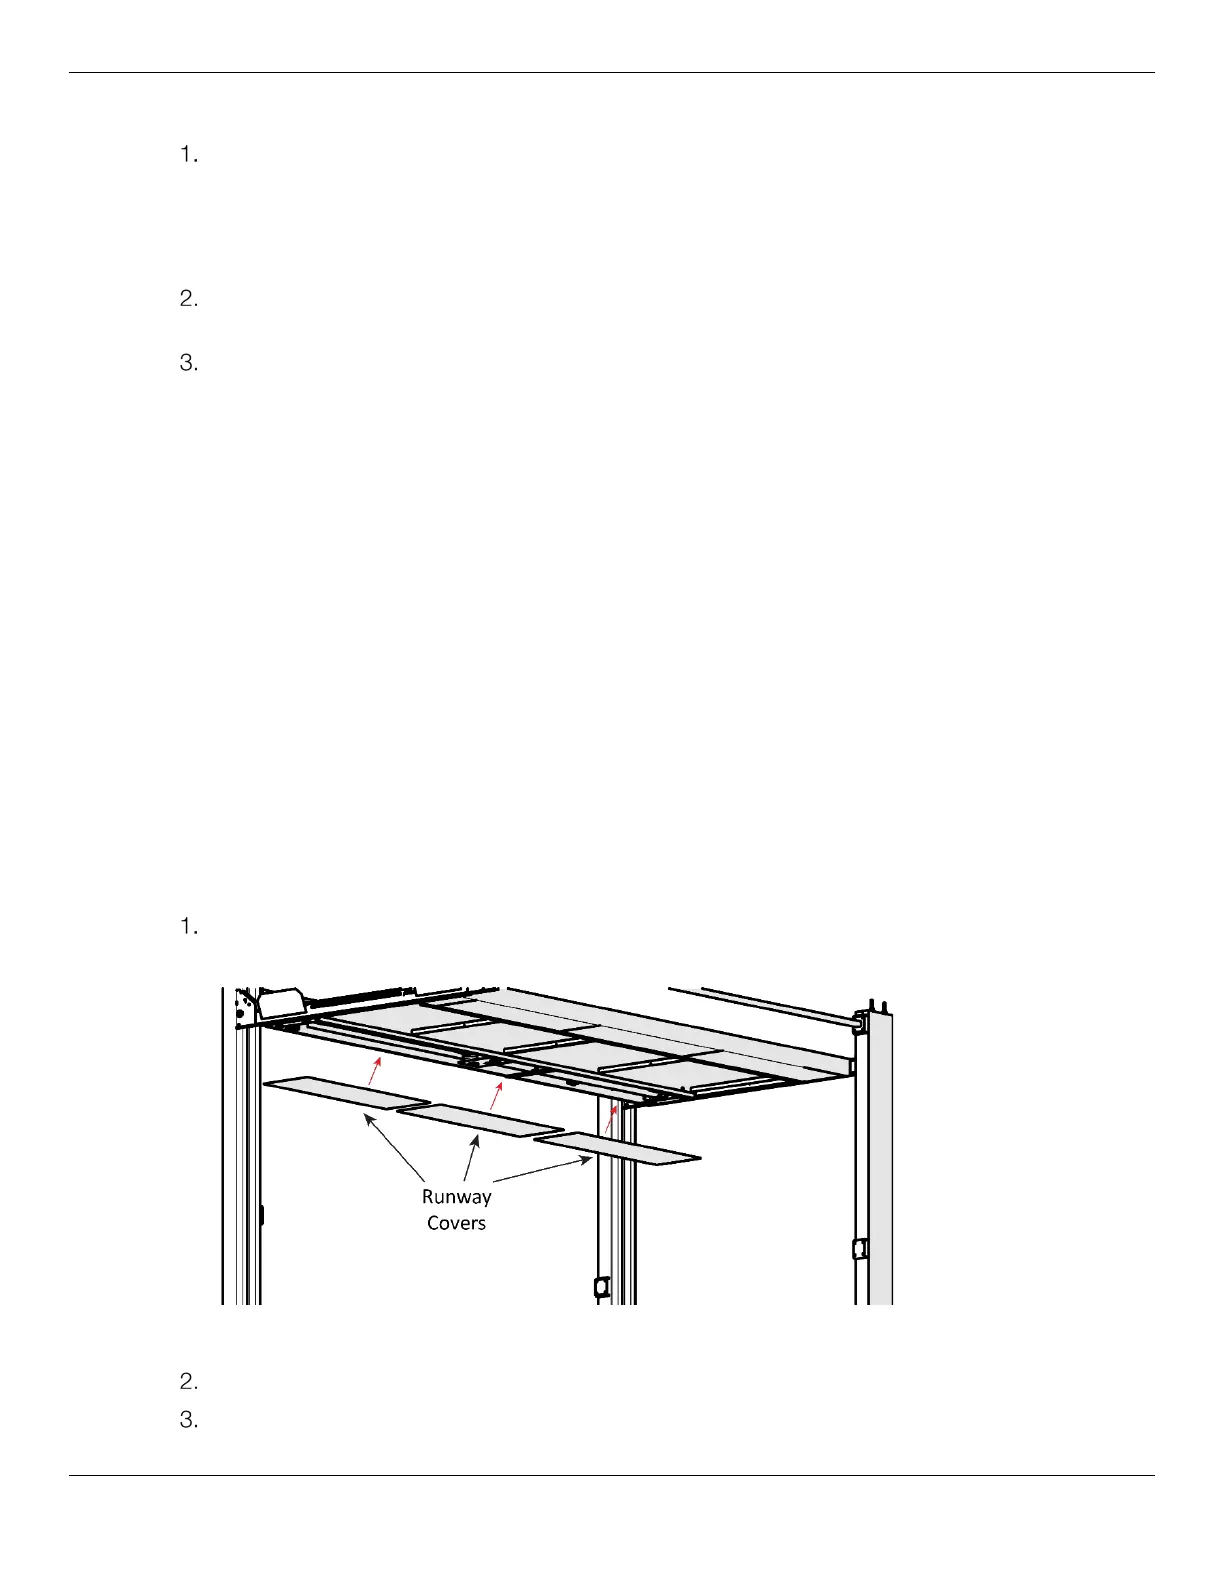
To install the Runway Covers:
Locate the Runway Covers, then push the Covers up into place so that they sit on the inside Rails
of the Powerside Runway.
Side view. Runway Covers are pushed up into place under the Runway.
Adjust the Covers until the Lifting Cables and the Hydraulic Cylinder are covered.
Repeat Steps 1 and 2 for the remaining Runways.