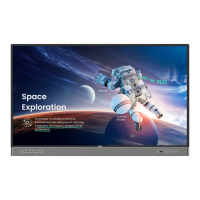
Basic operations
22
Initial setup
After you have connected the display to the power, you are ready to power on the display.
The first time you power on the display, you will be guided through a series of setup
screens. Follow the on-screen instructions or the steps below to start up your display and
complete the initial setup.
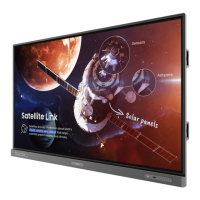
1. Turn on the display. Wait for the display to boot up with the BenQ screen. This may
take a moment.
2. Tap Next on the screen to begin. Follow the on-screen instructions to set up the
language, date and time, and network. Or your can skip some of these steps and
complete the setup later.
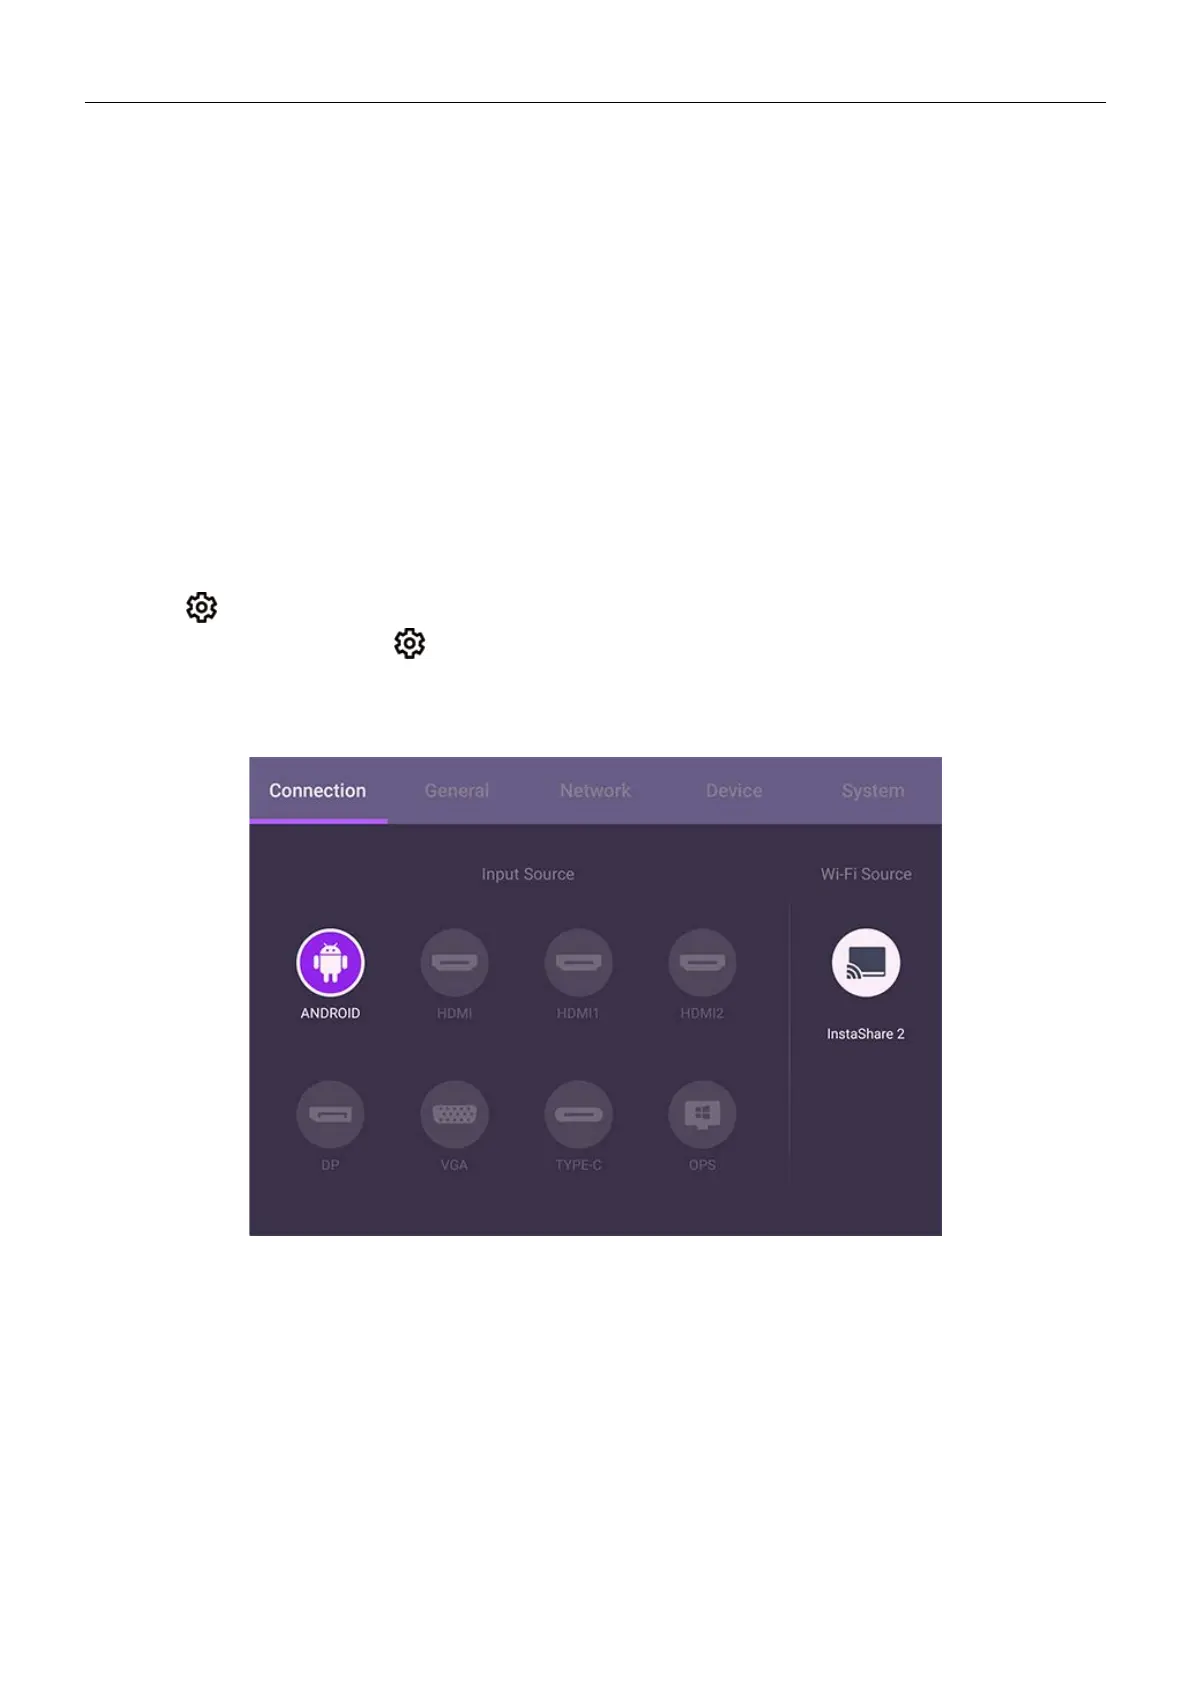
OSD Settings
Use one of the following methods to enter the OSD menu:
• Press
on the remote control.
• Press the Menu button (
) on the front panel.
• Drag the OSD menu up from the bottom-center of the screen.
See Menu operations on 31 for more information on the OSD menus and their settings.
Switching input signals
Under the Connection tab of the OSD menu, you can select a desired input source. See
Input settings on 32for more information.