SERVICE PROCEDURES AND ADJUSTMENTS
Certain procedures in this section require electrical test or measurements while power is applied to the
machine. Exercise extreme caution at all times. If test points are not easily accessible, disconnect power
and follow lockout / tagout procedures, attach test equipment and reapply power to the test.
PRODUCT TABLE ADJUSTMENTS
Disconnect the electrical power to
the machine and follow lockout /
tagout procedures.
1. Place slicer on its side, so it is resting on motor
housing.
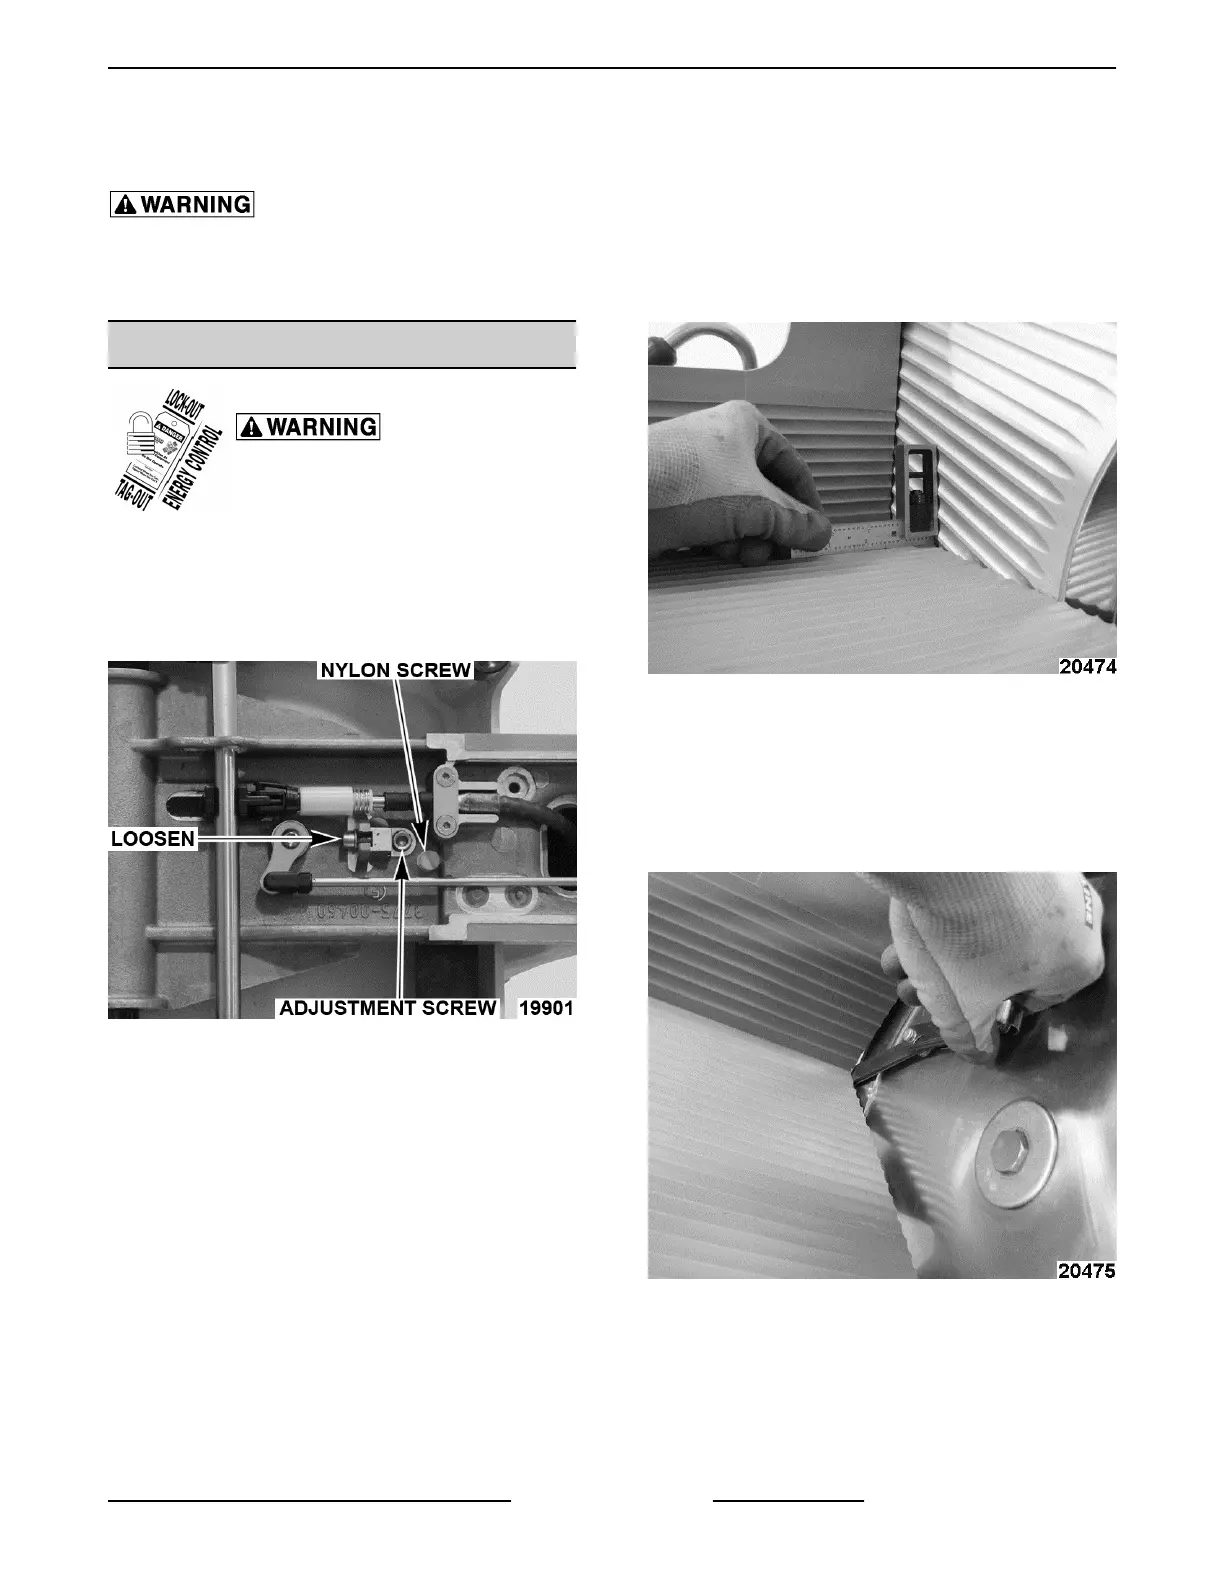
2. Angle to knife.
A. Loosen mounting screw.
Fig. 56
B. Turn adjustment screw until product table is
at a right angle with gauge plate.
NOTE: Adjustment screw raises/ lowers roller bearing
above square rail and nylon screw takes slack out
below square rail.
Fig. 57
1) Tighten mounting screw.
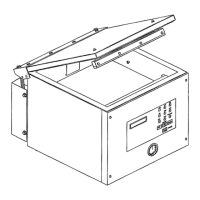
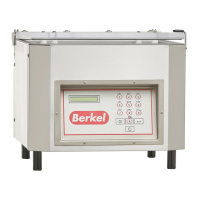
3. Clearance with gauge plate.
A. Close gauge plate.
B. Check for 1/8" gap between guage plate and
product table at "V" and leading edge.
Fig. 58
1) If out of adjustment, remove product
table and tighten or loosen table
adjusting screws accordingly.
X13 SLICER - SERVICE PROCEDURES AND ADJUSTMENTS
Page 23 of 36 F25332 Rev. A (0718)