NOTE: Make sure tab on top of deburring frame (9)
goes under lip (4) on sharpener frame upon
reinstallation.
4. Reinstall sharpener on slicer.
5. Check for proper knife sharpener operation.
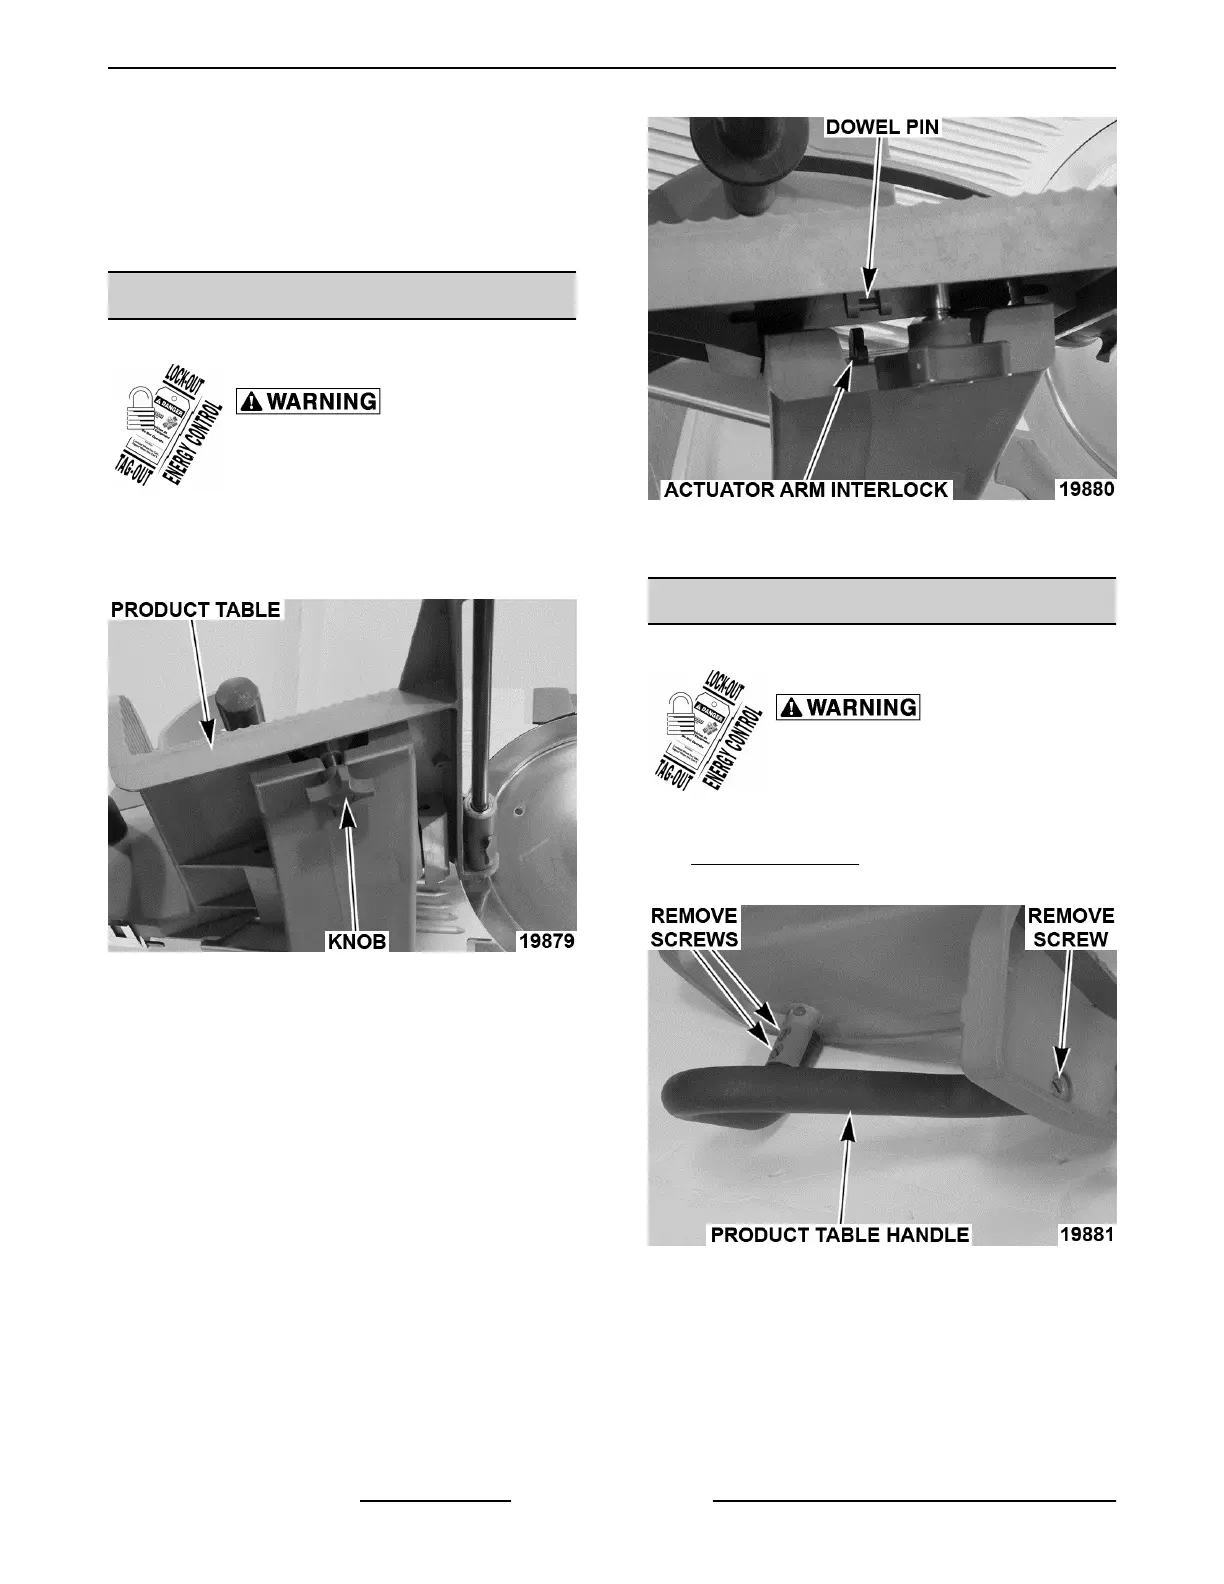
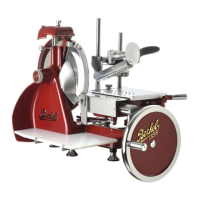
PRODUCT TABLE
Product Table Removal
Disconnect the electrical power to
the machine and follow lockout /
tagout procedures.
1. Place product table in home position and turn
index knob to "0".
2. Loosen product table knob.
Fig. 3
3. Slide product table off arm.
4. Reverse procedure to install.
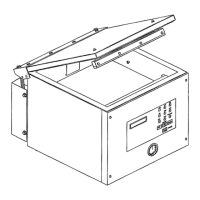
NOTE: Make sure that dowel pin enters and rotates
actuator arm interlock ("pacman").
Fig. 4
5. Check slicer for proper operation.
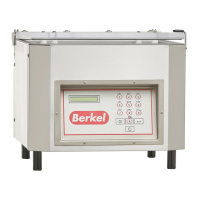
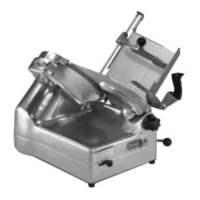
PRODUCT TABLE HANDLE
Product Table Handle Removal
Disconnect the electrical power to
the machine and follow lockout /
tagout procedures.
1. Remove product table as outlined under
PRODUCT TABLE.
2. Remove three screws.
Fig. 5
3. Remove handle.
4. Reverse procedure to install.
NOTE: Seal handle ends with RTV.
5. Check slicer for proper operation.
X13 SLICER - REMOVAL AND REPLACEMENT OF PARTS
F25332 Rev. A (0718) Page 8 of 36