Buttonholes
63
2020-09 EN 5220205.00A.04
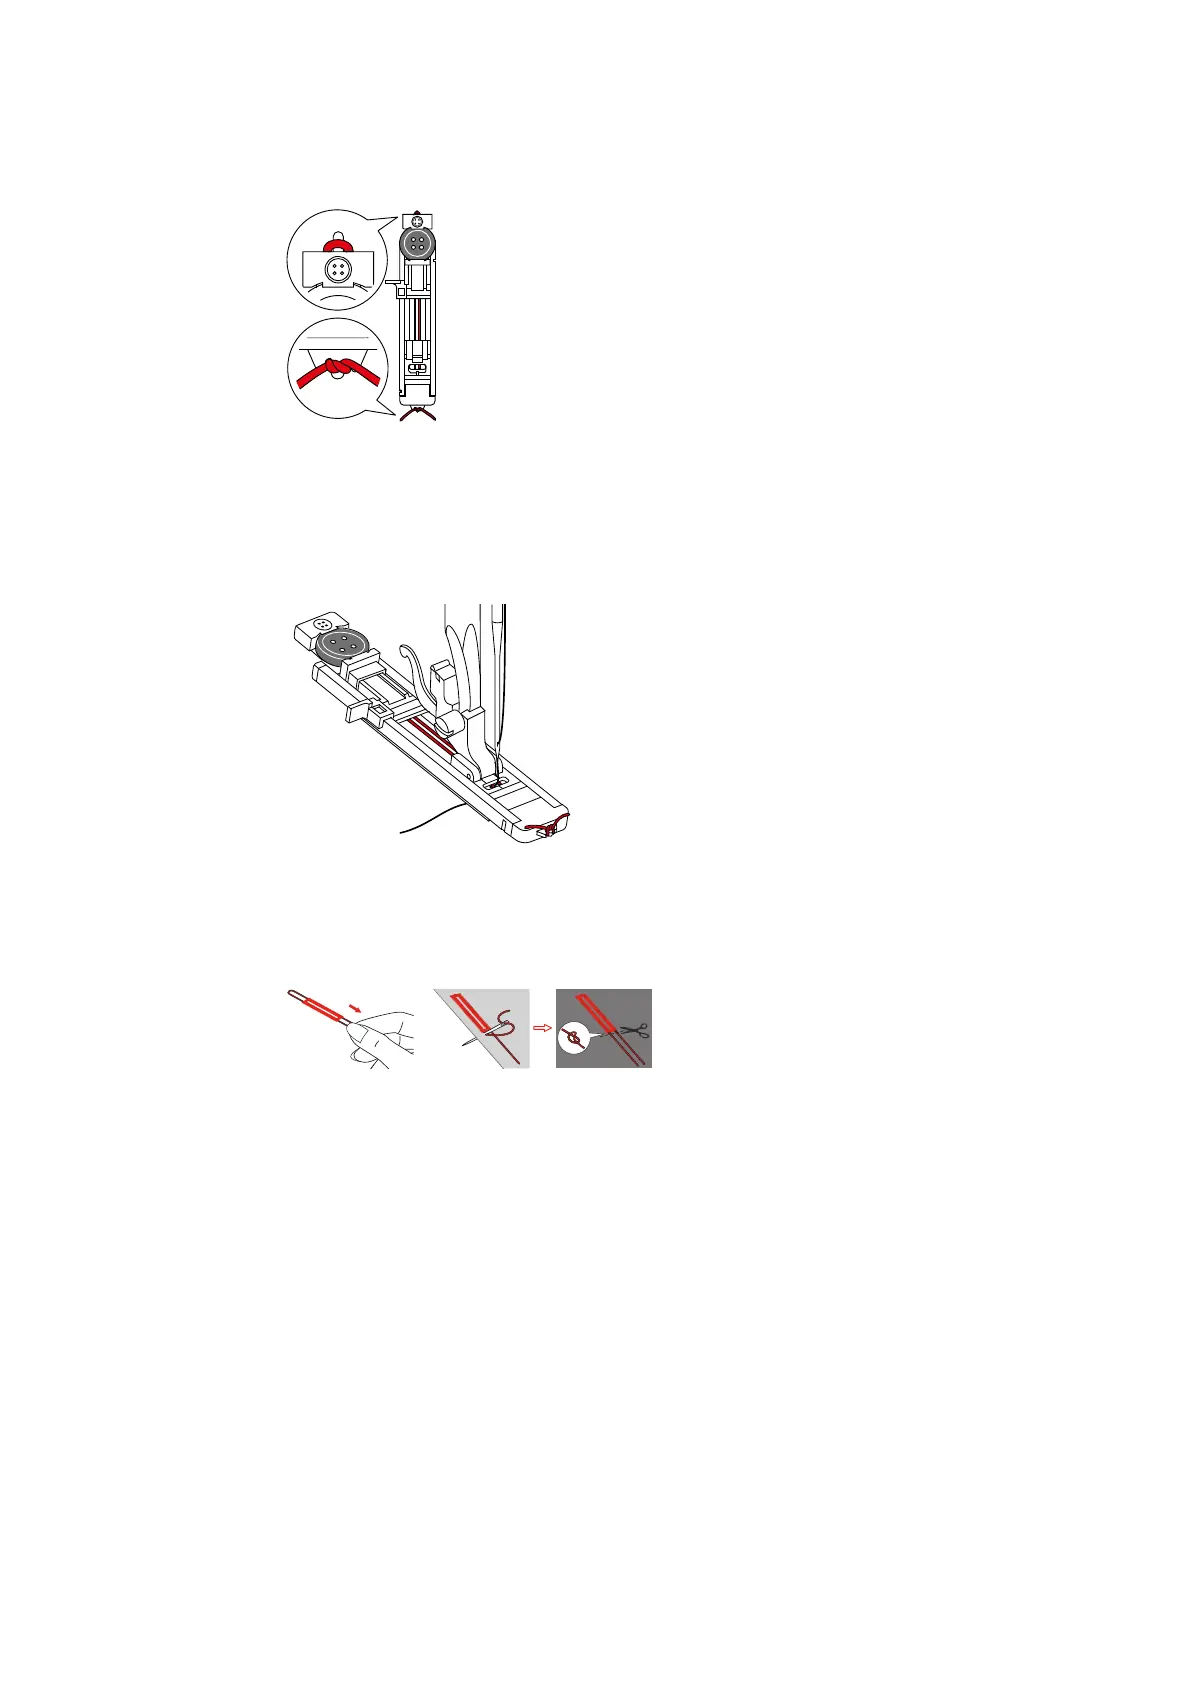
> Hang the thread over the hook behind the presser foot and then lay it over the presser foot.
> Hook both ends of the thread on the front of the presser foot, guide them into the groove and tie them
together temporarily.
> Adjust the stitch length and stitch width.
> Lower the presser foot.
> Press the buttonhole lever all the way down and press it backwards slightly until it clicks in position.
> Use the foot control to start sewing.
– The buttonhole will sew over the cord, covering it.
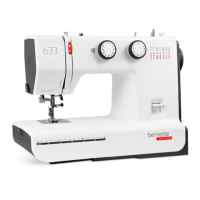
> Re-tighten the filler cord loop until the loop disappears into the bar.
> Pull the ends of the filler cord to the wrong side using the hand sewing needle and either knot or sew it
there.
6.5 Sewing a test sample
Always sew a test sample of the buttonhole on the same fabric: It is recommended to use the same stabilizer
and to select the same buttonhole. The test sample should also be sewn in the respective direction. Preparing
a sewing sample allows you to adjust the settings until the sewing result is as required.
> Sew a sample buttonhole.
> Check whether the settings are correct. If required, adjust the buttonhole length, stitch length and stitch
width.
6.6 Sewing a buttonhole automatically
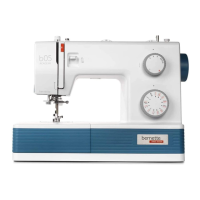
> Fit the buttonhole foot with slide.
> Pull out the button holder plate and insert the button.
> Push the button holder plate backwards until it meets the button.
– The length of the buttonhole is determined.
> Guide the thread through the hole in the presser foot and then position it under the presser foot.
> Turn the stitch pattern selector knob to the single-step buttonhole setting.