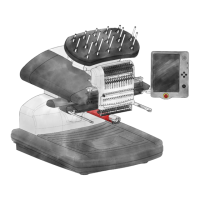
10. Now, without loosening the screw, remove the hoop from the garment.
11. Tighten the adjustment screw a turn or two more.
12. The outer hoop is now adjusted.
Hooping the Garment or Fabric
With the hoop properly adjusted, the garment can be hooped.
1. Start with a clean at working surface. Remove clutter from the area. Do not hoop on an uneven
surface or stack of shirts.
2. Use an appropriate hoop for your design. For more information, read the section on choosing an
appropriate hoop.
3. Place the properly tensioned outer hoop ring inside the garment.
4. Slide the appropriate backing between the outer ring and the hoop.
5. Smooth the fabric over the hoop.
6. Gently align the inner hoop with the outer hoop, sandwiching the backing and a single layer of the
garment. The mounting brackets should be facing up. The notch in the mounting bracket will face the
machine when the hoop is loaded onto the machine.
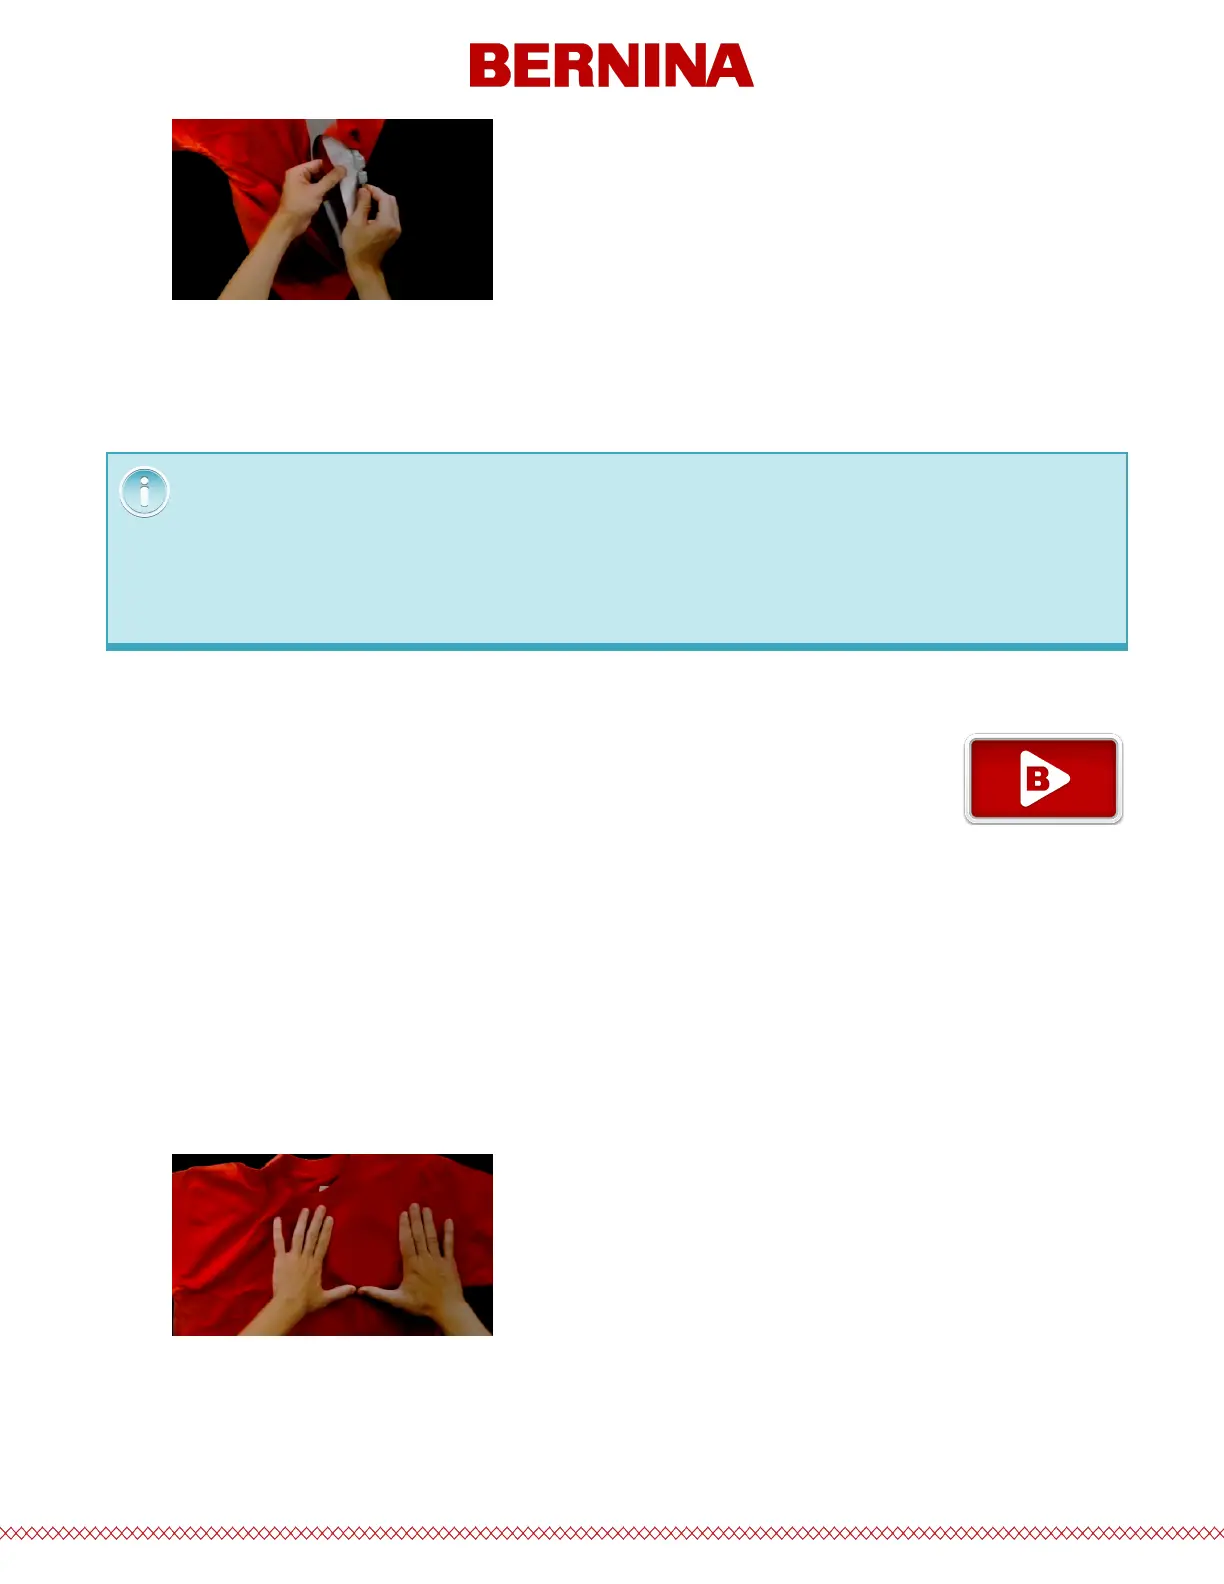
The appropriate tightness of a hoop can be tested by tapping rapidly with moderate pressure on
the fabric inside the hoop. By doing this, you can mimic the presser foot of the machine. If
material walks into the hoop, the hoop is too loose and needs further adjustment.
 Loading...