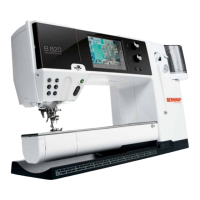
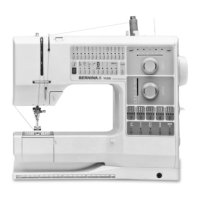
Setting up the machine
21
2 Setting up the machine
2.1 Connection and Switching on
Connecting the machine
> Insert the device connector of the power cable into the machine's power cable connection.
> Insert the power plug of the power cable into the socket.
For USA/Canada only
The machine has a polarized power plug (one contact is wider than the other). To reduce the risk of electric
shock, the power plug can only be plugged into the socket in one way. If the power plug does not fit into
the socket, turn the power plug over. If the turned-over power plug still does not fit, have an appropriate
power socket installed. Contact your electrician. Do not modify the power plug in any way.
Switching the machine on and off
> To switch the machine on, set the main switch to «I».
> To switch the machine off, set the main switch to «O».
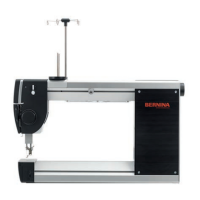
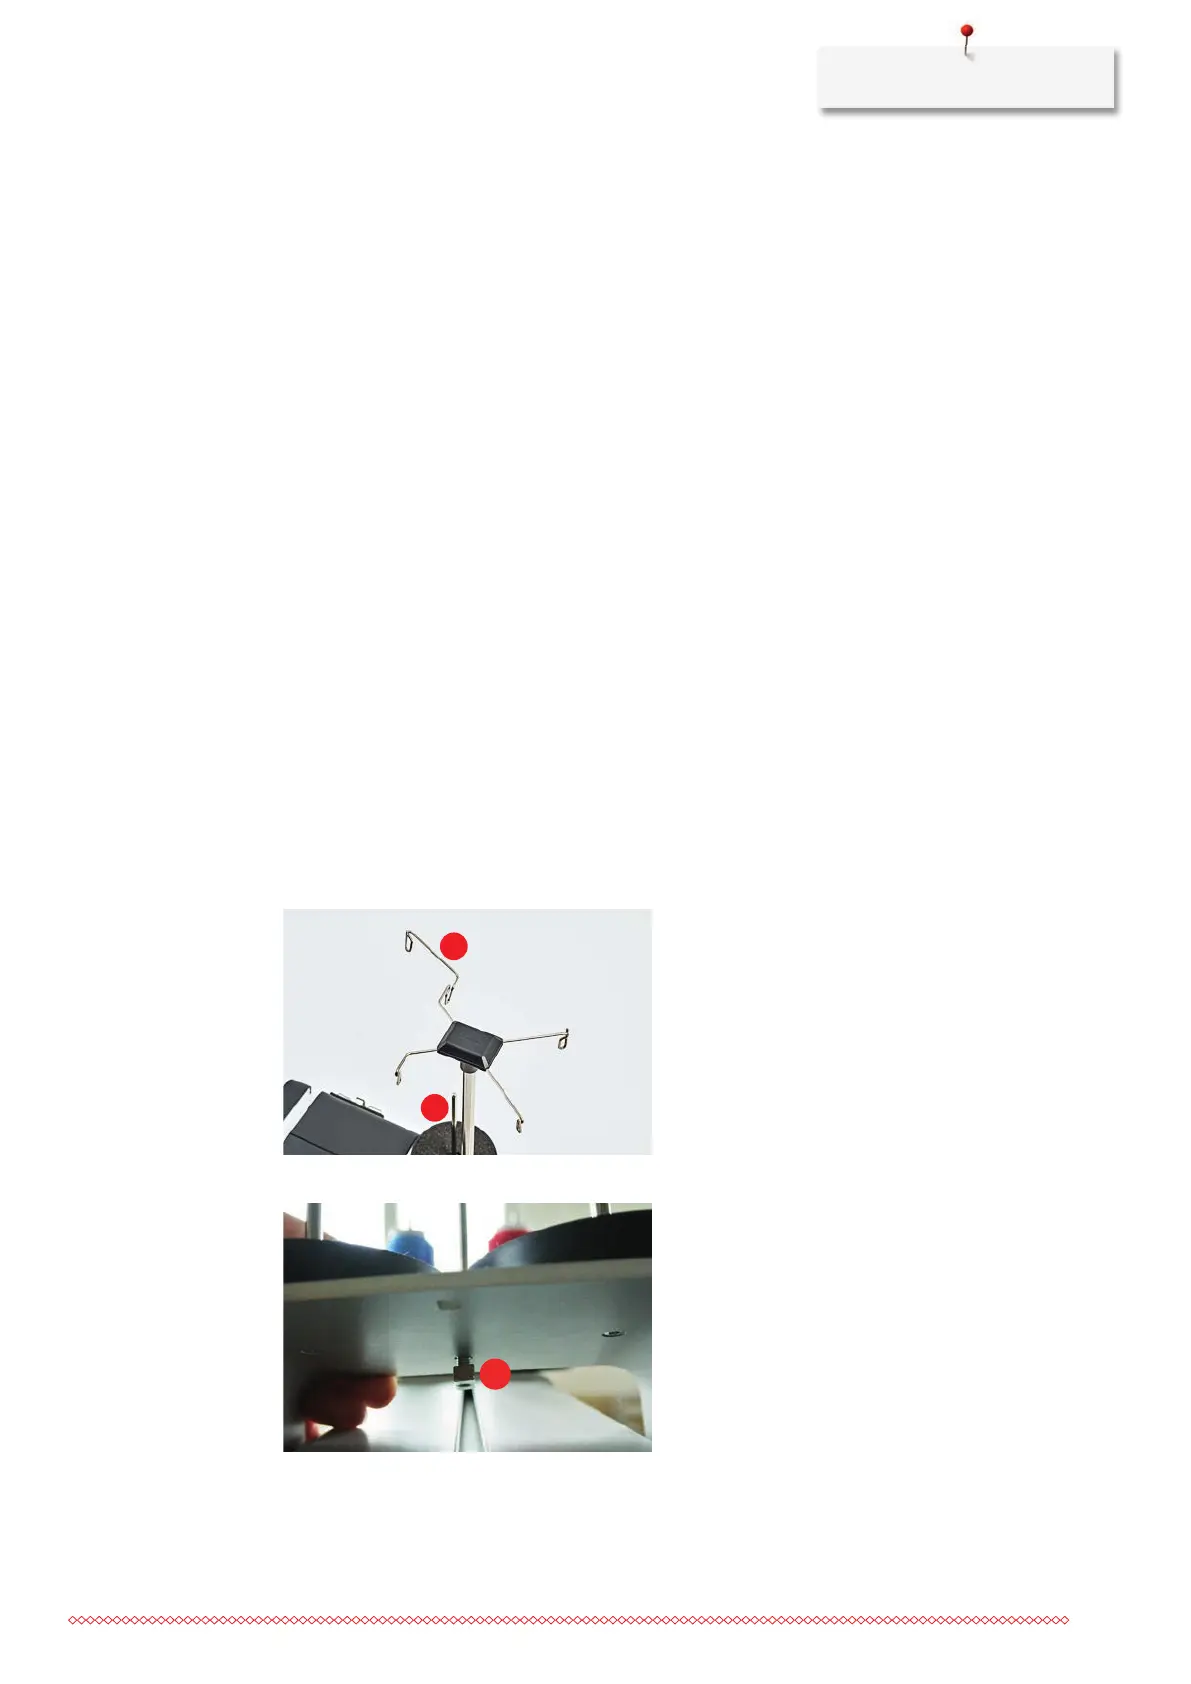
2.2 Attaching the spool holder
Required parts and tools:
• Spool pin
• Thread eyelet attachment
• Torx T25 screwdriver
> Fit the attachment with the thread eyelets into the slot of the thread guide such that the arm with the
two thread eyelets (1) is positioned above the left spool pin (2).
> Turn the screw between the spool pins such that the nut (1) can be inserted into the groove.

 Loading...