Setting up the machine
26
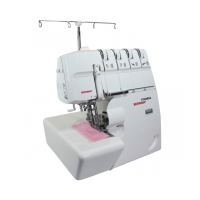
> Loosen the fixing screw.
> Pull the needle away in a downward direction.
> Insert the new needle with the flat side to the rear.
> Slide the needle upwards as far as it will go.
> Tighten the fixing screw.
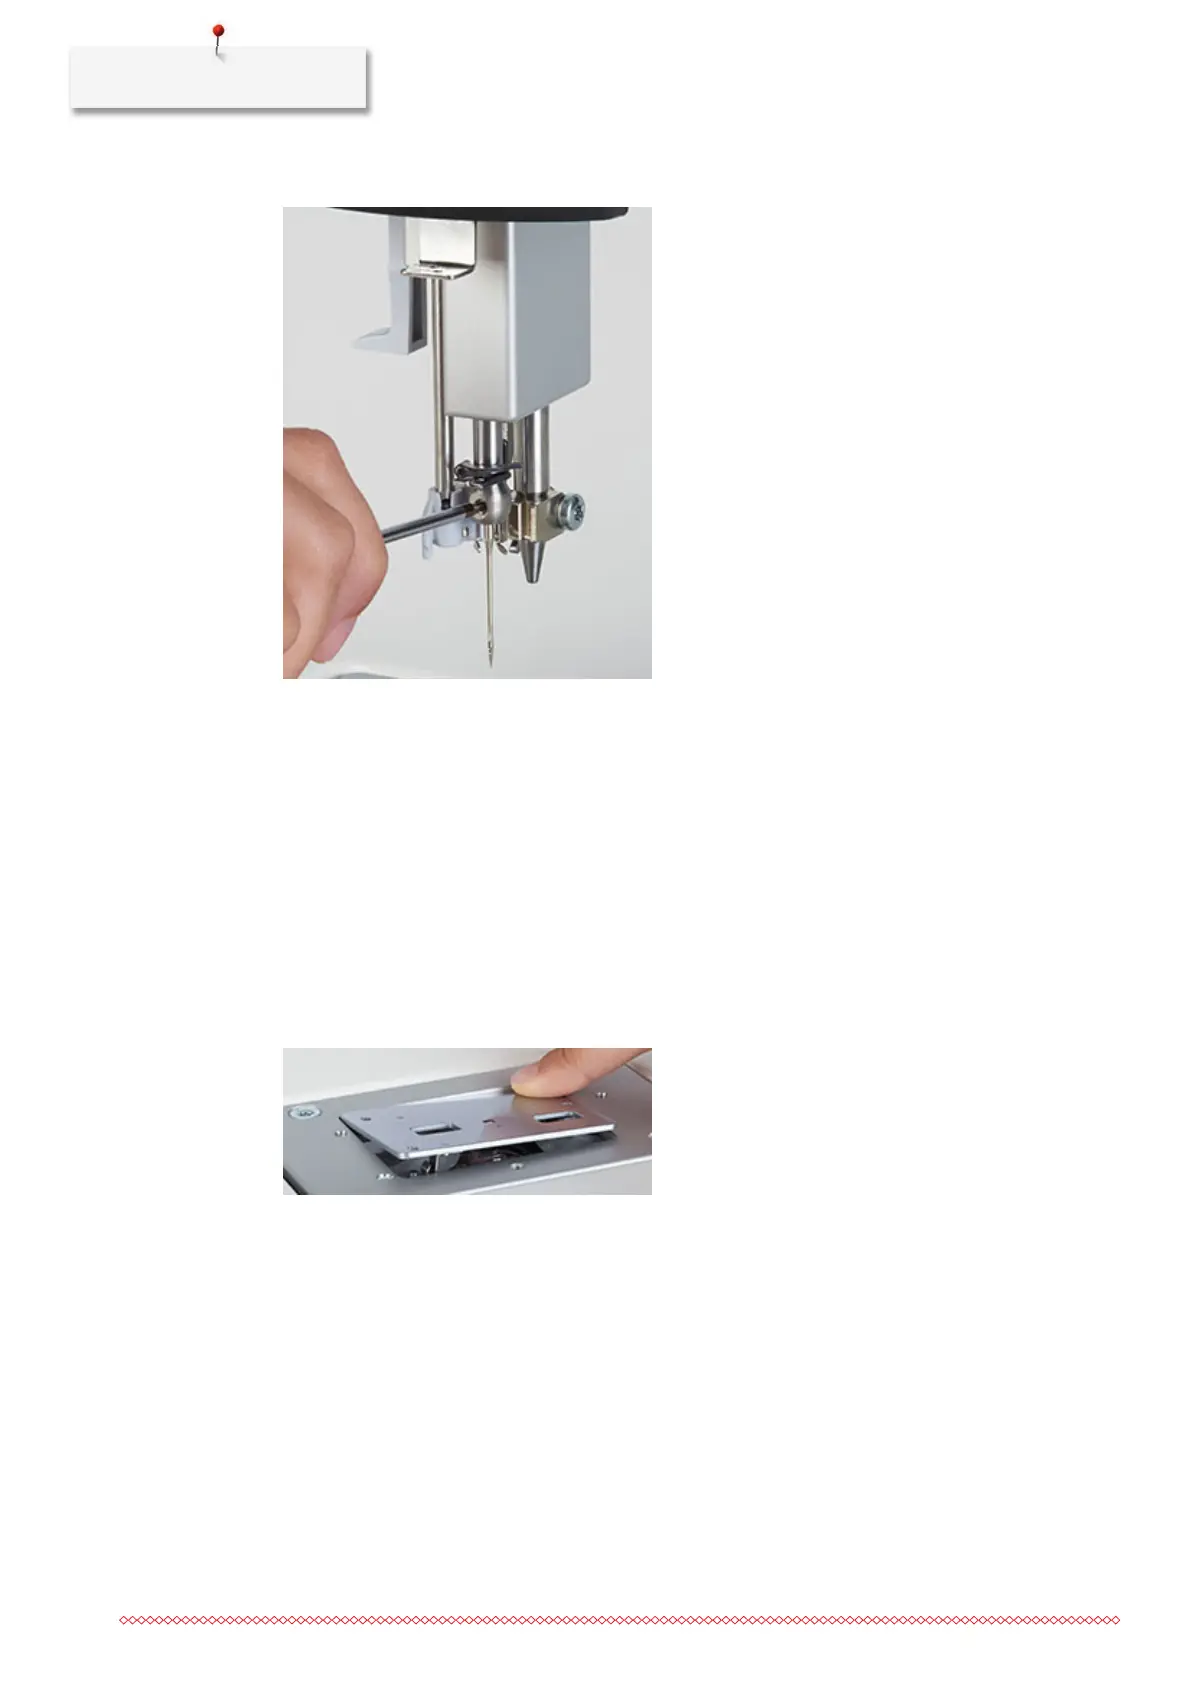
Changing the stitch plate
Replace the stitch plate in the following cases:
• If you want to work with a double needle.
• If the stitch plate is damaged.
> Switch the machine off.
> Remove the presser foot.
> Remove the needle.
> At the marking on the upper right corner of the stitch plate, push the stitch plate downwards until it tips.
> Remove the stitch plate.
> Place the new stitch plate such that both openings are positioned above the BSR sensors.
> Press the stitch plate down until it clicks into position.

 Loading...