Setting up the machine
38
Required parts and tools:
• Manual therader
Threading the left thread
Prerequisite:
• The twin needle is inserted.
• Needle ist raised.
• Presser foot is raised. IMPORTANT: The thread can be inserted between the thread tension discs.
> Place the spool on the left spool pin.
> Insert the thread first in the eyelet positioned vertically above the spool and then in the front left eyelet of
the thread guide.
> First, guide the thread on the left-hand side of the machine through the upper left thread guide, then
pull in the direction of the arrow through the lower thread guide.
> Hold the thread above the lower thread guide with your left hand, and guide it with your right hand
through the slot above the service door to the right-hand side of the machine.
> IMPORTANT: Check whether the presser foot has been raised and consequently whether the thread
tension discs have been opened.
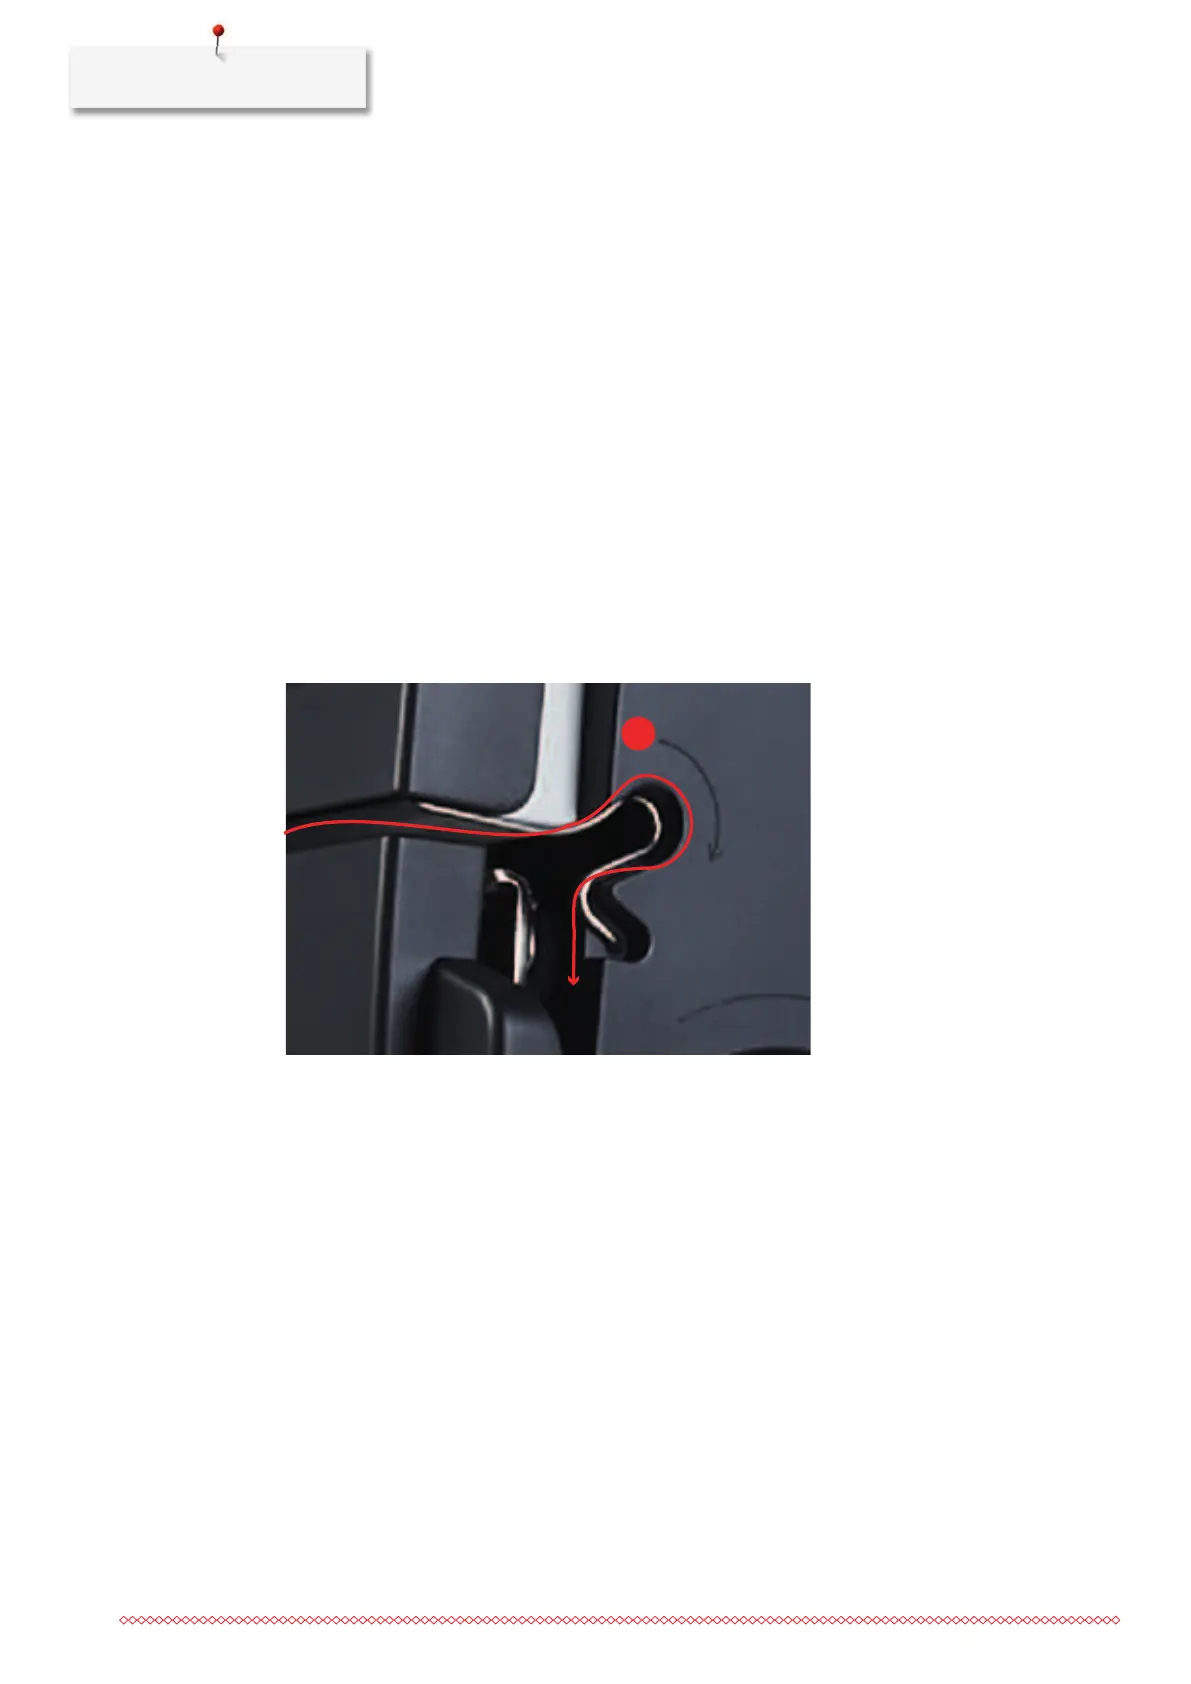
> Pull the thread in a wide arc around the thread guide (6) in the direction of the arrow.
> Open the service door and check whether the thread is positioned between the two rear thread tension
discs. If not, repeat the previous step.
> Close the service door.
> Guide the thread on the right-hand side of the machine in the direction of the arrow around the thread
regulator.
> Guide the thread up and thread into the take-up lever from the back to the front.
> Guide the thread down and into the left opening of the thread guide underneath the service door.
> Guide the thread from the right into the thread guide on the needle bar.
> Place the thread into the slot of the manual threader.
> Thread it into the left needle using the needle threader.
Threading the right thread
Prerequisite:
• The twin needle is inserted.
• Needle ist raised.
• IMPORTANT: Presser foot is raised.
> Place the spool on the right spool pin.

 Loading...