Bio-Well Company
www.bio-well.com
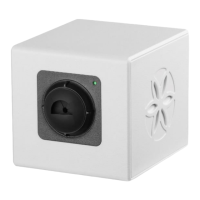
Click “Settings” button in order to select the time interval between the captures
(pic. 65B). Options are: from 5 to 60 seconds for BW 1.0 and
from 1 to 60 seconds for BW 2.0. Click on the drop-down list, select the preferred
interval and click “OK”. For long-term experiments you can select bigger time intervals.
Pic. 65B. “Settings” pop-up window in “Environment” Scan.
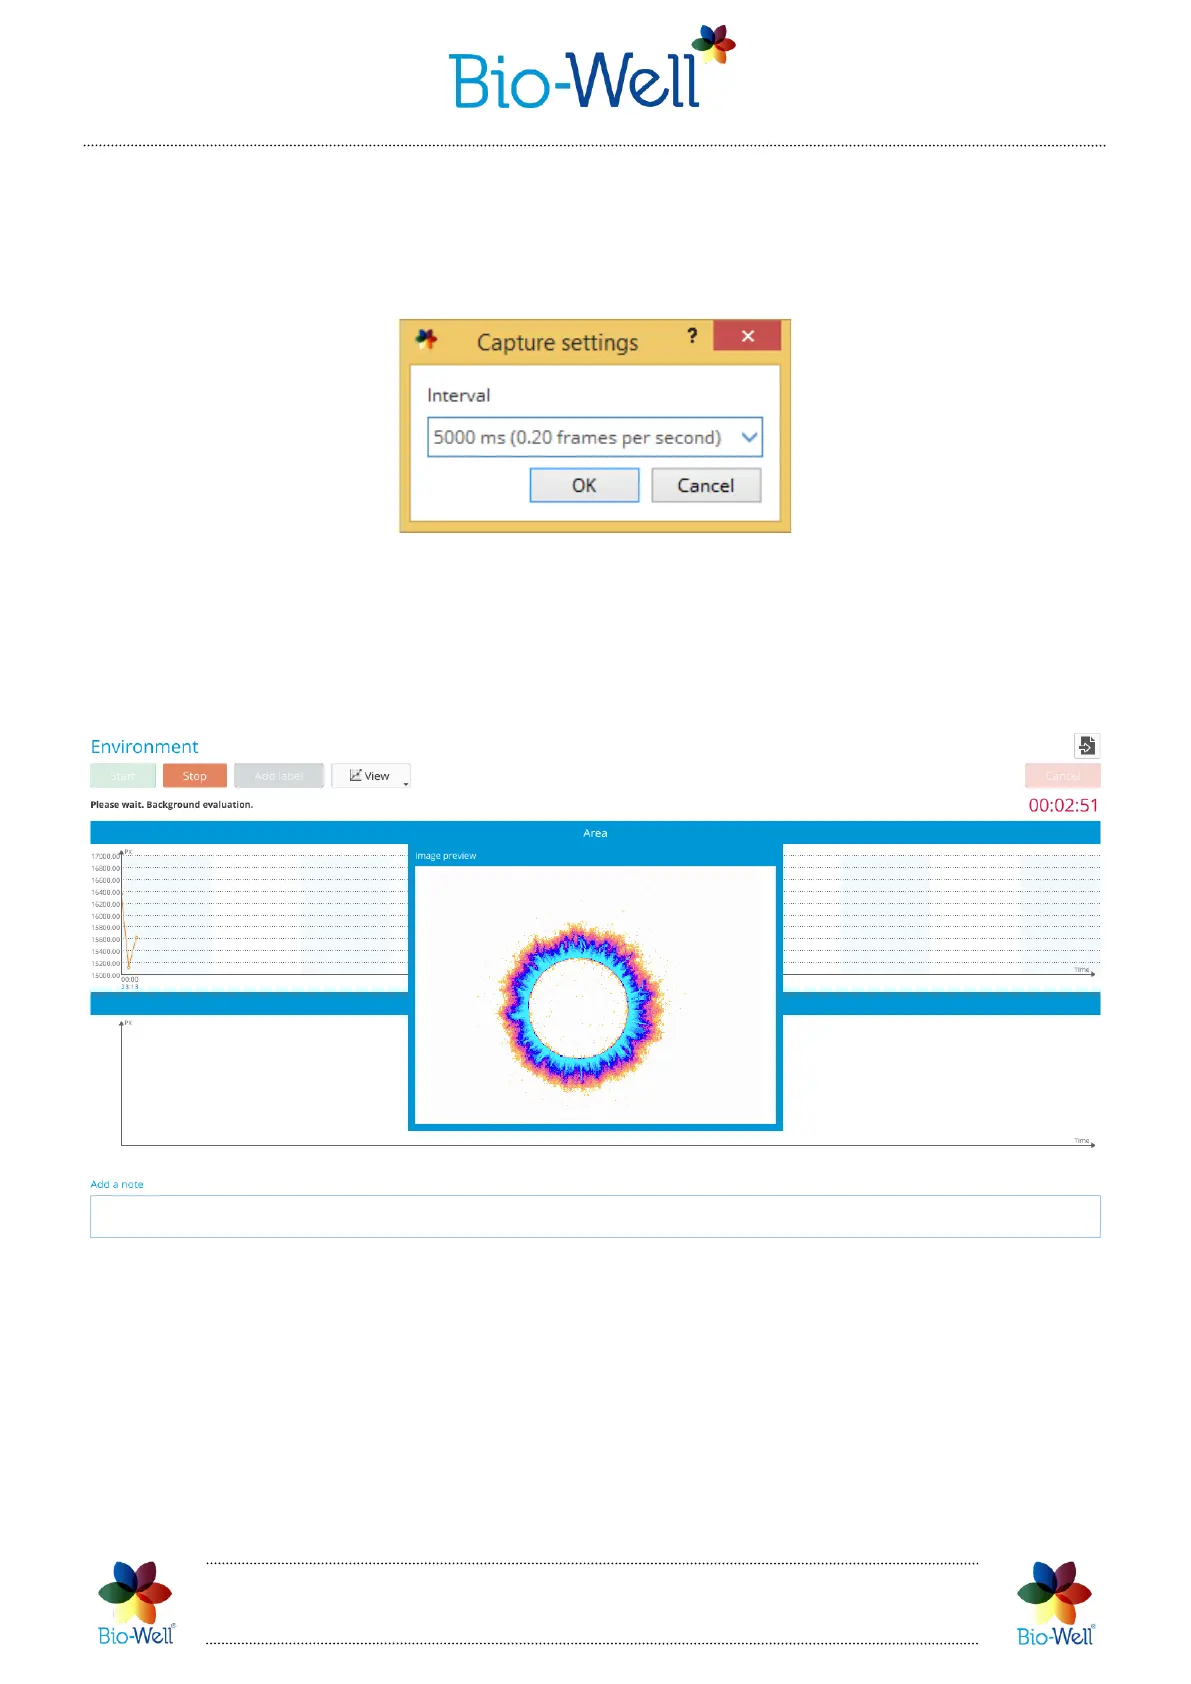
Click “Cancel” button to return to the Main screen. Click “Start” button to begin
experiment. Test image of the metal cylinder will be shown. It should look like a circle
with very little or no pixel noise inside (pic. 66). Only first 10 images will be displayed
for you to check if position of cylinder is correct.
Pic. 66. Correct GI of the metal cylinder.
Once warming up time is finished (3 minutes, which will be automatically deleted
once experiment is over) the timer will be reset and start from 00:00 again, and you
will be able to add labels by clicking “Add Label” button. Labels may be added during
readings. Just assign a name to every Label that you add and click “OK”.
 Loading...