Bio-Well Company
www.bio-well.com
5. Connect the grounding cable to the spring knob on the top of the calibration
insert (doing this after inserting the unit may damage the glass inside).
6. Insert the calibration metal cylinder insert by raising and holding back the
spring knob while carefully pushing the unit in until it clicks into place. Then, gently
lower the spring knob until it rests on the glass. Then, press it down vertically to make
it even.
NB! Do not let the spring lower quickly or abruptly, and be sure to not rotate the
knob without first raising it. Failure to follow these procedures may result in scratching
the glass, which is not covered by the warranty.
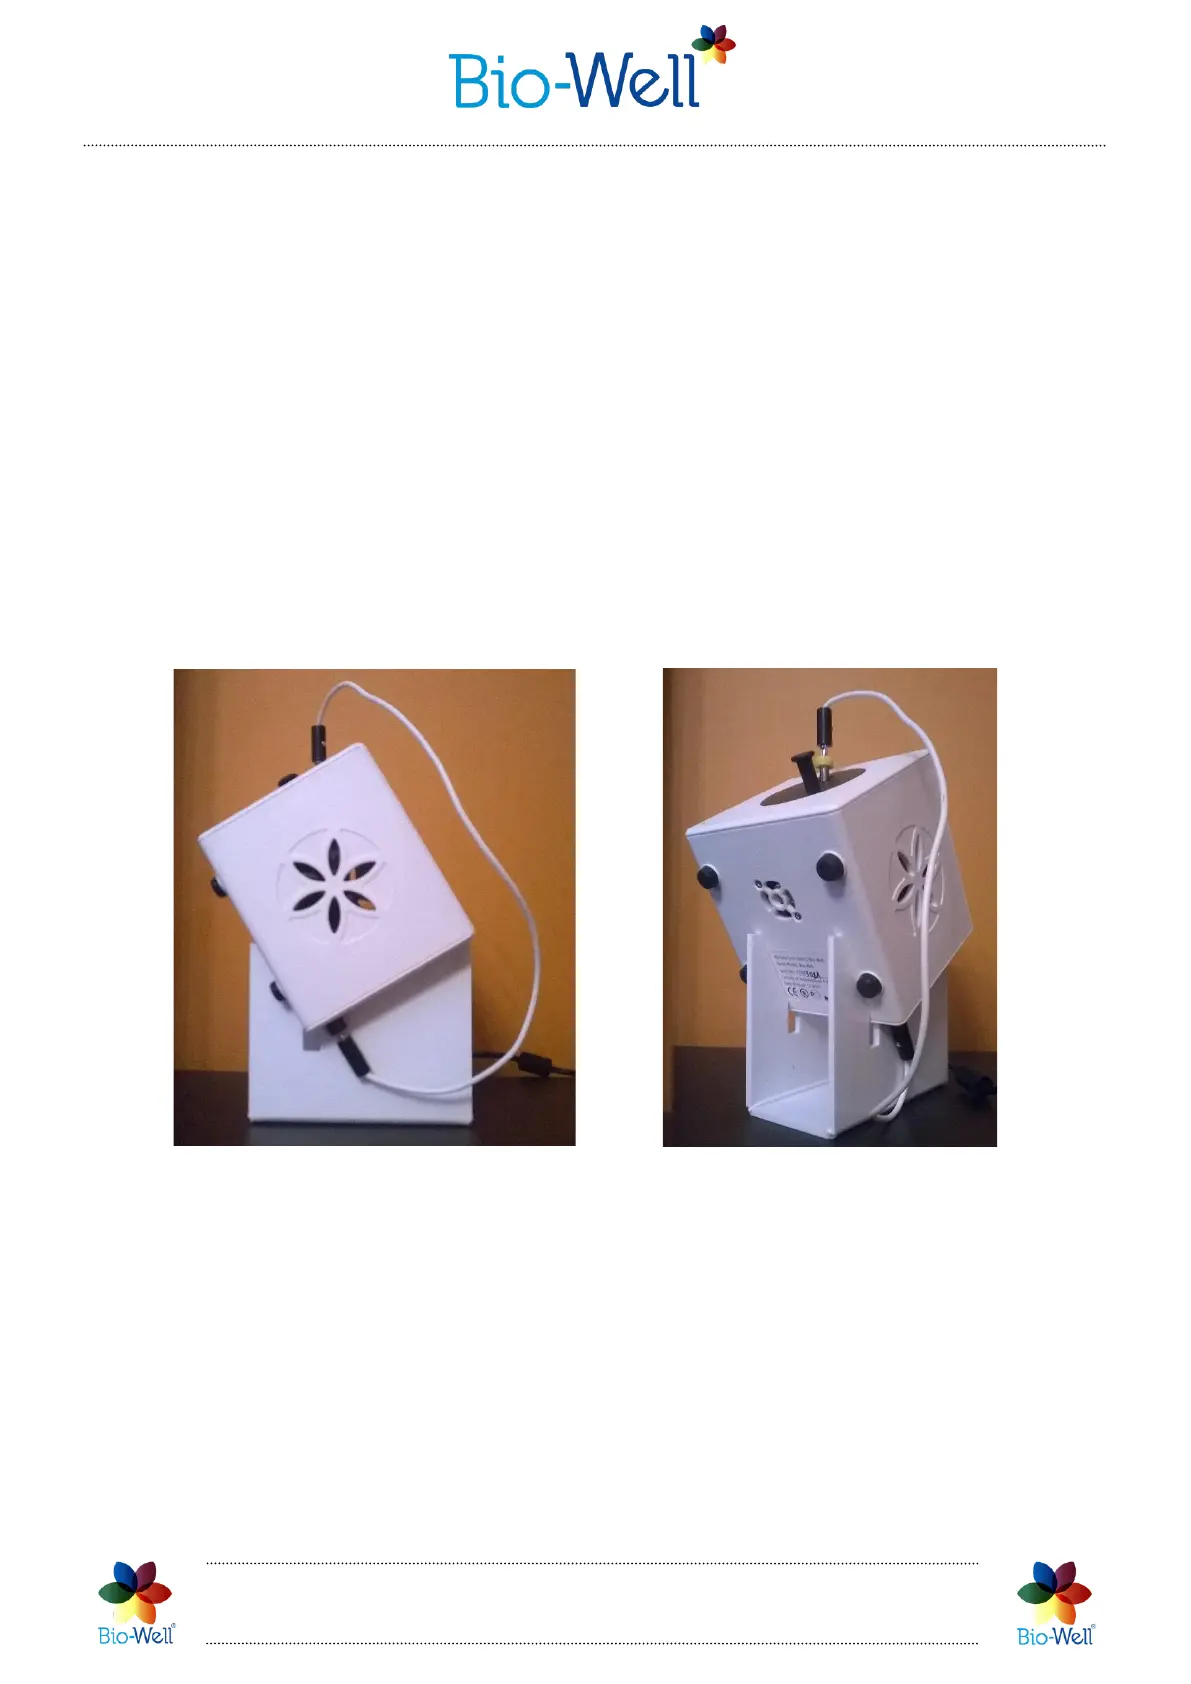
7. Connect the other end of the grounding cable to the port («ground/earth»)
located at the rear of the Bio-Well GDV Camera device (pic. 86).
Pic. 86. Bio-Well GDV Camera device 1.0 on the calibration stand.
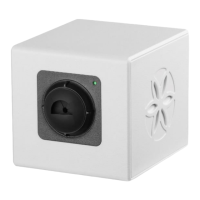
8. Click “Start button. For the new model of calibration tool (without sponge
inside) the white stand is not needed. Test image will appear (see on the right). It
should display a full ring. If the image is having noise inside or distorted, clean the glass
electrode and the cylinder with a cloth again and carefully check the position of the
spring knob to be sure the metal cylinder is resting evenly on the glass (raising before
adjusting).
NB! Each calibration cycle is equal to 20 captures with 5 seconds interval.
 Loading...