Bio-Well Company
www.bio-well.com
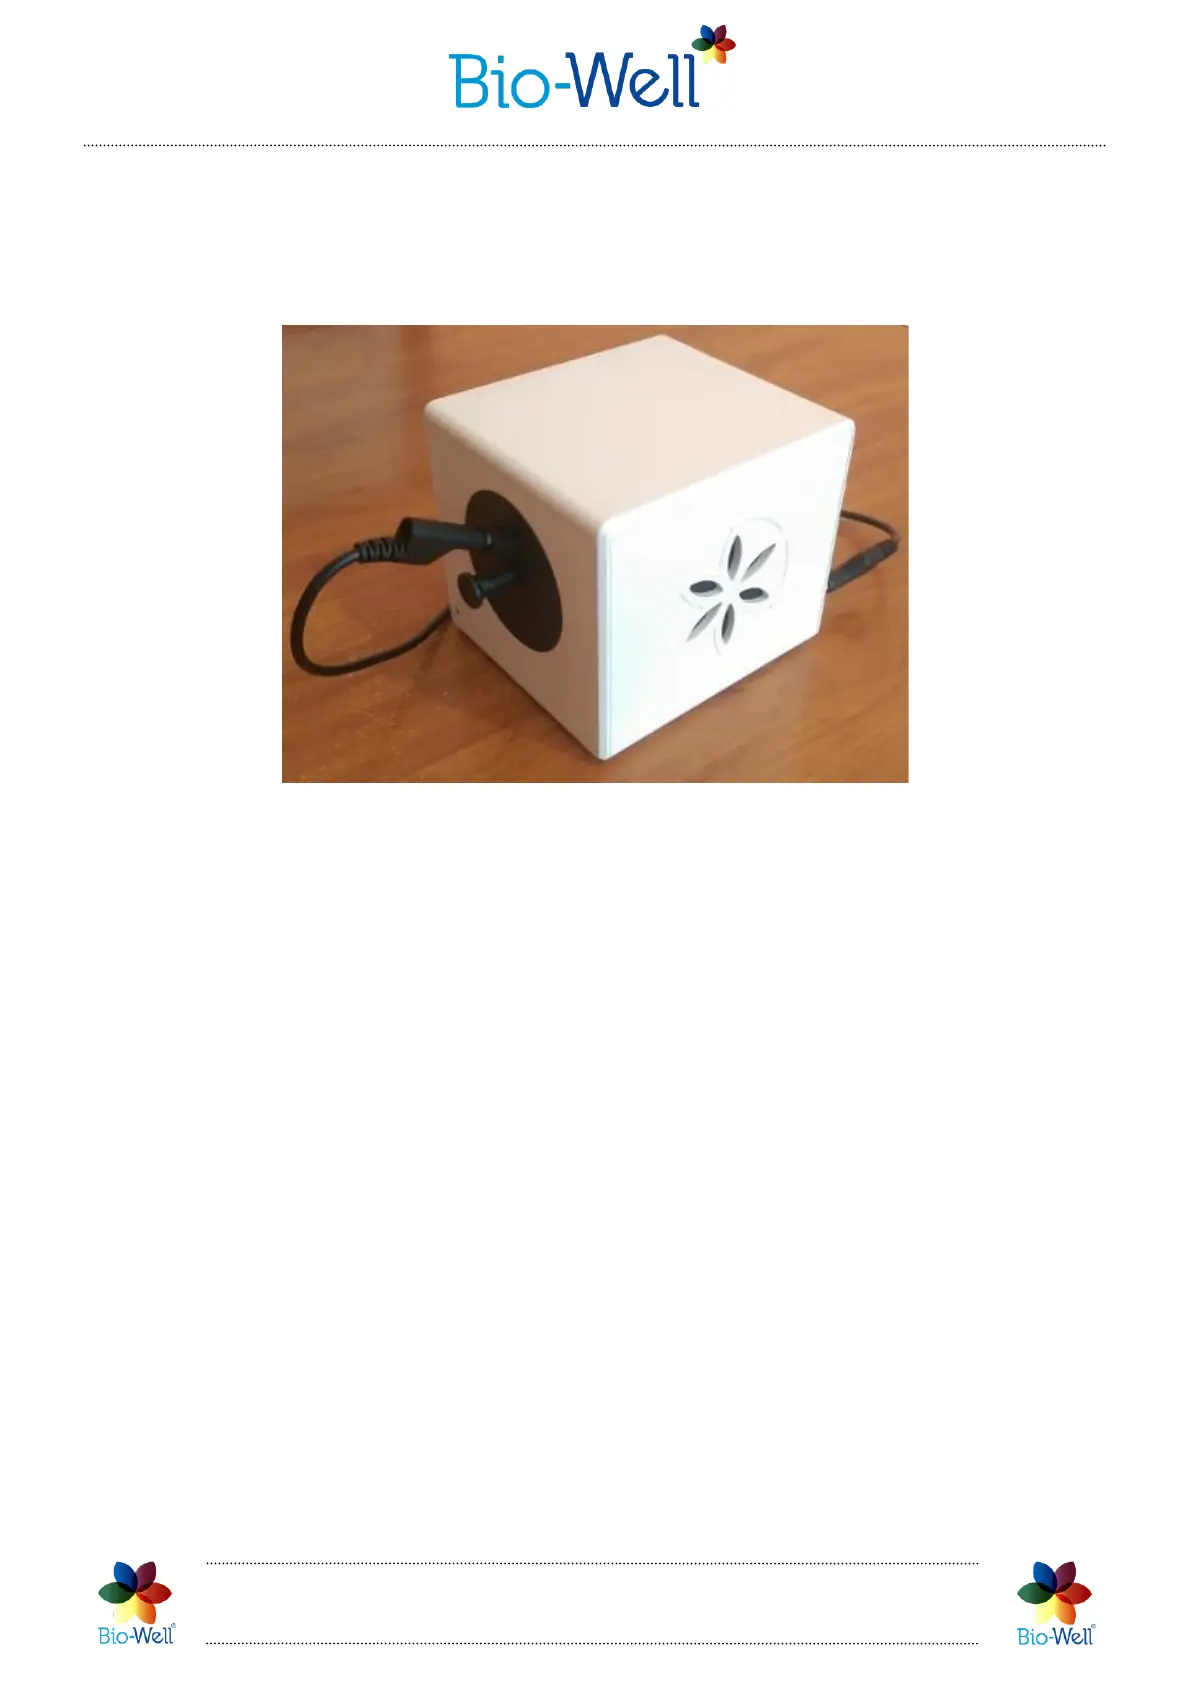
5. Connect the grounding cable to the spring knob on the top of the calibration
insert.
6. Connect the other end of the grounding cable to the port («ground/earth»)
located at the rear of the Bio-Well GDV Camera device (pic. 87).
Pic. 87. Bio-Well GDV Camera 2.0 prepared for calibration.
7. Click “Start” button and wait for 20 seconds. Software will calibrate the device
automatically.
8. Click “OK” in the pop-up window. You will be automatically redirected to the
main screen of the Bio-Well software.
Calibration insert looks different for BW 3.0 – it doesn’t have any jacks. It doesn’t
need any wire. All the wiring is done inside the BW 3.0 device.
ENJOY USING BIO-WELL!
 Loading...