40
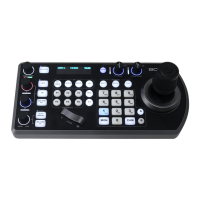
Adding an ONVIF camera to Keyboard
Adding manually from Local Area Network (LAN)
Selecting ONVIF as the protocol and clicking the P/T Speed dial will cause the ONVIF Camera Setup menu to appear
• Must know about the IP address of the
camera.
• The IP address of the camera has to be
within the same subnet as the Keyboard
• Rotate the P/T Speed dial to move the
cursor between the IP address octets.
Move the cursor to each octet and use
the alphanumeric keypad to enter its
value. Rotate the P/T Speed dial to move
to the next octet and repeat until all IP
address octets are set to the desired
values. Click the Zoom Speed dial to
save
• Move the cursor to the User Name field, and use the alphanumeric keypad to enter the username (ESC button
works as a backspace)
• Click the Zoom Speed button to save
• Move the cursor to the password field and use the alphanumeric keypad to enter the password (ESC button
works as a backspace)
• Click the Zoom Speed button to save
• Move the cursor to the Port field
• If the camera is configured to communicate on a field other than port 80, change the port number using the
alphanumeric keypad (ESC button works as a backspace)
• Exit this menu
Scanning Local Area Network (LAN) for available ONVIF cameras
Cameras can be detected on the network and added to the keyboard to be controlled
• Press the Search button to bring up the Auto Search menu
• Move the cursor to ONVIF-IP
• Select Yes to start the search
• A list of discovered cameras will appear showing the cameras that have been discovered. Scroll through the
discovered cameras using the Zoom Speed dial
• To add a camera to be controlled by the KBD-1010, press the ADD button
• With the cursor on CAM ID, Assign the camera to a CAM ID by rotating the Zoom Speed dial
• Click the Zoom Speed dial to save
• Move the cursor to the Title, and use the alphanumeric keypad to give the camera a title
• Click the Zoom Speed dial to save
• Enter the username for the camera
• Click the Zoom Speed dial to save
• Enter the password for the camera
• Click the Zoom Speed dial to save
• Exit this menu