Replacement parts
59
Worcester 2000 – 6 721 814 551 (2019/09)
10.1 Component access
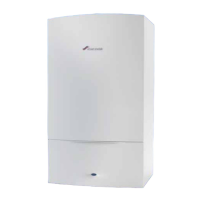
Removing the front casing
The front casing is secured with two screws to prevent unauthorised
removal (electrical safety).
▶ Always secure the casing with these screws.
▶ Loosen the two screws [1] and pull the bottom of the casing forward.
▶ Lift off the casing.
Fig. 78 Removing the front casing
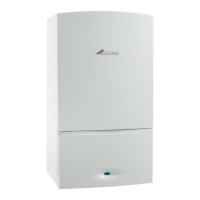
10.2 Draining the appliance
NOTICE:
Risk of water damage to appliance or property!
Damage from disconnecting water pathways which may have retained
some water.
▶ Take care after draining the appliance to protect equipment/property
from residual water content within components.
Many of the tasks in this section require that the appliance be isolated
and drained. This will be indicated in the manual if required.
Refer to figure 79.
▶ Open the drain plug using a 8mm hex key; use a suitable container to
collect any water.
Fig. 79 Drain point
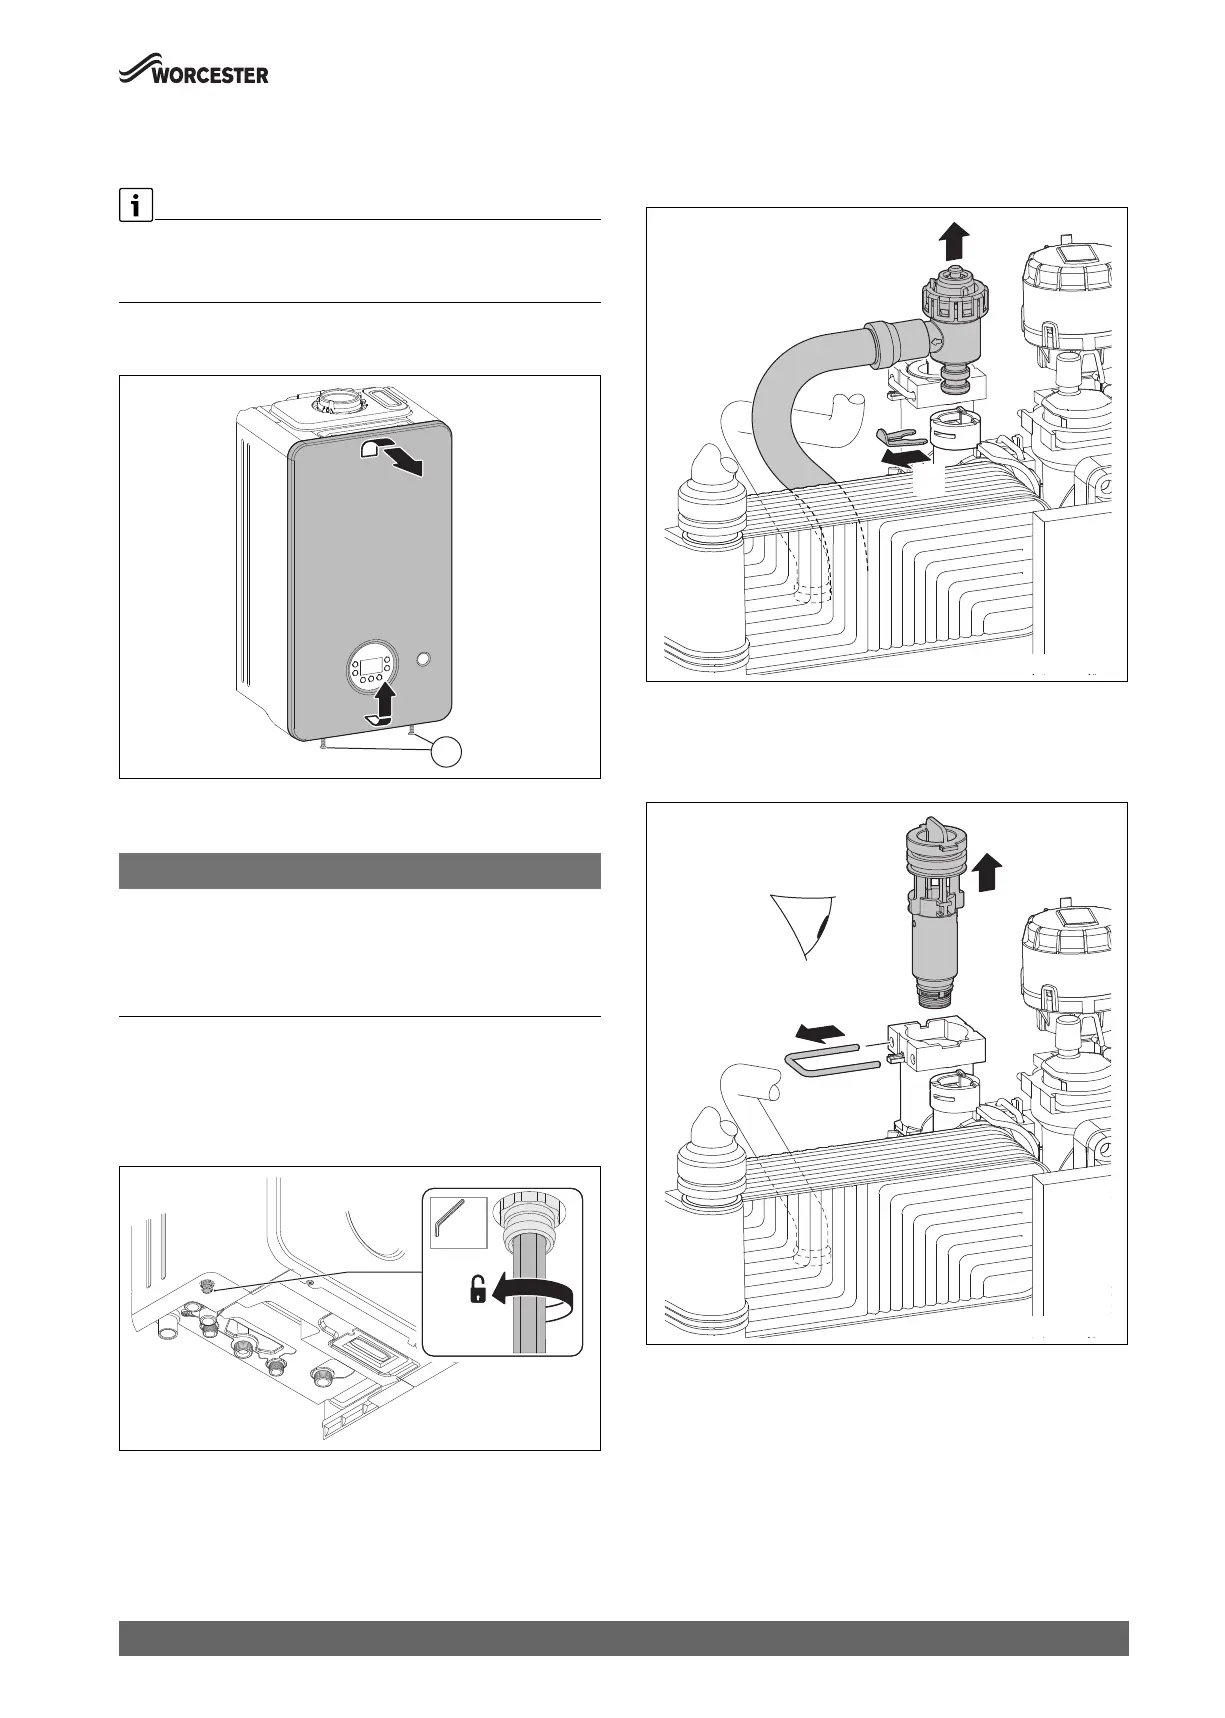
10.3 Checking the strainer in the cold water pipe
1. Remove the clip.
2. Pull out the pressure relief valve.
Fig. 80 Remove the pressure relief valve (heating circuit)
1. Remove the clip.
2. Pull out the insert.
3. Check strainer for contamination.
Fig. 81 Checking the strainer in the cold water pipe
1
0010029675-001
0010029499-001
8mm
1.
2.
0010006637-002
1.
2.3.
0010006636-002
 Loading...