EasyManuals Logo

Bose L1 Compact Service Manual

Bose L1 Compact
52 pages
To Next Page IconTo Next Page
To Previous Page IconTo Previous Page
Page #41 background imageLoading...
Page #41 background image
41
Disassembly Procedures
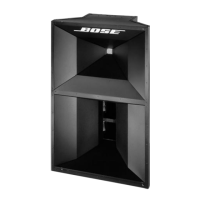
5.2 Remove the four screws that secure the
power amplifier / SMPS PCB assembly to
the power stand’s mounting bracket.
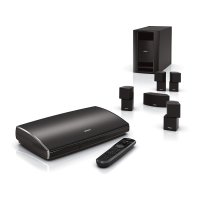
5.3 Carefully slide the power amplfier / SMPS
PCB downward until the top of the board
clears the upper part of the bracket.
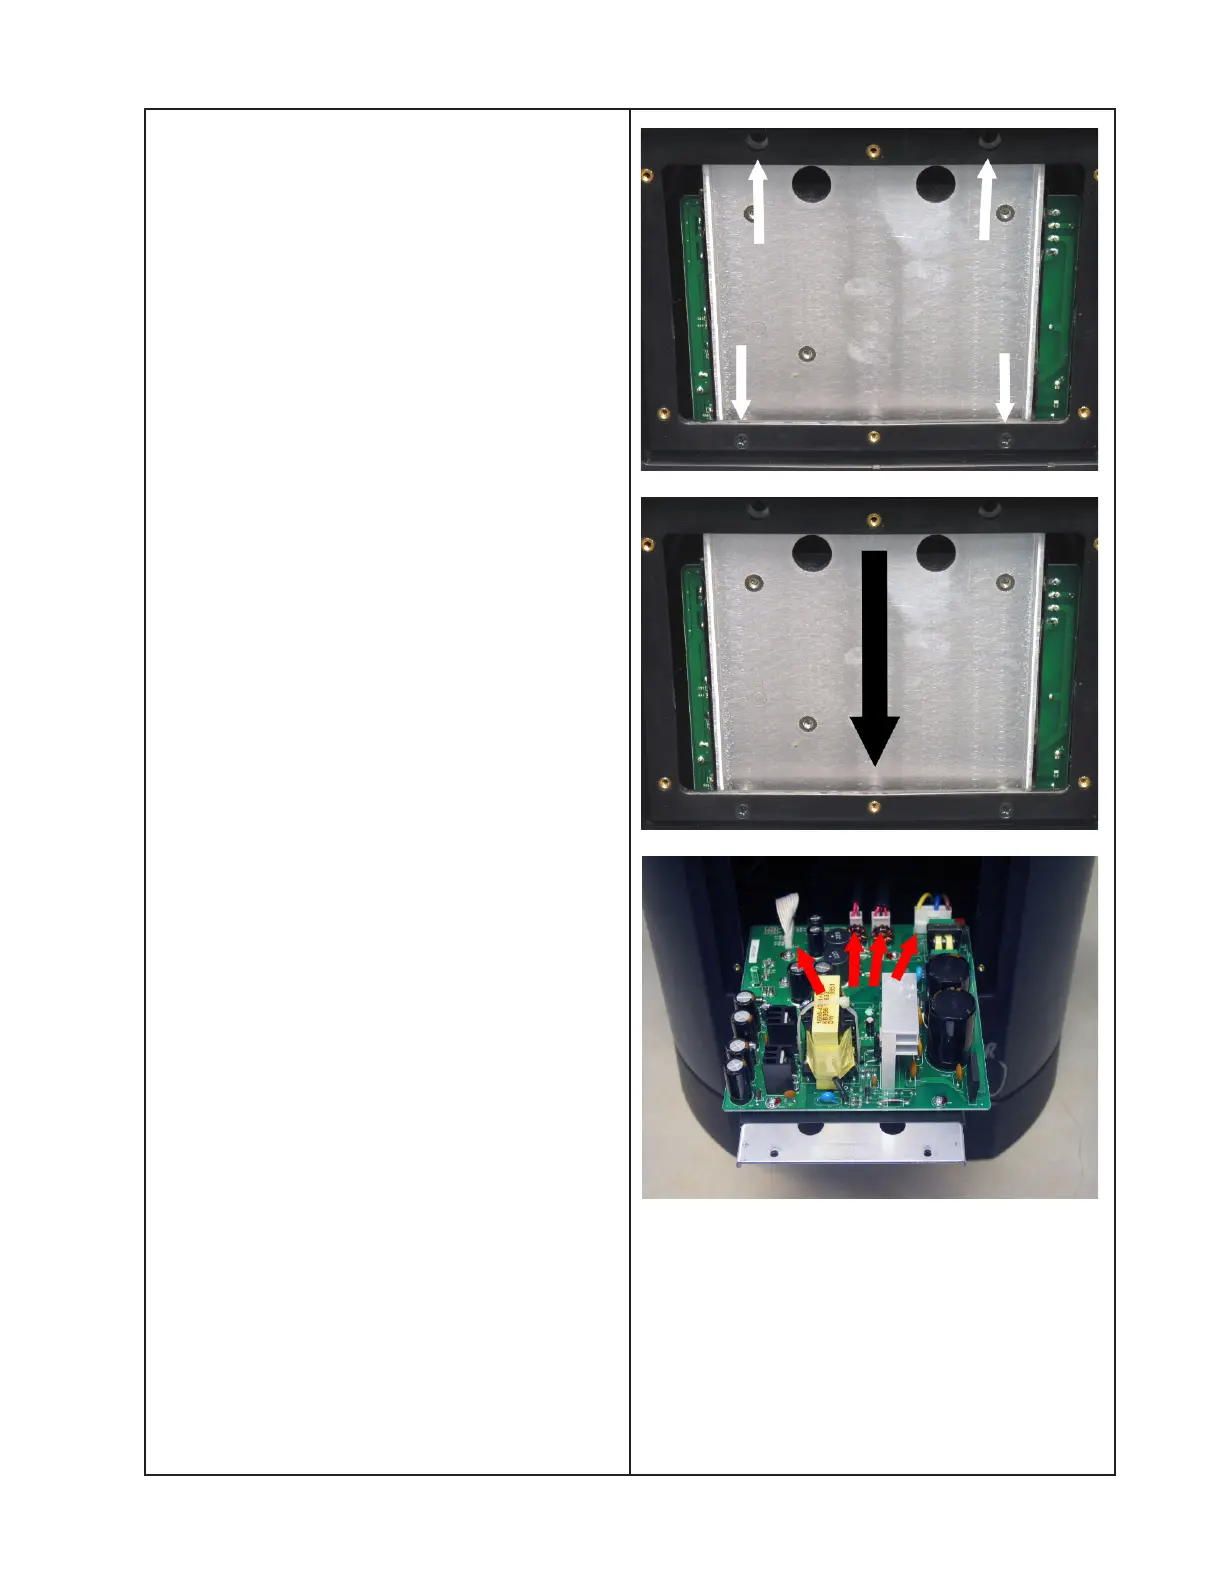
5.4 Slide the PCB assembly out through the
access panel opening and disconnect the
four wire harnesses. Lift out the board.
Re-assembly Note: The power amplifier /
SMPS PCB assembly with the heatsink
attached should slide up between the plastic
cabinet housing and the metal cavity bulk-
head bracket. Once it is in the correct loca-
tion, secure it in place with the four screws
removed in step 5.2.

Other manuals for Bose L1 Compact

Questions and Answers:

Question and Answer IconNeed help?

Do you have a question about the Bose L1 Compact and is the answer not in the manual?

Bose L1 Compact Specifications

General IconGeneral
Product colorBlack
Recommended usageUniversal
Multi-Room Streaming (MRS) support-
Number of drivers6
Speaker placementStand-mountable
Audio output channels- channels
RMS rated power- W
AirPlayNo
Microphone inYes
Connectivity technologyWired
Power source typeAC
Weight and Dimensions IconWeight and Dimensions
Depth425.45 mm
Width336.55 mm
Height1993.9 mm
Weight13240 g

Related product manuals