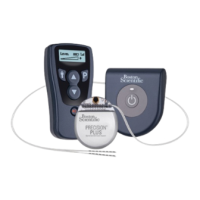
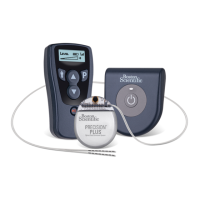
Precision™ Spinal Cord Stimulator System Clinician Manual
Clinician Manual
97035873-01 20 of 75
Percutaneous Lead Placement in the Epidural Space
Note: If using an Innion™ CX Lead, proceed to “Innion CX Lead Placement in the Epidural Space with
Entrada™ Needle” on page 21
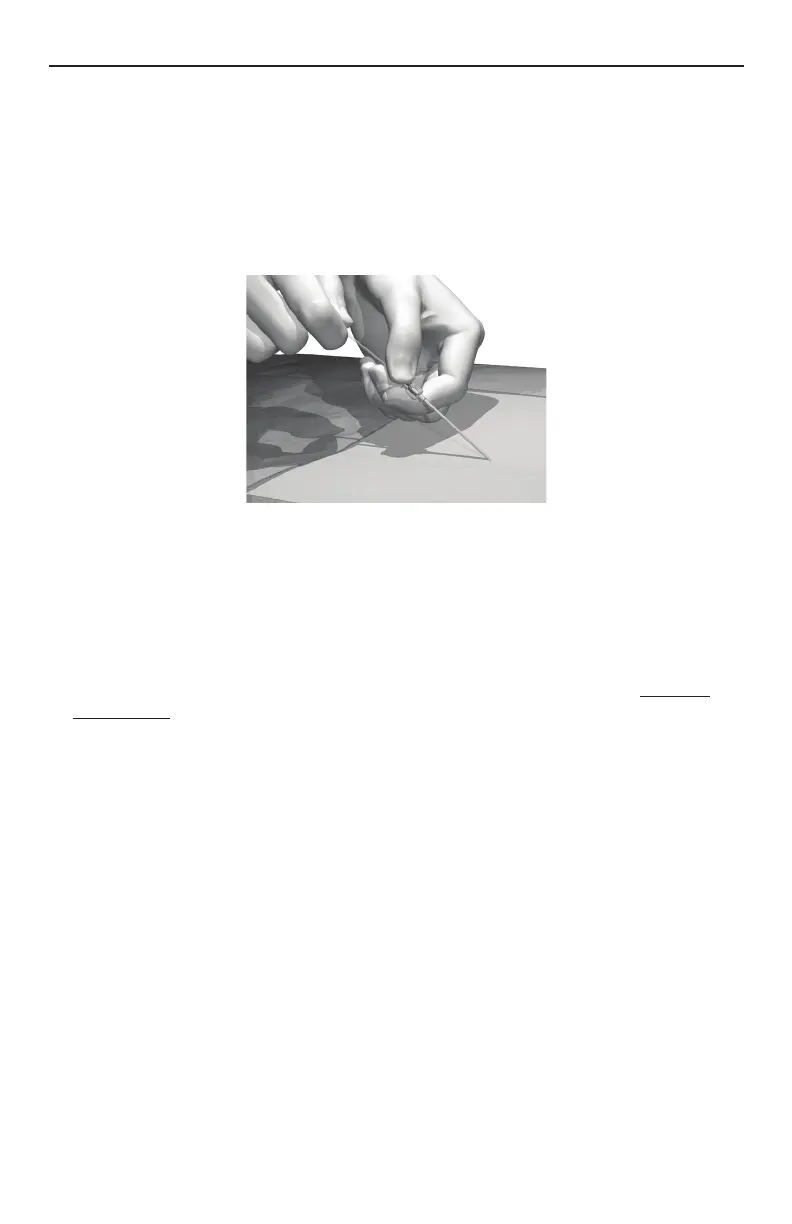
1. Position, prep and drape the patient in the usual accepted manner. Inject a local anesthetic at the needle
insertion site.
2. Under uoroscopic guidance, place the insertion needle into the epidural space with the bevel facing up
using an angle of 45° or less.
CAUTION: Use only an insertion needle provided by Boston Scientic. Other needles may damage
the lead. The stamped number “14” on the needle hub (or the triangle on the hub of the curved Epimed
needle, sold separately) corresponds to the orientation of the bevel, which must face up. Turning the
bevel ventral (down) may result in lead damage. An angle of more than 45° increases the risk of lead
damage.
WARNING: The angle of the insertion needle should be 45° or less. Steep angles increase the insertion
force of the stylet and also present more of an opportunity for the stylet to pierce the lead and cause
tissue damage.
3. Remove the needle stylet from the insertion needle and verify entry into the epidural space using the
standard technique.
4. OPTIONAL. Under uoroscopic guidance, insert the lead blank through the insertion needle and into the
epidural space. Advance the lead blank to verify entry into the epidural space, then withdraw the blank.
5. While holding the lead stylet handle, place the steering cap over the proximal end of the stylet handle
with moderate force until it is held in place. Then slowly insert the lead, with stylet, through the insertion
needle. The lead stylet should extend to the tip of the lead.
6. OPTIONAL. If exchange of the lead stylet is desired, carefully pull out the existing stylet and insert the
preferred stylet. While inserting the stylet into the lead, if resistance is encountered, withdraw the stylet
approximately 3 cm, rotate the lead and/or stylet, and gently advance the stylet. If resistance is still
encountered, repeat the above procedure until the stylet can be fully inserted.
WARNING: Do not exchange the lead stylet while the electrode array of the lead is in the bevel of the
insertion needle. If the electrode array is in the bevel area, remove the lead from the insertion needle
before exchanging the stylet. Inserting the lead stylet in the lead while the electrode array is in the bevel
of the insertion needle increases the risk of lead and tissue damage.