10 / 30
4. Operation guide
4.1. Begin Programming
4.1.1. Record enable
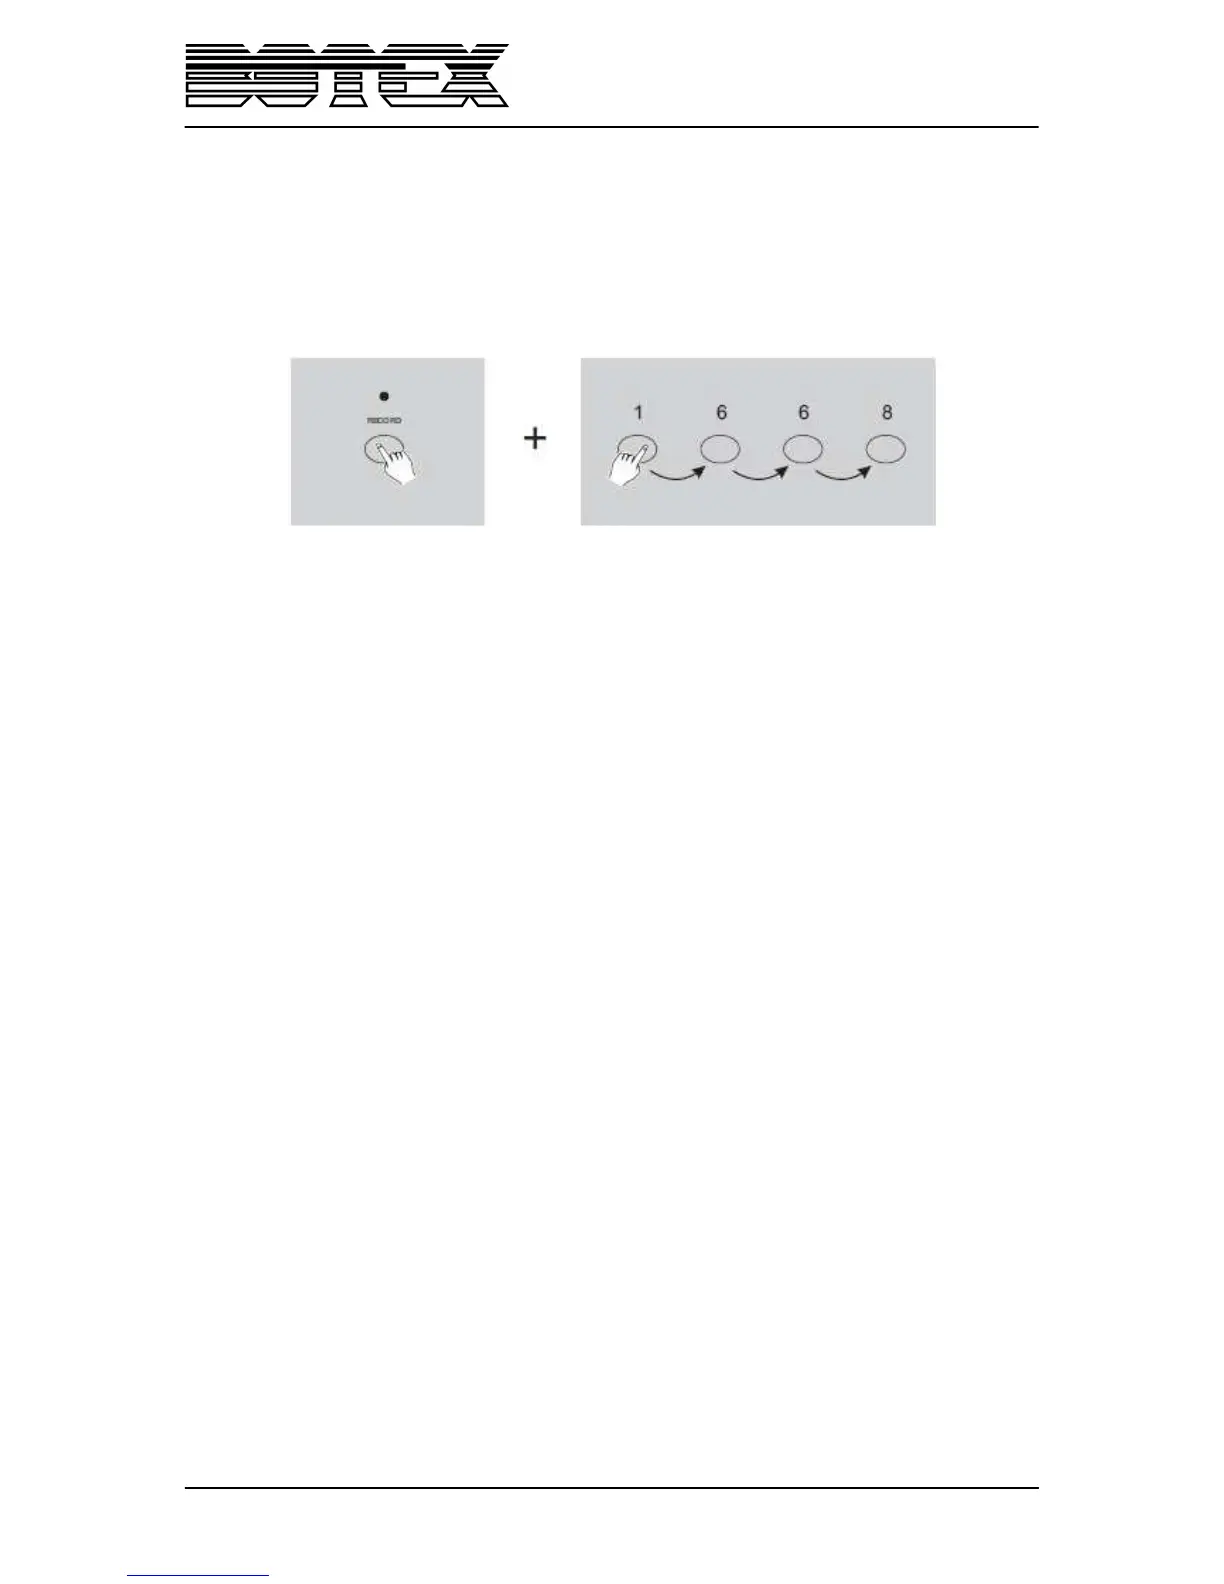
1. Press and hold „Record” button.
2. While holding down the „Record” button, tap the „Flash” buttons 1, 6, 6 and 8 in sequence.
3. Release the „Record” button, the „Record” LED lights up, now you can begin programming your
chase patterns.
Note: The first time you turn on your unit, the default setting of the „Record Code“is „Flash“buttons 1,
6, 6 and 8. You may change the „Record Code” to protect your programs. .
4.1.2. Security for your programs
To protect your programs from any editing by others, you may change the record code.
1. Enter current code (“Flash” buttons 1, 6, 6 und 8).
2. Press and hold down the „Record” and „Edit” buttons at a time.
3. While holding the „Record“ and „Edit“ buttons, tap the desired “Flash” button to enter a new “Record
code”.
The “Record Code” consists of 4 “Flash” buttons (the same buttons or different buttons), be sure your
new “Record Code” consists of 4 “Flash” buttons.
4. Enter your new „Record Code“ a second time, all channel LEDs and scene LEDs will flash three
times, now the „Record Code“ is changed.
5. Exit „Record” mode. Tap „REC Exit” button while pressing and holding down the “Record” button.
Release the two buttons at a time; the “Record” mode is disengaged.
Important!!
Always remember to exit „Record“mode when you won’t continue your programming,
otherwise you may lose control of your unit.
Note: The second time you enter your new „Record code“ different from that of the first time, the LEDs
will not flash, which means you’ve failed to change the „Record code“.
When you’ve entered a new „Record Code“ the first time, and now you want to cancel the new
“Record Code”, you may press and hold down the “Record” and “Exit” buttons at a time to exit.