LIST OF FIGURES
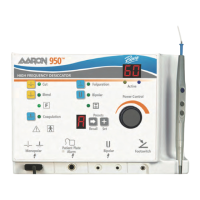
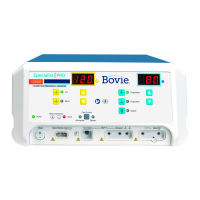
Figure 2 – 1 Layout of controls, indicators, and receptacles on the front panel ................................................2-2
Figure 2 – 2 Controls for the cut, blend, and coag modes.................................................................................2-4
Figure 2 – 3 Controls for the fulguration and bipolar modes and presets .........................................................2-5
Figure 2 – 4 Indicators and receptacles.............................................................................................................2-6
Figure 2 – 5 Layout of controls and indicators on the rear and side panels.......................................................2-7
Figure 3 – 1 Mounting kit .................................................................................................................................3-2
Figure 4 – 1 Setup procedures ..........................................................................................................................4-8
Figure A – 1 Output power versus impedance for cut mode.............................................................................A-9
Figure A – 2 Peak voltage versus power setting for cut mode..........................................................................A-9
Figure A – 3 Output power versus impedance for blend mode.......................................................................A-10
Figure A – 4 Peak voltage versus power setting for blend mode....................................................................A-10
Figure A – 5 Output power versus impedance for coagulation mode .............................................................A-11
Figure A – 6 Peak voltage versus power setting for coagulation mode ..........................................................A-11
Figure A – 7 Output power versus impedance for fulguration mode..............................................................A-12
Figure A – 8 Peak voltage versus power setting for fulguration mode ..........................................................A-12
Figure A – 9 Output power versus impedance for bipolar mode.....................................................................A-13
Figure A – 10 Peak voltage versus power setting for bipolar mode................................................................A-13
vi Bovie Medical Corporation