BPW-EA-AS 37772001de Page 15
English
Assembly 4
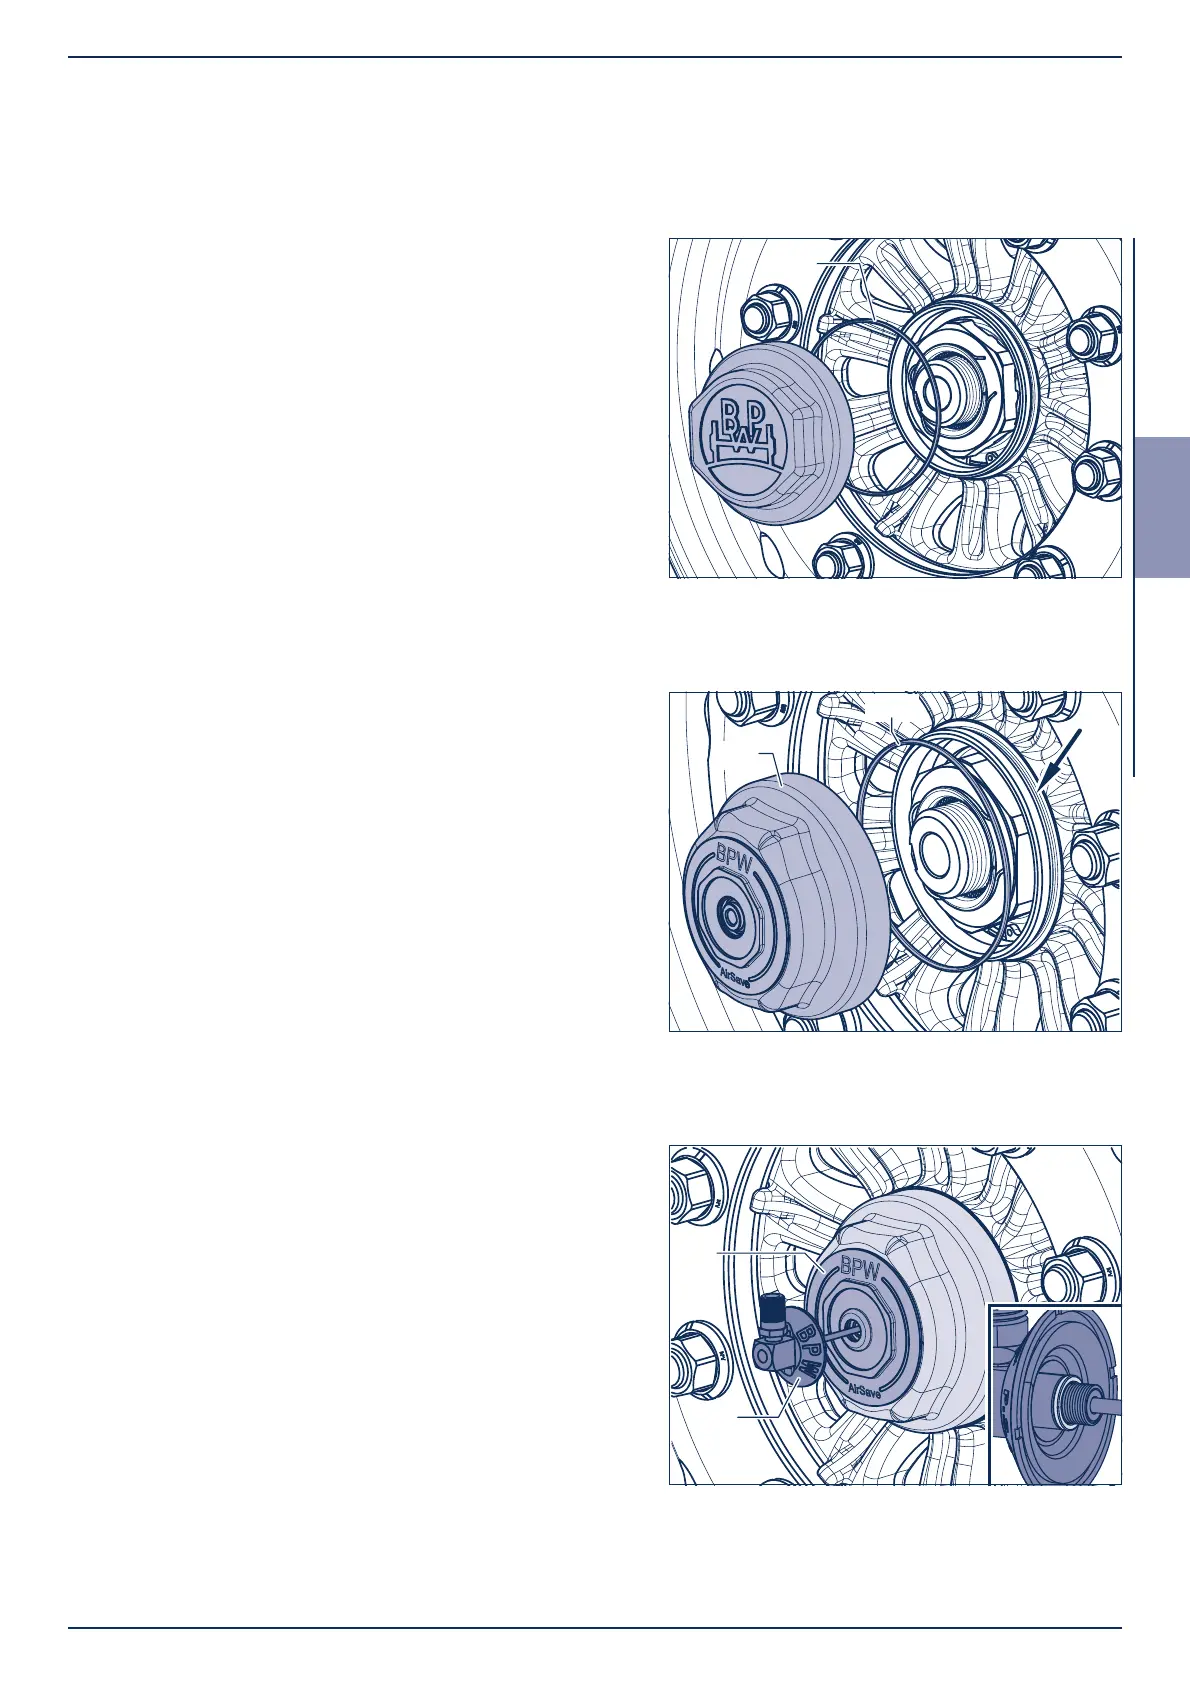
Assembling the hub cap and rotor 4.1
[7] Check soft sealing ring of the rotor (811 or 811a,
depending on tyre) for correct seat at the end of
the thread, push up to the bumper if necessary
(Fig. 3, Section).
[8] Guide the rotor into the adapter (817) of the hub
cap and the stator (821) in the axle stub and push
until contact is made.
There will be a slight resistance.
[9] Screw the rotor into the adapter and hand-tighten
(approx. 5 Nm).
[4] Insert a new O-ring (459) into the groove of the
wheel hub (arrow). (The O-ring is not required for
axles with ECO Plus Unit).
[5] Cover the pre-assembled hub cap for BPW
AirSave (814) in the area of the O-ring contact
surface (for ECO Plus 3 only) and the thread
with a thin coat of BPW special longlife grease
ECO Li
Plus
.
[6] Screw the hub cap onto the wheel hub and tighten
to the prescribed tightening torque.
Tightening torques:
ECO Plus 3 hub cap SW 110 350 Nm
ECO Plus hub cap SW 110 800 Nm
4.1 Assembling the hub cap and rotor
During disassembly / assembly, the wheel can
remain assembled on the wheel hub.
[1] Prevent the vehicle from rolling away.
[2] Unscrew the hub cap (SW 110) from the wheel
hub.
[3] Remove the O-ring (459) from the wheel hub
groove. (The O-ring is not required for axles with
ECO Plus Unit).
Figure 1
Figure 2
Figure 3