5.3.2 Creating a P1 program
▪ Press returnkey "2" as many times as necessary
to get to the main screen,
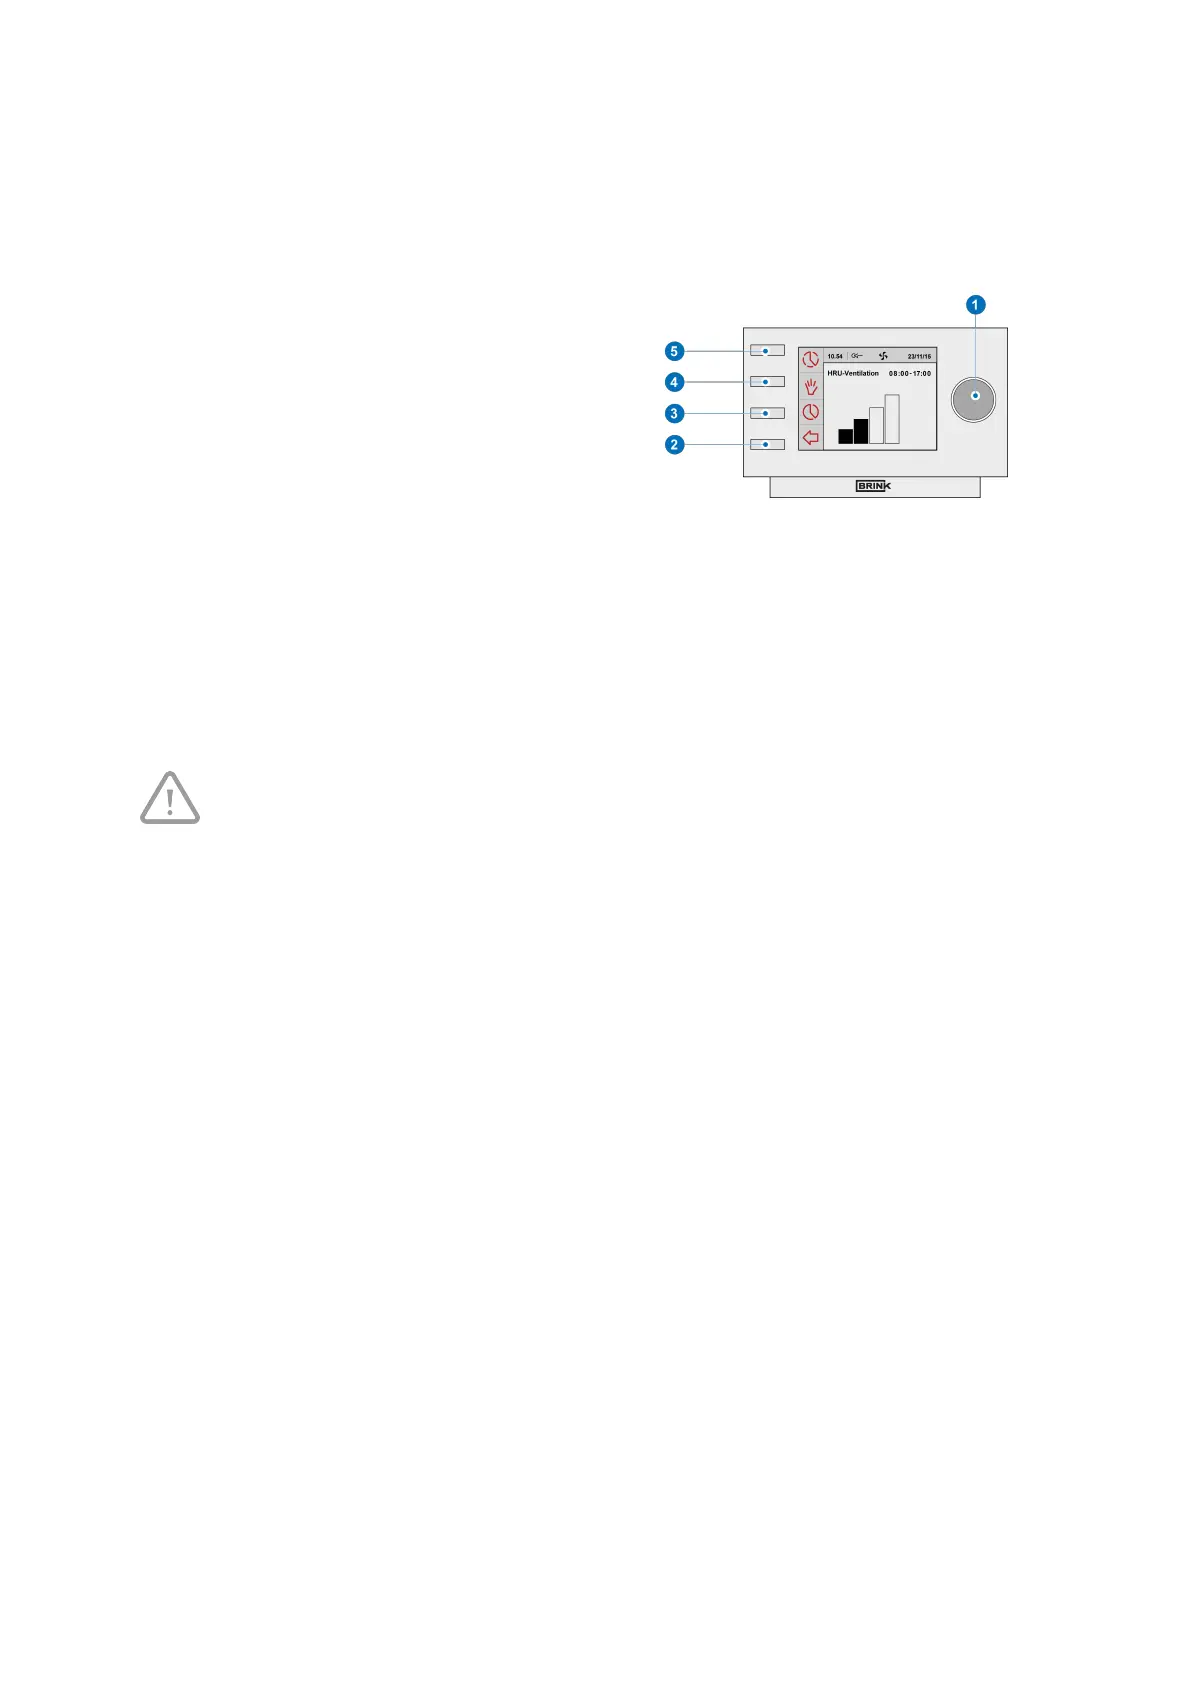
▪ Press setting & activating time program knob "3";
‘Setting & activating timer programme’ opens,
▪ Select ‘P1: week’ by turning setting knob "1",
▪ Press setting knob "1"; ‘P1: week’ opens.
You have a choice from ‘Period 1’, ‘Period 2’, ‘Period 3’, ‘Period 4’, ‘Period 5’ and ‘Period 6’. Every period is a part
of the day in which you can set a ventilation position. Perform the following actions to set period 1:
▪ Select ‘P1’ by turning setting knob "1",
▪ Press setting knob "1";‘Period 1’ opens,
▪ Select ‘Start Time’ by turning setting knob "1",
▪ Press setting knob "1"; ‘Start Time’ opens,
▪
Change the start time by turning setting knob "1",
▪
You have a range of between 3.00u and 2.59u.
If in a period the time is turned back so far that lines appear, that period and the one above it
will be deleted.
▪
Press setting knob "1" to confirm the start time
Now set the ventilation mode for period 1. Perform the following actions for this:
▪
Select ‘Ventilatiestand’ by turning "1",
▪
Press "1" , ‘Ventilatiestand’ opens,
▪
Set the ventilation mode for period 1 by turning "1",
▪
Press "1" to confirm the ventilation mode for period 1.
You have set the ventilation mode for period 1. You can set period 2 through 6 in the same manner. A period ends
when a new one starts.
Brink Air Control- Ventilation 614884-B Brink / 17