Installing the Driver & Software
14
STEP 2
Windows
®
USB
Windows
®
1
1
For USB Interface Cable Users (For Windows
®
2000
Professional/XP/ XP Professional x64 Edition/Windows Vista™)
Important
Make sure that you have finished the
instructions from step 1 Setting Up the
Machine on pages 4 through 11.
Note
• Please close any applications running before
installing the MFL-Pro Suite.
• The supplied CD-ROM includes the ScanSoft™
PaperPort™ 11SE. This software supports
Windows
®
2000 (SP4 or greater), XP (SP2 or
greater), XP Professional x64 Edition and
Windows Vista™ only. Please update to the latest
Windows
®
Service Pack before installing
MFL-Pro Suite.
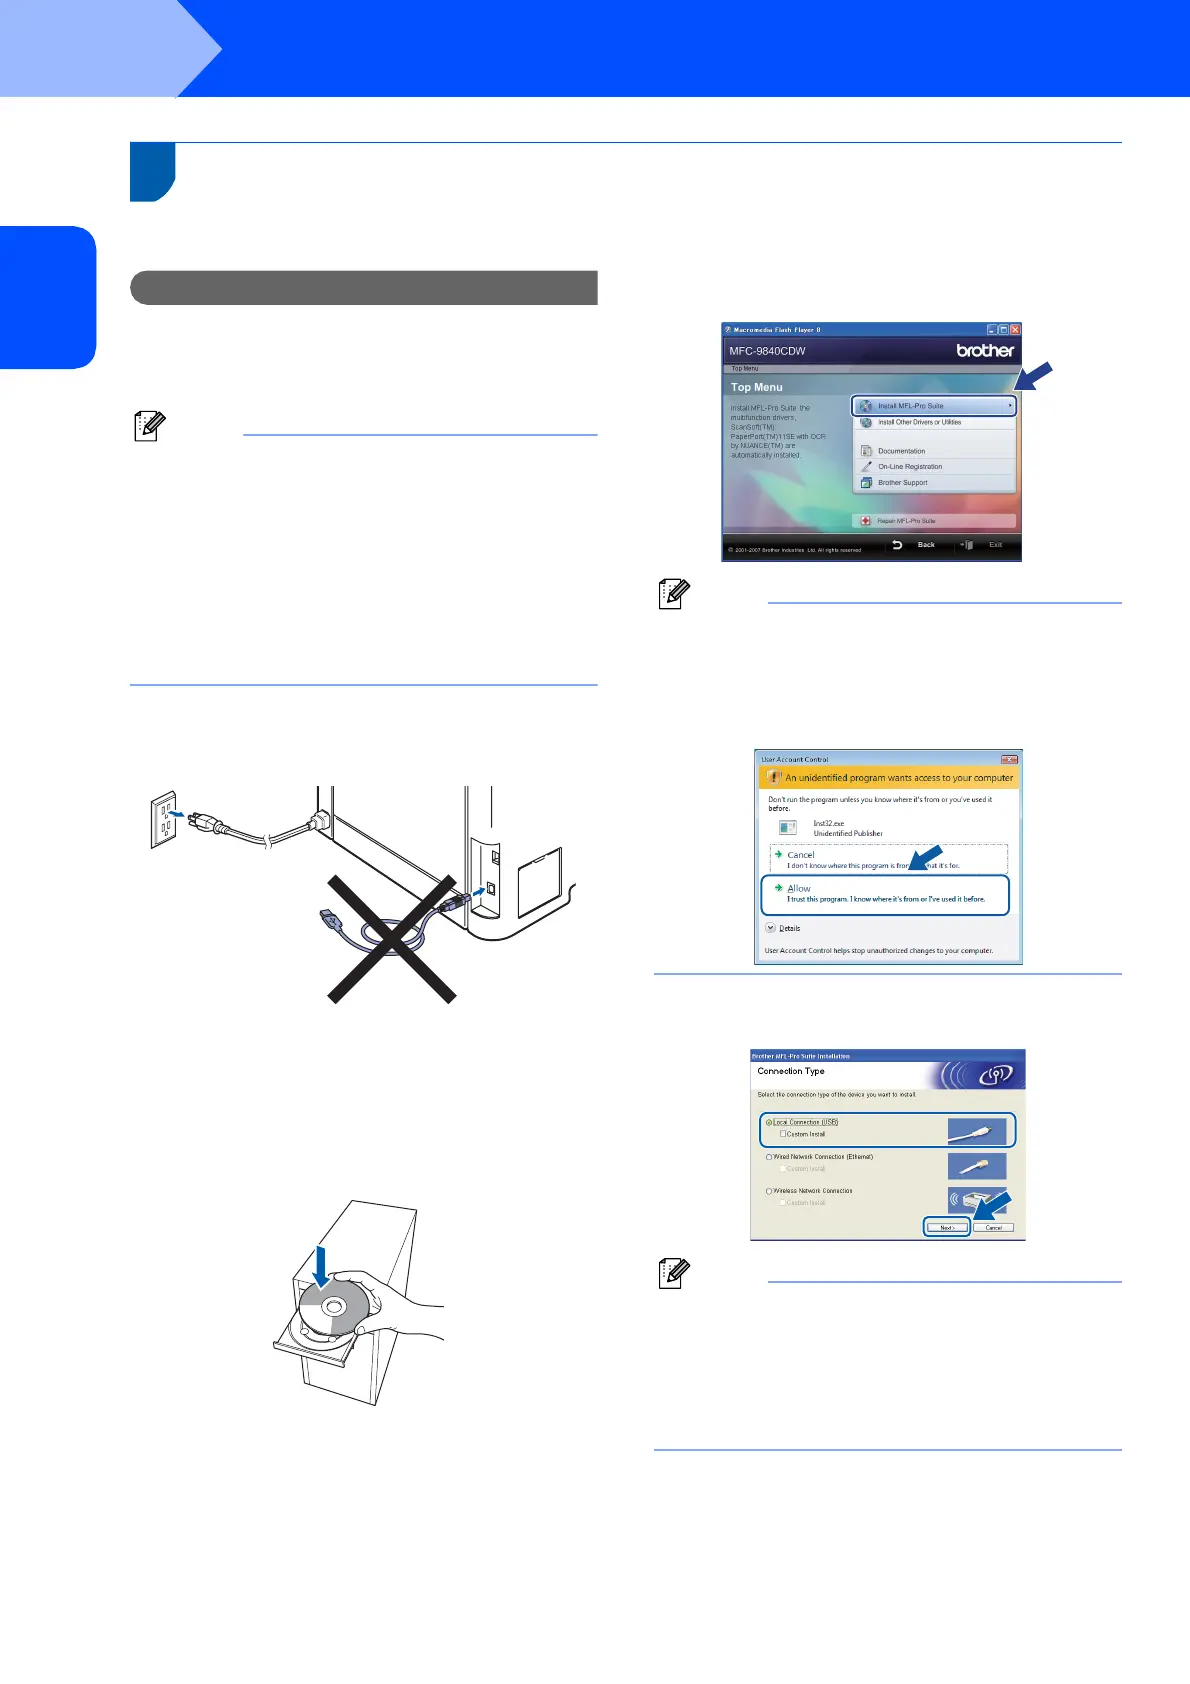
1 Turn off and unplug the machine from the AC
outlet and disconnect it from your computer, if
you already connected an interface cable.
2 Turn on your computer. (You must be logged
on with administrator rights.)
3 Put the supplied CD-ROM for Windows
®
into
your CD-ROM drive. If the model name screen
appears, choose your machine. If the language
screen appears, choose your language.
4 The CD-ROM main menu will appear.Click
Install MFL-Pro Suite.
Note
• If this window does not appear, use Windows
®
Explorer to run the start.exe program from the
root folder of the Brother CD-ROM.
• For Windows Vista™, when the User Account
Control screen appears, click Allow.
5 Choose Local Connection (USB), and then
click Next. The installation will continue.
Note
If you want to install the PS driver (Brother’s
BR-Script Driver), choose Custom Install and
then follow the on-screen instructions. When the
Select Features screen appears, check
PS Printer Driver, and then continue following the
on-screen instructions.

 Loading...