122
Layout & Editing Inputting Images and Embroidery Patterns
8. Click Finish.
→ An embroidery pattern is created and dis-
played in the Design Page.
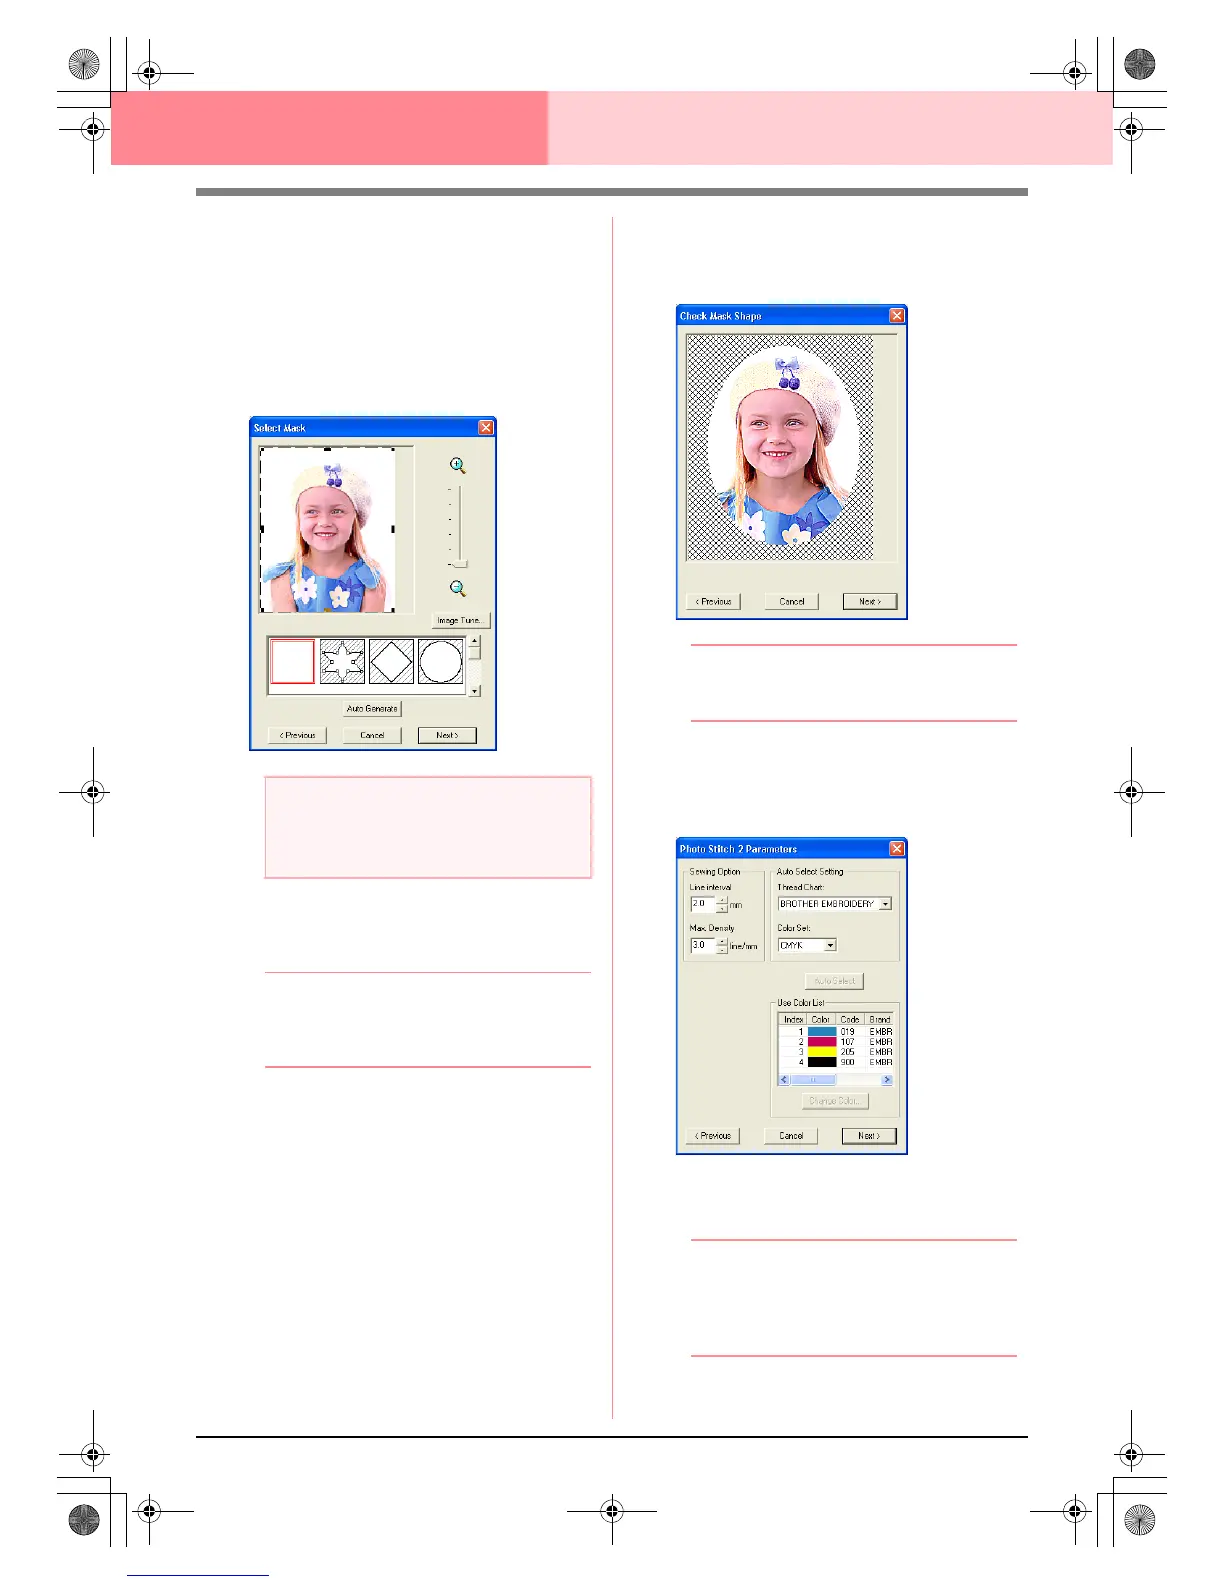
■ If Photo Stitch 2 (Color) is
selected
→ A Select Mask dialog box similar to the
one shown below appears.
1. From the list at the bottom of the dialog box,
select the desired shape that the image will be
trimmed to (mask).
b Memo:
To automatically set a mask so that the
background is trimmed off, click
Auto
Generate
.
2. In the image preview box, move the handles of
the mask until it surrounds the desired part of
the image
c
For details on the settings, refer to
page 117.
3. In the Select Mask dialog box, click Next.
→ The image is analyzed, and the Check
Mask Shape dialog box appears.
b Memo:
Areas not set to be sewn are shown filled
with a crosshatch pattern.
4. Click Next.
→ The Photo Stitch 2 Parameters dialog
box appears.
5. Specify the settings for creating the
embroidery pattern.
b Memo:
• To return to the previous dialog box, click
Previous
.
• To quit the operation and close the dialog
box, click
Cancel
.
a Note:
If the width or height of the image exceeds
500 mm, the Photo Stitch functions cannot
be used.
PeDesignV6Eng.book Page 122 Thursday, July 8, 2004 11:59 AM
 Loading...


