Quick Reference Guide QRG
Quick Reference Guide EDV no.: MD.337.01.04
ekrPro Com60 with CLS Pro 600 Issue Date: 30.06.2011 Seite: 16/22
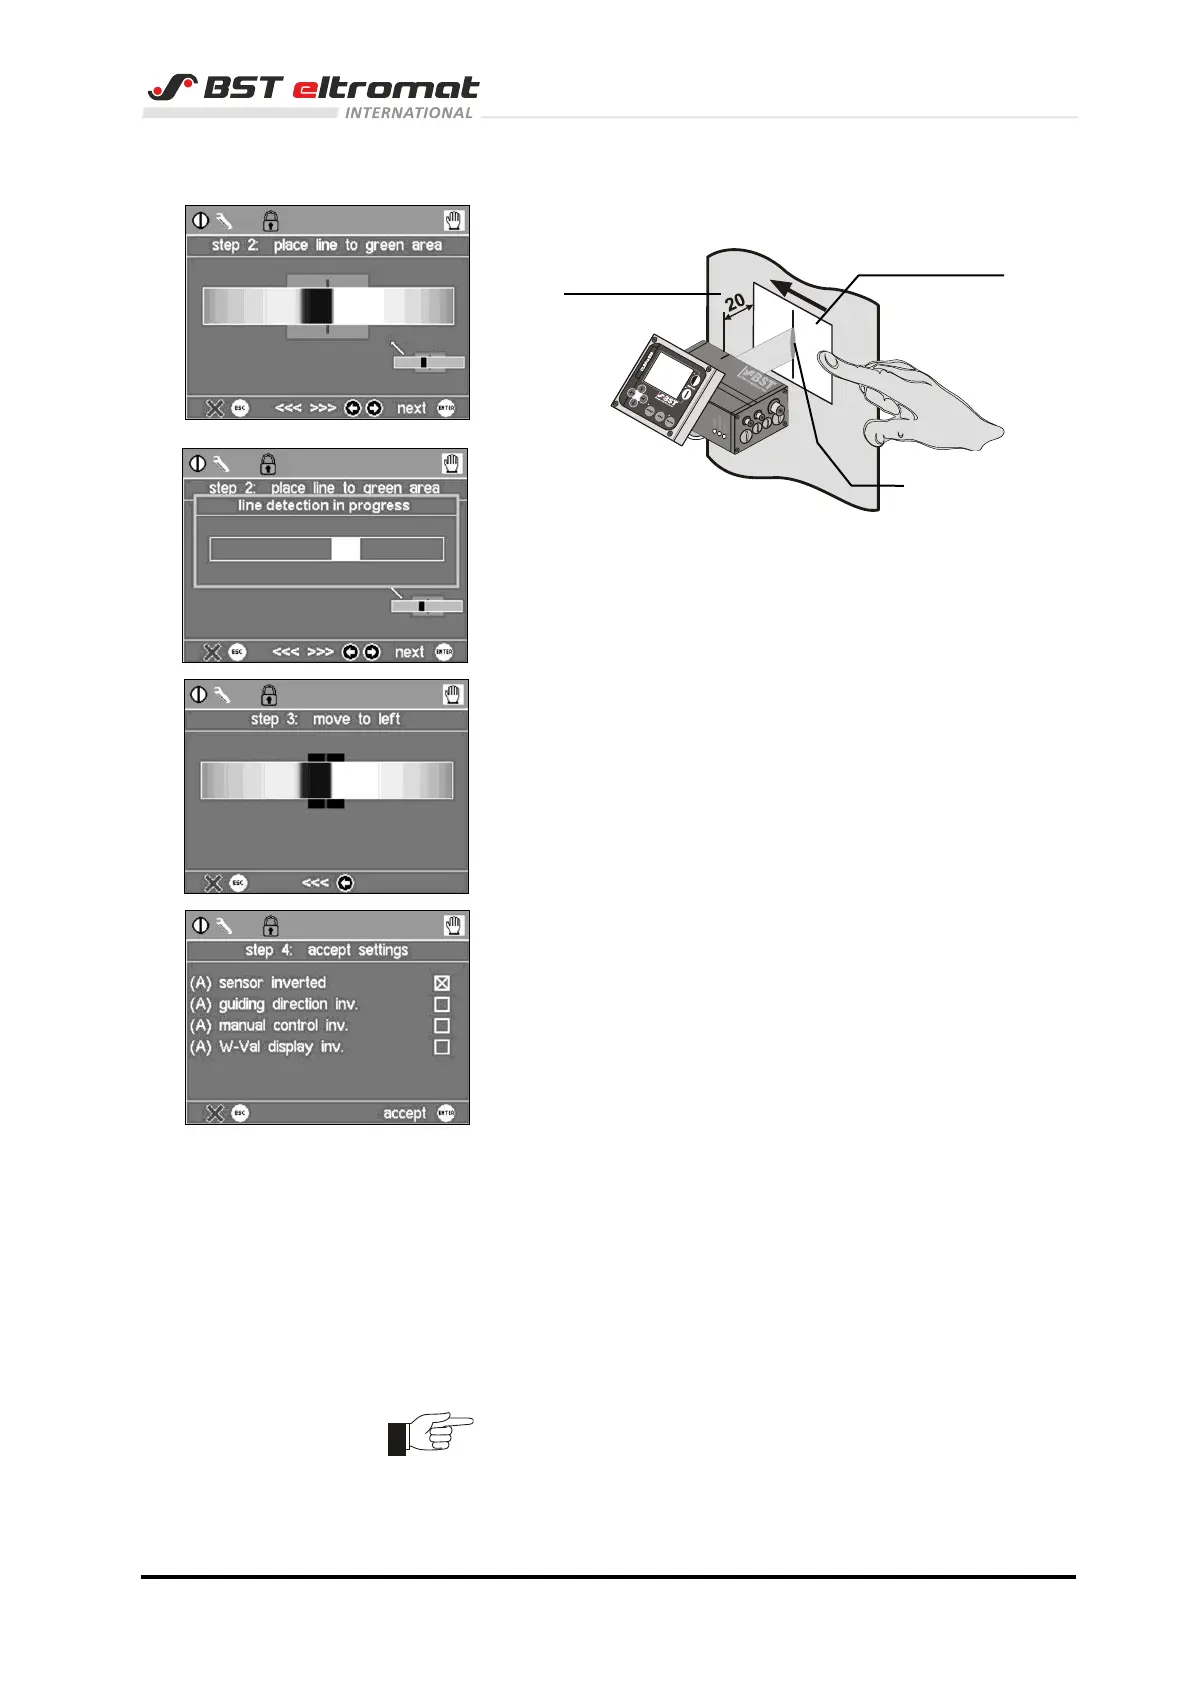
3b) The window for the second step is now open.
Position the teach-in model line in the green field and
then press ENTER to confirm the process:
The line identification process will now be run.
3c) Move the line some millimetres to the left by hand in
step 3 afterwards.
Now press the arrow key left once.
The system will now calculate all of
the parameters automatically.
3d) Press key ENTER. Set-up is now complete.
The settings are displayed summarised again in the
window Step 4.
If necessary, you can make changes to the parameters
displayed here.
However, we recommend that you do not change the
factory default settings.
4. Press key Menu to leave the set-up menu.
5. Switch off the sensor now (pull the connector X101) and
switch it on shortly after. The sensor is reset to the password
level Operator now.
6. This completes the commissioning of the sensor connected
to the ekrPro Com
60
controller.
Now you can carry out the material set-up.
The last activated mounting position is loaded with every further
system restart.