14
Installation
2. Install sealing rings
Form seal
Pilot air ports
Caution:
Collets must not be
tted!
Installationof
theformseal
Fig. 8: Installing of the sealing rings, 21xx series
→ Pulltheformsealontotheactuatorcover
(smaller diameter points upwards).
→ CheckthattheO-ringsarecorrectlypositionedinthepilotair
ports.
WhenthePneumaticControlUnitisbeinginstalled,the
colletsofthepilotairportsmustnotbettedtotheactuator.
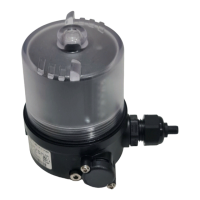
3. InstallationofthePneumaticControlUnit
Supports
Pilot air
ports
Fastening
screws
max.0,5Nm
Fig. 9: Installation of the Pneumatic Control Unit, 21xx series
→ AlignthePneumaticControlUnituntilthesupportsofthePneu-
maticControlUnitcanbeinsertedintothepilotairportsofthe
actuator (see also “Fig.9”).
→ PushthePneumaticControlUnit,withoutturningit,ontothe
actuatoruntilnogapisvisibleontheformseal.
NOTE!
Too high torque when screwing in the fastening screw does
not ensure degree of protection IP65 / IP67.
▶ Thefasteningscrewsmaybetightenedtoamaximumtorque
of0.5Nmonly.
→ Attach the Pneumatic Control Unit to the actuator using the
twosidefasteningscrews.Indoingso,tightenthescrewsonly
hand-tight(maximumtorque:0.5Nm).