6.1 Quick Start
Important: Never power on an FM transmitter without a suitable antenna or dummy load
connected. The V3 series transmitter’s protection circuitry will prevent any internal
damage, but it is not advisable to run an FM transmitter without a load connected.
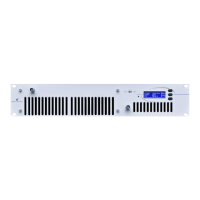
The transmitter should be installed in a properly grounded rack or enclosure, the front
and rear ventilation slots should not be blocked in any way. Please note that the airflow
is front to back.
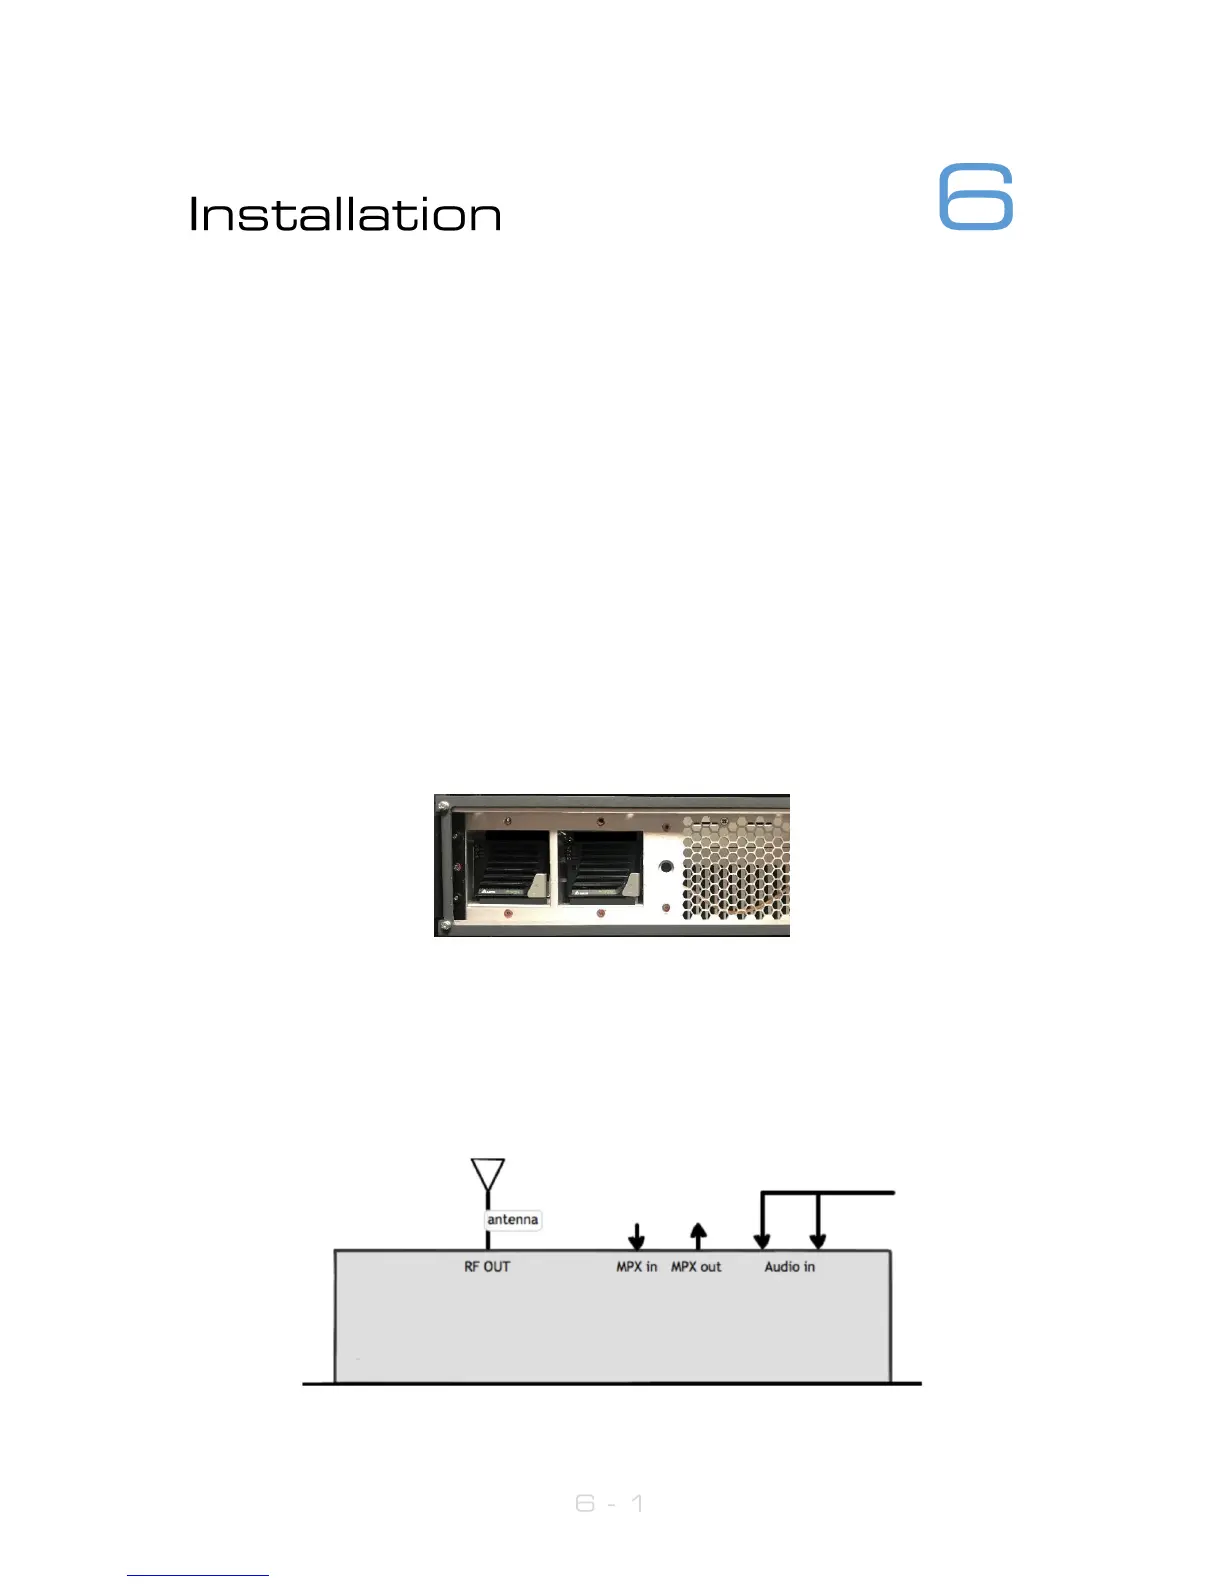
Note that the transmitter is shipped with the removable power supply modules not fitted.
Prior to use, these should be installed, as follows:
1. Unscrew the locking nut securing the removable ventilation grille.
2. Carefully slide the power supplies into the slots on the left.
3. IMPORTANT: Be sure to insert the correct way up – the locking tab at the bottom
with its arrow pointing up, as shown below.
4. Ensure that the power supply slides all the way in, and that the locking tab
engages.
5. Replace the grille, hand-tighten the locking nut.
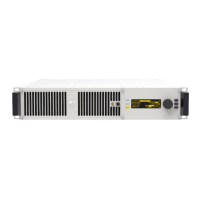
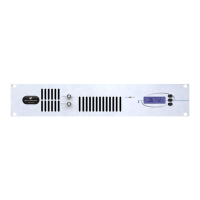
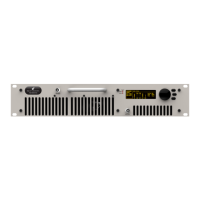
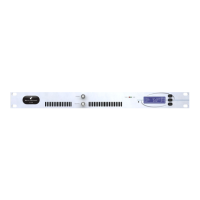
Setting up a V3 series transmitter couldn’t be any easier. First connect either analogue
audio to the left and right back panel connectors (12), digital audio AES/EBU into the
RJ45 connector (if necessary use the supplied adaptor) (13) or feed the MPX input (14)
from an audio processor. Connect the RF output (7) to a 50ohm antenna of the correct
power handling capability. Connect the required remote control / monitoring ports
(Ethernet, RS232, Alarms/Triggers Port).