20 20
4 Loading Material
Attention!
Guide transfer ribbon over the label sensor (7).
7. Secure starting end of the transfer ribbon to the ribbon core (3) using
adhesive tape. Ensure counterclockwise rotation direction of the transfer
ribbon take-up hub.
8. Turn transfer ribbon take-up hub (2) counterclockwise to smooth out the
feed path of the transfer ribbon.
9. Press printhead down and turn lever (6) clockwise to lock printhead.
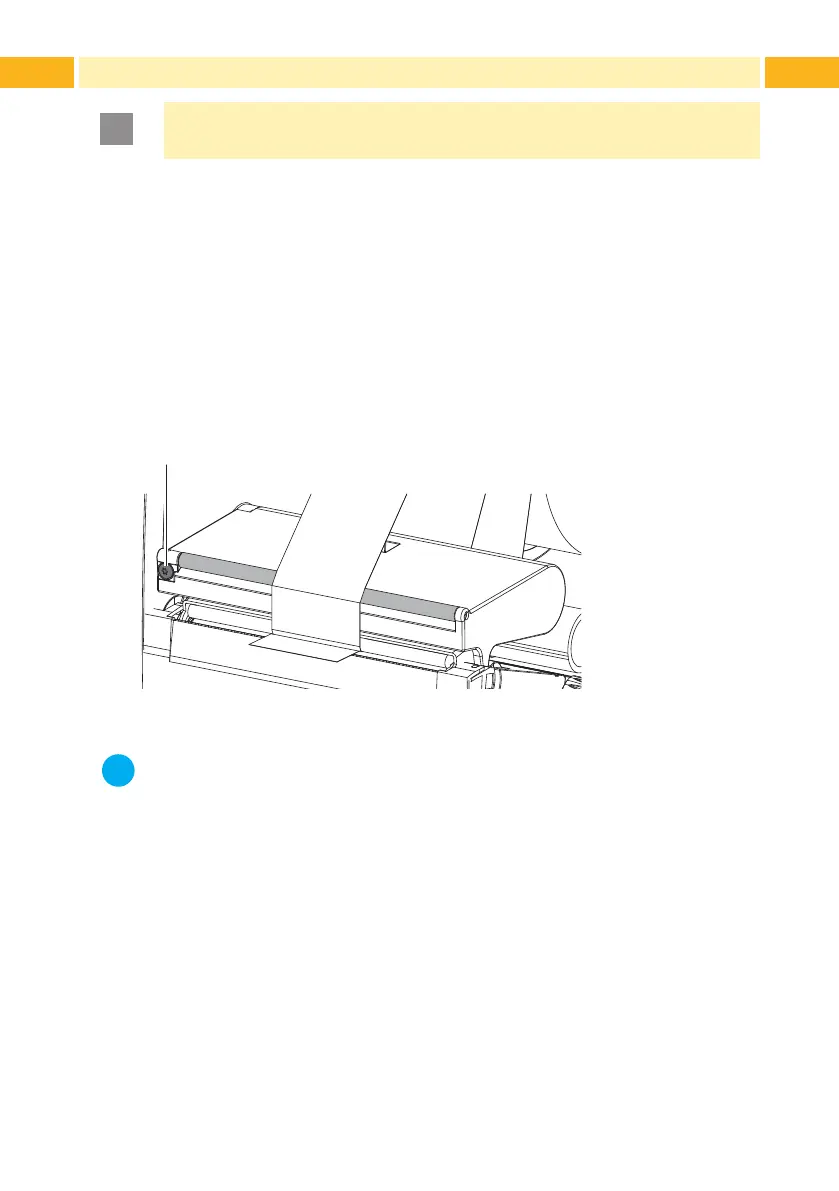
4.4 Setting the Feed Path of the Transfer Ribbon
Transfer ribbon wrinkling can lead to print image errors. Transfer ribbon
deection can be adjusted so as to prevent wrinkles.
Fig. 14 Setting the Feed Path of the Transfer Ribbon
i
Notice!
The adjustment is best carried out during printing.
Turn screw (1) with torx wrench TX10 and observe the behavior of the
ribbon.
• By turning it clockwise the outer edge of the transfer ribbon is
tightened.
• By turning it counterclockwise the inner edge of the transfer ribbon is
tightened.