Inside the 1902
53
Open the case, as detailed on page 47. Remember to observe
precautions against electrostatic discharge; earth yourself to the
1902 by a wrist strap, and earth the 1902 to mains earth.
Preferably you should work at a bench topped with conductive
plastic.
The filter module is located just behind the output connector.
1902s fitted with digital filters do not have this module
installed. The front-end module is a little way behind the
isolated input connector. Using a strong plastic pry tool, gently
lever the circuit board upwards. It may help to use a pair of
pliers to pinch the split tops of the nylon stand-offs to spring the
board off the stand-offs. Ease the board vertically off its
connector pins. It is important that these pins are not bent.
Install the replacement board in place of the original. Take care
to align the bottom-entry connector sockets correctly with the
connector pins on the motherboard. Be patient! Push the board
down until it locates firmly on the shoulders of the nylon stand-
offs. If any of the stand-offs have come away with the old
board, push them out and re-fit them in the motherboard. The
larger-diameter end fits into the motherboard.
Reassembly is the reverse of disassembly. Take care to replace
the star washers correctly; they form part of the IEC601-1-1
approval. The screws holding the inner case lid have star
washers between the screw heads and the lid (these are specials
that cannot be separated); the earth bonding strap has a star
washer between the ring tag and the case (not under the screw
head); the rear panel has star washers under the screw heads.
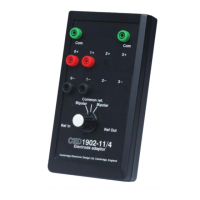
Exchanging 1902
daughterboards
Taking out the old
daughterboard
Installing the new
daughterboard