2 06/2013 © CAME cancelli automatici s.p.a. - The data and information reported in this installation manual are susceptible to change at any time and without obligation on CAME cancelli automatici s.p.a. to notify users.
ENGLISH
Before installing do the following:
• Check that the panel’s anchoring point is protected from possible blows, and that the anchoring surface is solid. Also check that the
anchoring is done using the appropriate bolts, screws etc.;
• Make sure you have a suitable omnipolar cut-off device with contacts more than 3 mm apart, and independent (sectioned off) power
supply;
• Make sure that any connections inside the case (that provide continuance to the protective circuit) are fitted with extra insulation
as compared to the other conductive parts inside;
• Make sure you have suitable tubing and conduits for the electrical cables to pass through and be protected against mechanical
damage.
Make sure you have all the tools and materials you will need for the installation at hand to work in total safety and compliance with the
current standards and regulations. The following figure illustrates the minimum equipment needed by the installer.
Here are some examples.
5 Installation
5.1 Preliminary checks
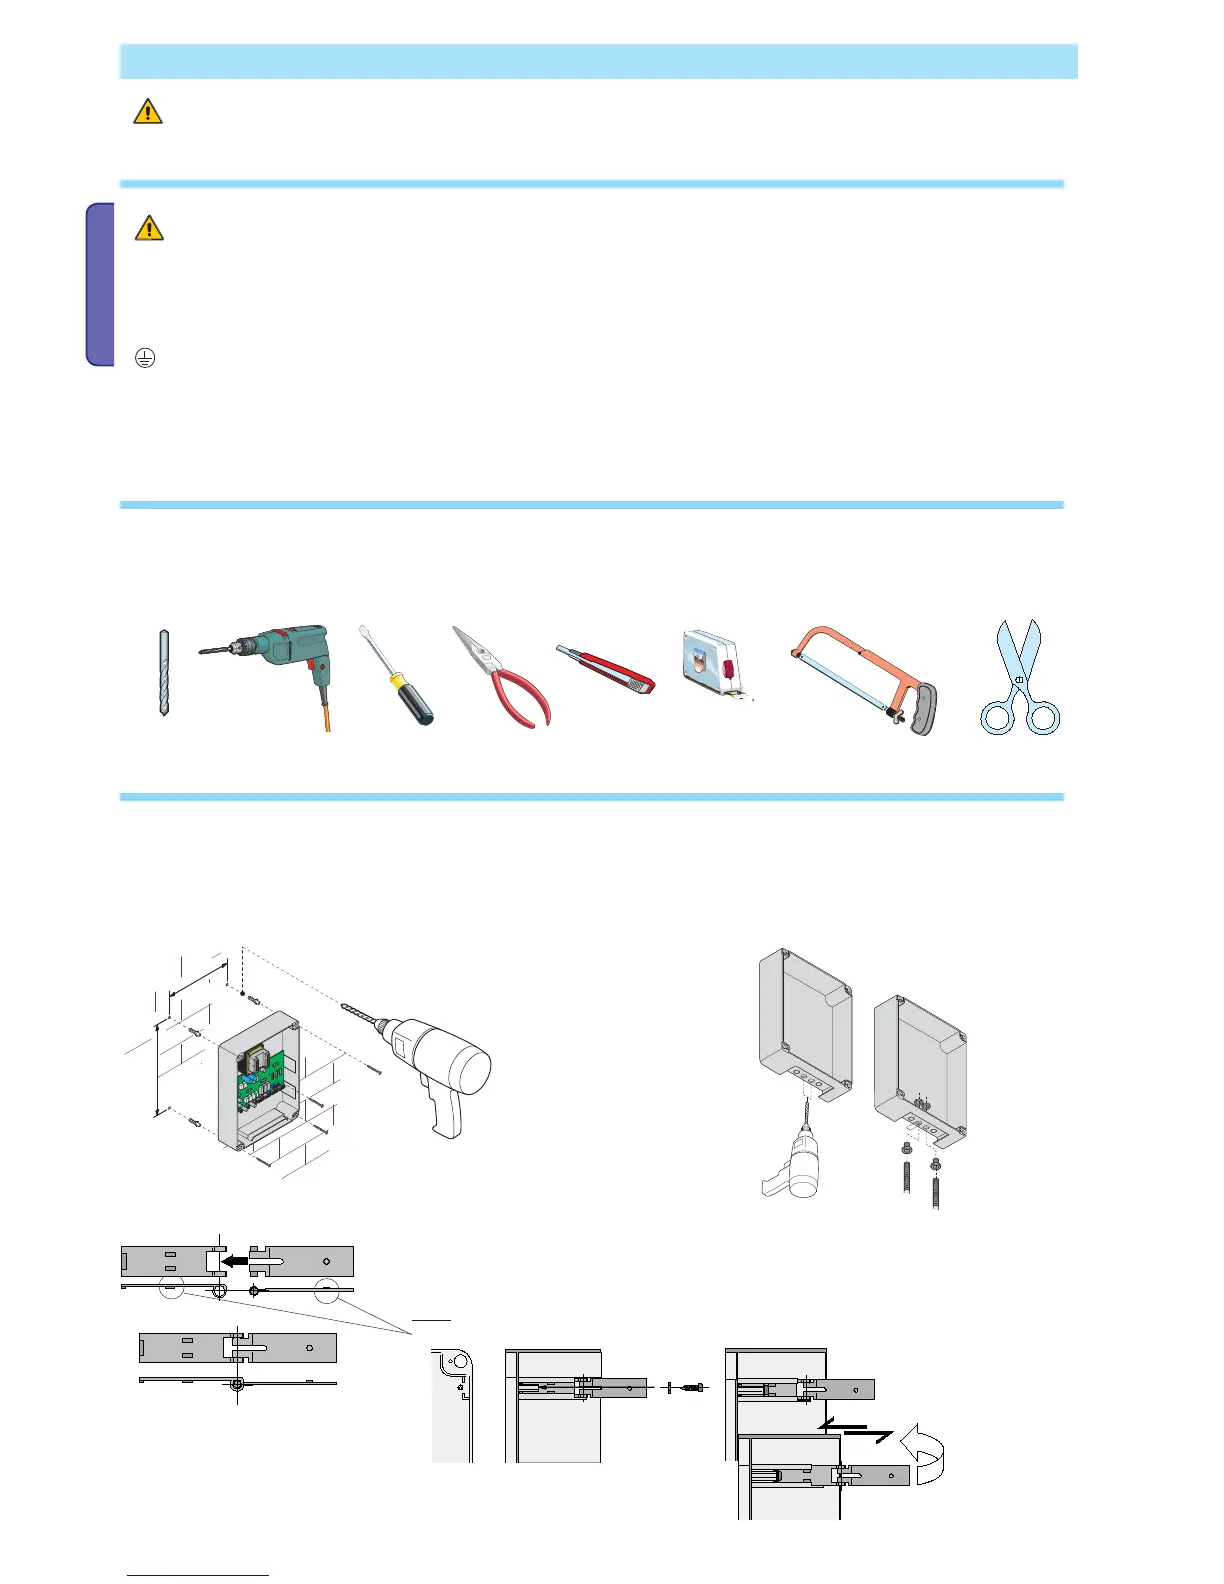
5.2 Tools and materials
Installation must be carried out by expert qualified personnel and in full observance of regulations in force.
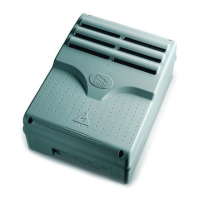
1) Fix the base of the panel in a protected area; we suggest
using cross slot phillips head bolts of max.
6 mm in diameter.
5.3 Fixing and mounting the box
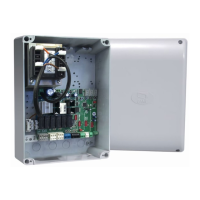
2) Perforate the pre-punched holes and insert the cable
glands with the corrugated tubing for the electrical
cables to travel through.
N.B.: diameter of the pre-punched holes: 20 mm.
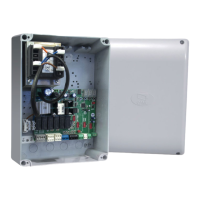
3) Assemble the pressure hinges.
4) Insert the pressure hinges into the box (on the left or right as you
wish) and set them using the provided screws and washers.
They must slide in order to tum

 Loading...