Adjusting the Printhead Alignment A u
tomatically
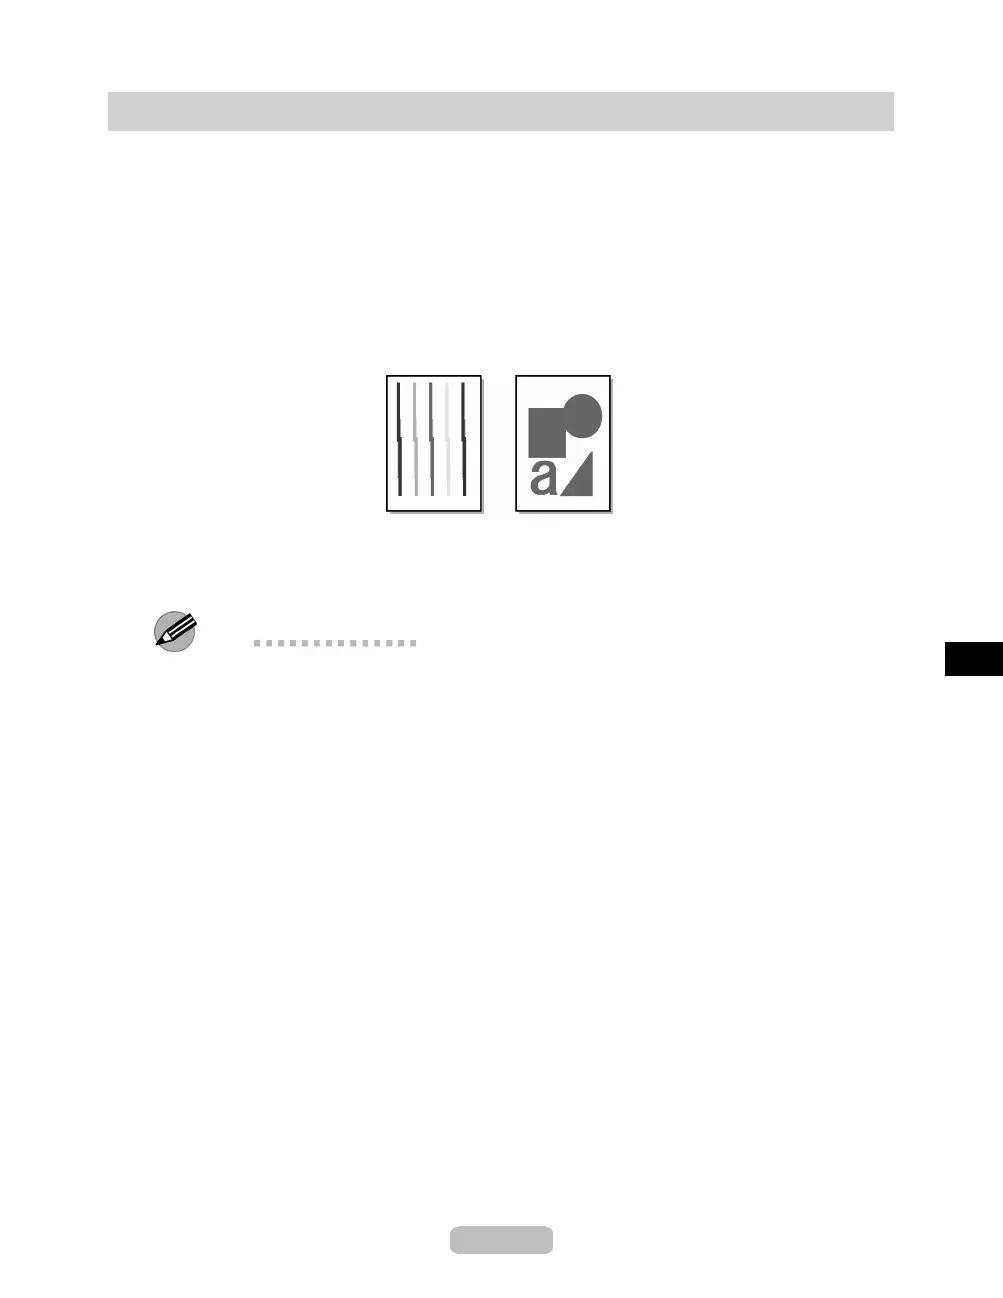
If printed vertical lines are warped or colors are out of alignment, a dju st the Printhead
alignment. Adjust the Printhead alignment automatically or manually by printing and
reading a test pattern.
There are two m odes for autom atic adjustment: Standard Adj. and Advanced
Adj.Standard Adj. will fix most slight image distortion or color misalignment, but if
not, try Advanced Adj.
If using special media or printing does not improve even after performing automatic
adjustment using advanced adjustment, try manual adjustment.
Follow these steps for standard automatic adjustment of the Printhead.
1
Prepare one unused sheet A4/Letter-sized or larger when Standard Adj. is selected
or five when Advanced Adj. is selected.
When using a roll, load a roll 10 inches (254 mm) or wider.
Note
•
Use Standard Adj. if you have switched to another type of p aper o r
if you w ant the
boundaries between colors to appear as attractive as possible.
•
Use Advanced A dj. to fine-tune the space between nozzles or colors if you have
switched the prin thead or if you want printed documents t o appear as vivid as
possible. We recommend using Advanced Adj. for printing at a higher l evel
of i mage quality.
•
Always m ake sure the loaded paper matches the media type setting on the printer.
Adjustment cannot be completed correctly unless the setting v alue matches the
loaded paper.
•
We recommend using the type of paper you use mo st often for adjustment.
•
This fun ction is not available for CA D Tracing Paper, CA D Translucent Matte
Film or CAD Clear Film. If adjustment is not possible as expected using highly
transparent film or similar med ia, try another t ype of med ia or adjust the Printhead
alignment m anually. Use another type of paper for adjustment.
45