5
After confirming that D Easy Settings is selected, click Photo (Color) in the E Print Target list.
Note
• You can check the settings values selected in the E Print Target list by clicking G View Settings.
6
Click the Page Setup tab to display the Page Setup
sheet.
7
In the A Page Size list, click the size of the original as specified in the application. In this case, click 10"x12".
8
Select and click a roll paper in the L Paper Source list.
9
Select the width of the loaded roll in the M Roll Paper Width list—in this case, 10-in. Roll (254.0mm).
10
Specify additional printing conditions.
For details on available printing conditions, see "Printer Driver Settings(Windows) →P.176 "
11
Confirm the print settings and print as desired.
Note
• For instructions on confirming print settings, see "Confirming Print Settings(Windows) →P.179 "
Printing Photos and Images (Mac OS X)
Printing Photos and Images (Mac OS X)
This topic describes how to print photos based on the following example.
•
Document: Photo image from a digital camera
•
Page size: 10×12 inches (254.0×304.8 mm)
•
Paper: Roll paper
•
Paper type: Premium Glossy Paper 200
•
Roll paper width: 10 inches (254.0 mm)
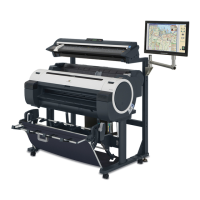
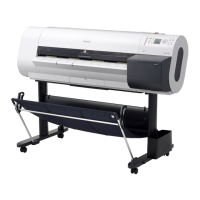
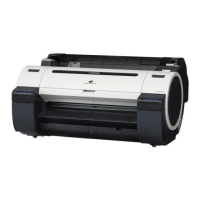
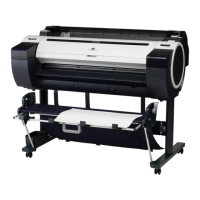
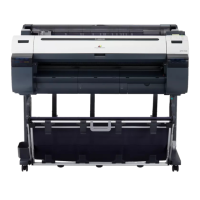
iPF760
Printing Photos and Images (Mac OS X)
User's Guide
Enhanced Printing Options Printing Photos and Office Documents
37
 Loading...
