3
contractor and/or customer. Carrier has no installation respon-
sibilities for the equipment.
Job Data — Necessary information consists of:
• job contract or specifications
• machine location prints
• rigging information
• piping prints and details
• field wiring drawings
• starter manufacturer’s installation details
• Carrier certified print
INSTALLATION
Step 1 — Receive the Machine
INSPECT SHIPMENT
1. Inspect for shipping damage while machine is still on ship-
ping conveyance. If machine appears to be damaged or
has been torn loose from its anchorage, have it examined
by transportation inspectors before removal. Forward
claim papers directly to transportation company. Manufac-
turer is not responsible for any damage incurred in transit.
2. Check all items against shipping list. Immediately notify
the nearest Carrier representative if any item is missing.
3. To prevent loss or damage, leave all parts in original pack-
ages until beginning installation. All openings are closed
with covers or plugs to prevent dirt and debris from enter-
ing machine components during shipping. A full operating
oil charge is placed in the oil sump before shipment.
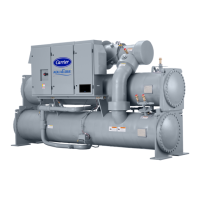
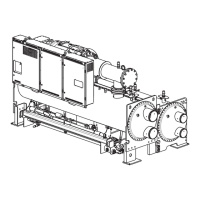
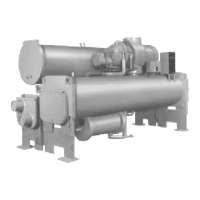
IDENTIFY MACHINE (Fig. 1-8) — Refer to machine name-
plate in Fig. 1. The machine model number, serial number, and
heat exchanger sizes are stamped on the Refrigeration Machine
nameplate located on the side of the VFD (variable frequency
drive) enclosure. Check this information against shipping pa-
pers and job data.
CAUTION
Do not open any valves or loosen any connections. The
23XRV machine may be shipped with a full refrigerant
charge. Some machines may be shipped with a nitrogen
holding charge as an option.
Fig. 1 — Refrigeration Machine Nameplate
a23-1547

 Loading...


