Chapter 8: Geometry Application 166
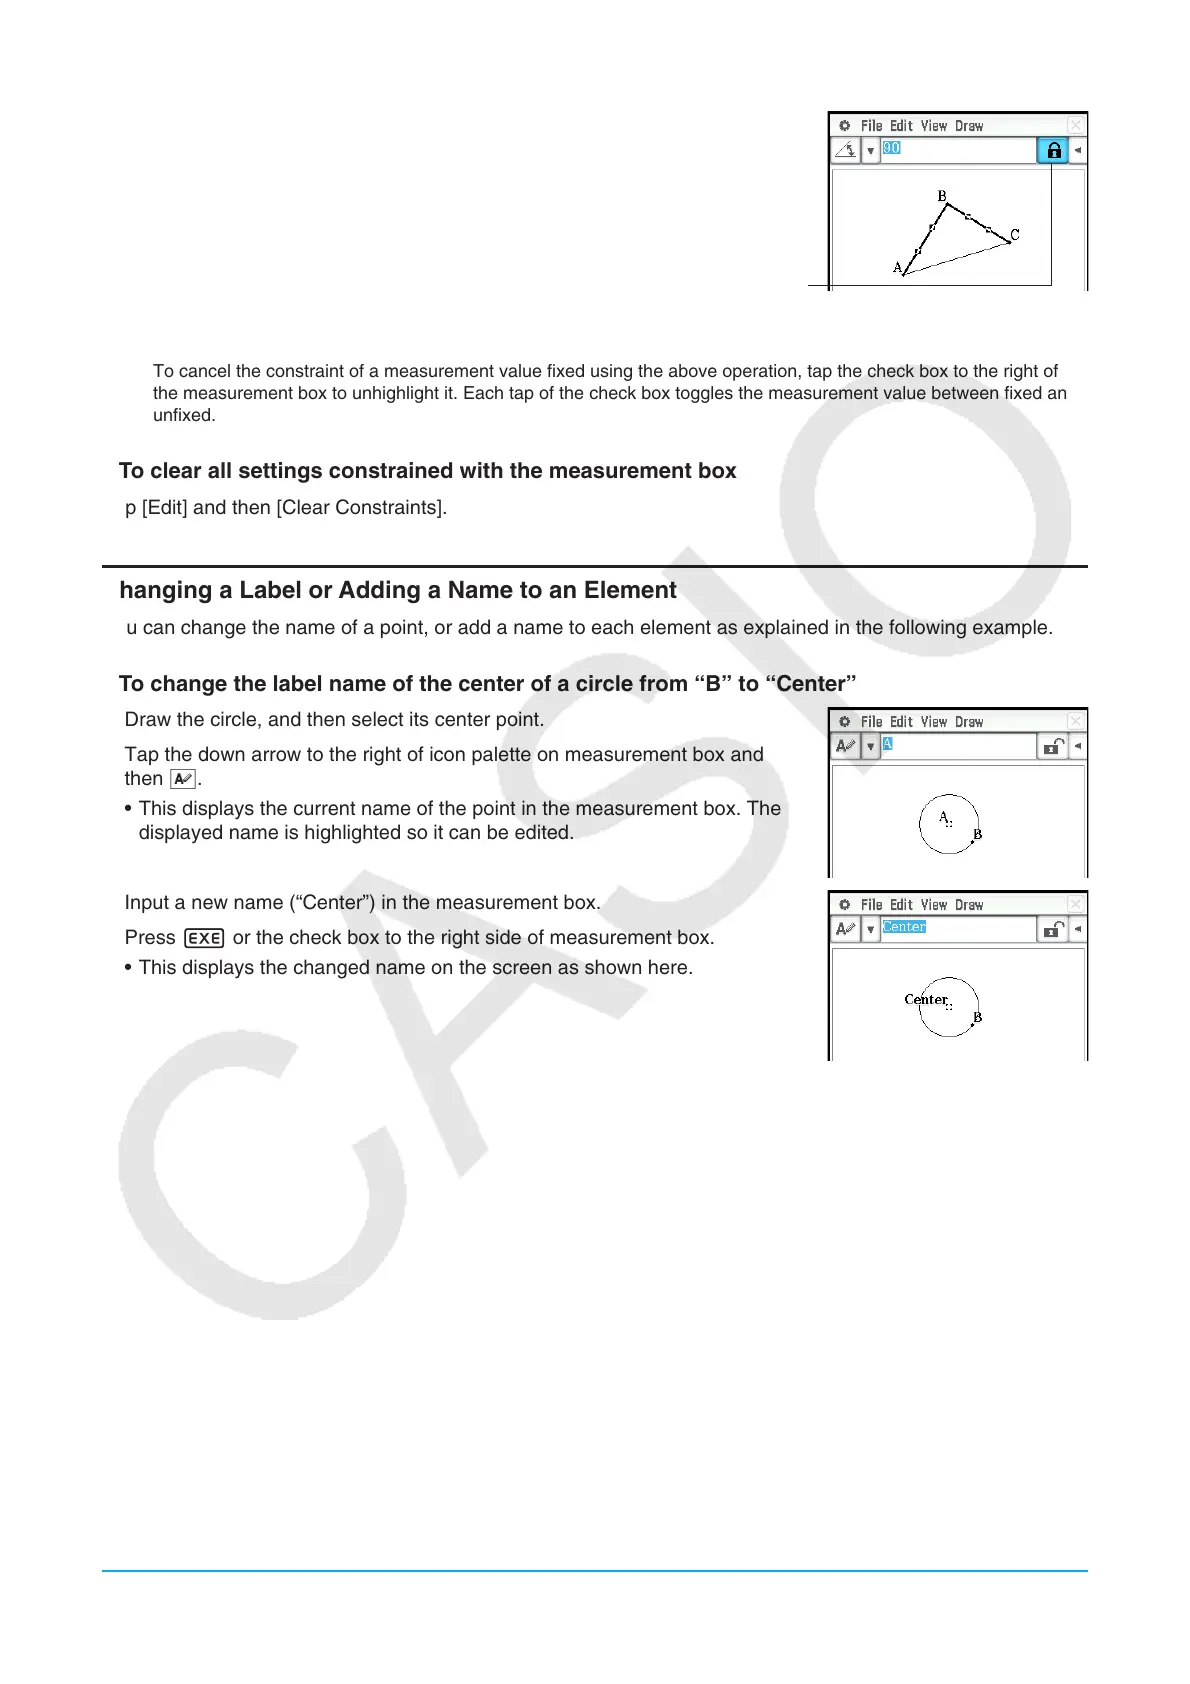
3. Input 90 into the measurement box and press E.
• This specifies and constrains the measure of angle B at 90 degrees.
A highlighted check box indicates the measurement is constrained (fixed).
* In this example, the [Measure Angle] setting of the Geometry Format dialog box (page 38) is set to “Degree”.
Tip: To cancel the constraint of a measurement value fixed using the above operation, tap the check box to the right of
the measurement box to unhighlight it. Each tap of the check box toggles the measurement value between fixed and
unfixed.
u To clear all settings constrained with the measurement box
Tap [Edit] and then [Clear Constraints].
Changing a Label or Adding a Name to an Element
You can change the name of a point, or add a name to each element as explained in the following example.
u To change the label name of the center of a circle from “B” to “Center”
1. Draw the circle, and then select its center point.
2. Tap the down arrow to the right of icon palette on measurement box and
then u.
• This displays the current name of the point in the measurement box. The
displayed name is highlighted so it can be edited.
3. Input a new name (“Center”) in the measurement box.
4. Press E or the check box to the right side of measurement box.
• This displays the changed name on the screen as shown here.