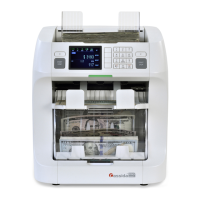
CassidaPRO Zeus: Service Manual
2018 Cassida Corporation. All rights reserved.
Rev: 09/05/2018
cassidapro.com/partner/
SERVICE MENU GUIDE
STARTING TEST MENU
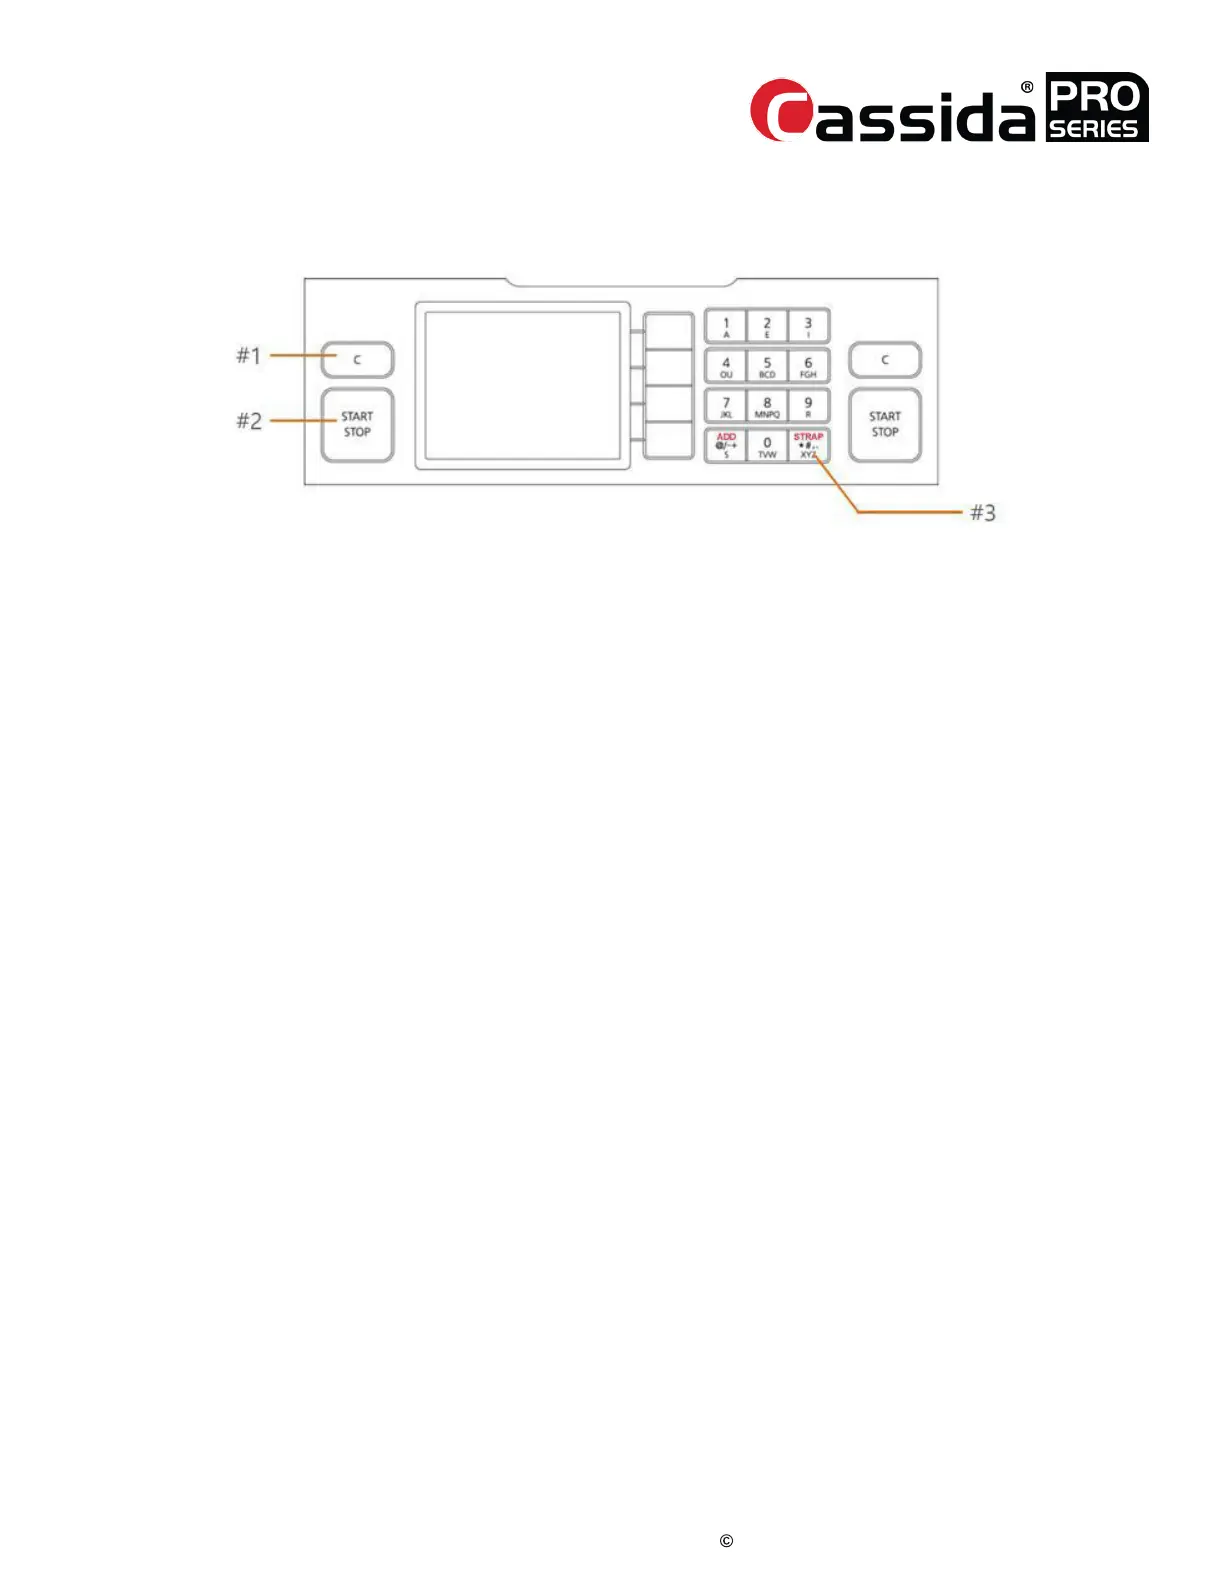
1. Press [1] + [2] keys together, and press [3] key while keeping the two keys pressed.
2. The unit will prompt the user for a password.
3. Input password “0806” then press [ENTER].
4. Select a test menu item by pressing a numeric key or using [UP]/[DOWN] and
[SET] key
DIAGNOSIS
This menu contains quick access to diagnosis tools, and special options the technician may
enable or disable the end user from viewing.
[1] Diagnosis ->
[1] Special Settings
• This menu contains options that the technician may decide on a per customer basis
to enable or disable. If the options are disabled, the end user will not have visibility
or access to the affected setting.
[1] Suspect Detail ON
• If this option is ON, the end user will be able to view the detailed
reason for rejection on suspect notes. This includes the fail category,
such as SUSPECT IR, SUSPECT MG, and SUSPECT UV. In many cases
the end user does not need this level of detail and only needs to know
whether or not the note is suspect. To disable this option, press [1] ->
Suspect Detail OFF
[2] ValuSort
TM
ON
• If this option is on, the user will be able to view and use the ValuSort
TM
option in the MODE menu from the main screen. If a user does not
want to view or use this option, disable ValuSort
TM
mode by pressing
[2] -> ValueSort
TM
OFF
[3] Dust Cover Menu OFF
• In many cases, the end user has no desire to use the optional dust
cover which is disabled by default. In the case that the end user
prefers to use the dust cover, the technician may enable the dust cover
6.
6.2.
6.1.
 Loading...
