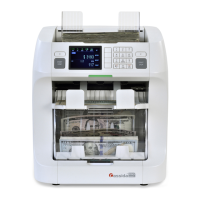
CassidaPRO Zeus: Service Manual
2018 Cassida Corporation. All rights reserved.
Rev: 09/05/2018
cassidapro.com/partner/
menu option by pressing [3] Dust Cover Menu ON. Setting this option
to ON will enable the dust cover option [8] on the main menu, and
the end user will not be able view or change the operation of the dust
cover.
NOTE: Setting [3] -> Dust Cover Menu ON does not enable the dust
cover. This only allows the technician or end user access to the dust
cover menu from the main screen.
[4] Barcode ON
• This is an optional feature for unlocked units and is grayed out by
default on main releases. Enabling this option enables use of Barcode
mode which is used for scanning and reading bar coded tickets. Refer
to the user manual for information on how to use bar code mode if
enabled.
[5] Zero Count at Strap OFF
• This option sets the system to reset the count each time a strap is
completed. To enable this feature, press [5] -> Zero Count at Strap
ON
[2] Selector
• This allows manual control of the position of the selector solenoid which is the
diverter that controls where scanned bills pass. Use this option to manually test the
functionality of the diverter and solenoid.
[1] To the Reject
• This sets the diverter to the reject pocket.
[2] To the Stacker
• This sets the diverter to the stacker.
[3] CIS LED
• This allows manual control of the CIS LED.
[1] OFF
• This turns off illumination from the CIS LED bar.
[2] ON
• This turns on illumination from the CIS LED bar. This may be used to
visually identify problems with non-uniformities in the CIS illumination
panel. Open the upper door on the backside of the unit to view the
CIS illumination. Check for inconsistencies, unlit portions, or blinking/
wavering light. Use this in conjunction with scanning and calibration
graphs to check proper operation of the CIS sensor.
DIAGNOSIS 6.2.

 Loading...