7.
Tighten the black T-Knob onto the U-Bolt. When the motor has been fully secured by the
U-Bolt you might observe that the motor face is no longer flush with the yellow carriage
tabs. That’s OK.
8. Manually rock the Motor Carriage toward the rear of the machine and make sure that the
router bit cleanly fits in the slot on the table top.
5.25.2 DRILL:
1. Disconnect power and air from the machine.
2. Open the rear door and locate the Drill Motor at the top of the Motor Carriage. Just to
the left is the Drill T-Knob that tightens a bolt holding the Motor in place. See Fig 25.
Fig 26
3. Unplug the motor.
4. With your left hand loosen the T-Knob until it releases
the Drill Motor. Use your right
hand to lift the motor back and then out the rear door.
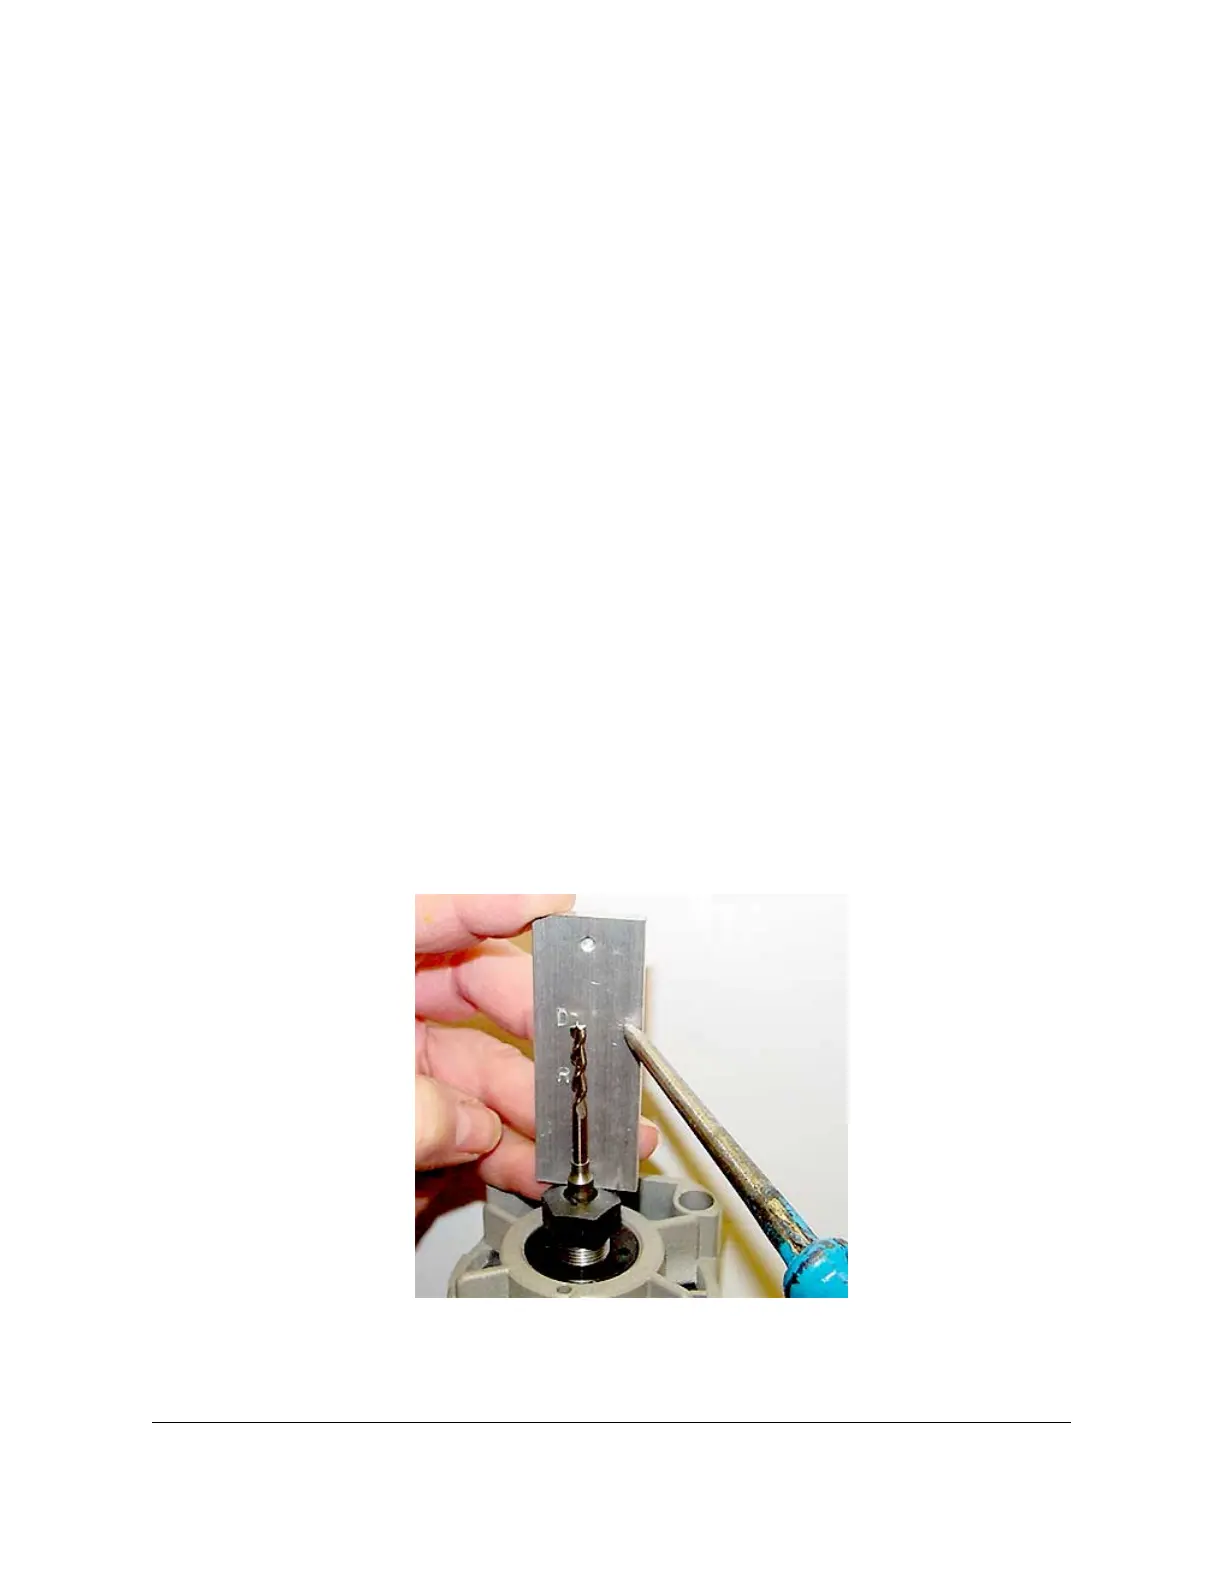
5. Replace the bit. A Bit Gauge is provided to record your preferred Drill Bit Extension.
Once a preferred setting is selected, mark or scribe your settings on the aluminum plate.
(“D” Drill) See Fig. 26.
6. When re-installing, make sure the Drill’s power cable is pointing down.
7. Tighten the Drill T-Knob onto the mounting bolt.
8. Manually rock the Motor Carriage toward the front of the machine and make sure that the
Drill Bit cleanly fits through the hole on the face plate.
TSM-21 Diagnostic Manual Parker/Humphrey Solenoids