4. Remove all dust from inside the drilled holes using compressed air, a vacuum, or a brush.
5. Remove the bolts from the upper template.
6. Fill each hole with epoxy to about 65 to 75 mm (2.5 to 3 in) below the top of the hole. Continue
immediately to the next step because the epoxy sets quickly.
Note: Inserting the threaded bolts displaces the epoxy, causing it to fill the holes to the grade level.
If the epoxy is below grade level after the next step, add more epoxy.
7. Place the upper template over the holes.
8. Insert the bolts through the upper template into the holes.
IMPORTANT: Rotate the bolts as you insert them. This allows the epoxy to fully coat the
threads of the bolts, reducing the amount of trapped air.
Note: Leave the upper template in place.
9. Use a bubble level to ensure the bolts are plumb.
10. Allow the epoxy to cure (depending on cure times recommended by the epoxy manufacturer).
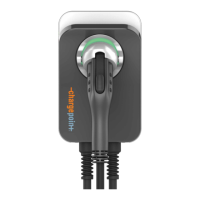
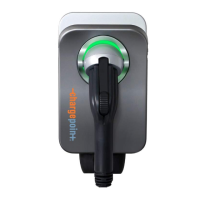
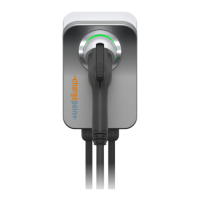
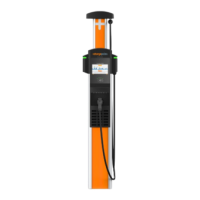
You are now ready to install the CP6000 pedestal mount charging station.
38