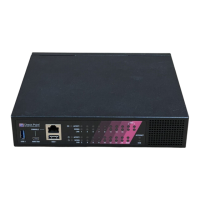
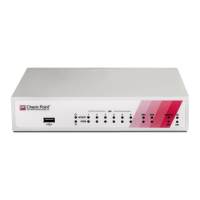
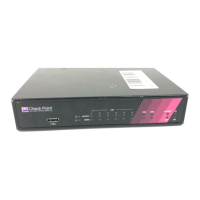
Setting up the Check Point
770/790 Appliance
Remove the Check Point 770/790 Appliance from the
shipping carton and place it on a tabletop.
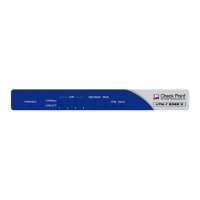
Identity the network interface marked as LAN1. This
interface is preconfigured with the IP address 192.168.1.1.
Connecting the Cables
Connect the power supply unit to the appliance and to a
power outlet.
The appliance is turned on when the power supply unit is
connected to an outlet.
The Power LED on the front panel lights up. This indicates
that the appliance is turned on.
The Alert LED (called the Notice LED in the 600 appliance)
on the front panel starts to blink. This indicates that the
appliance is booting up.
When the Alert LED turns off, the appliance is ready for
login.
Connect the standard network cable to the LAN1 port on
the appliance and to the network adapter on your PC.
Connect another standard network cable to the WAN port
on the appliance and to the external modem, external
router, or network point.