© CIAS Elettronica S.r.l. Ed. 1.2
Installation Manual Page 39 of 47 MICRO-RAY
Serial line RS-485
RS-485 Serial Line Interface
The MICRO-RAY circuits are each equipped with a standard RS-485 serial interface.
The communication parameters are as follows:
Mode: Asynchronous Half-Duplex
Speed: 9600 b/s
Character length: 8 bit
Parity check: None
Stop bit: 1
All the circuits are connected in the factory in a serial way to the MICRO-RAY Interface module.
Any connections between MICRO-RAY columns can therefore be carried out easily via the
interface.
Connections for RS-485 serial line
The serial connection between the various columns must be made using a shielded. The network
architecture must be of the "BUS" type, with a maximum bus length of 1200 m. If it is necessary
to use a star architecture, or the maximum length of the bus is greater than 1200 m, one or more
line-repeaters model "BUSREP" must be used.
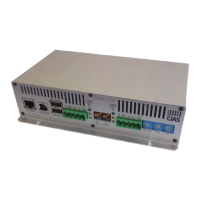
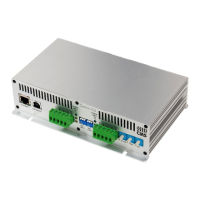
Plugging an IP-DOORWAY to the MICRO-RAY interface it will be possible to transmit the alarms
through the Ethernet network using for example the IB-System IP product.
4 SETTING OF THE RAYS
Alignment and Verification
Each MICRO-RAY ray is equipped with an electronic alignment system, a work parameter
adjustment system and a test system, which make installation operations particularly simple and
without the need to use special tools.
It is necessary to align the Rays one at a time. The power supply to the other beams must be off
Operations on TX rays
Open the column starting from the top cover, remove the screws using a crosshead screwdriver,
remove the cap (this action causes the tamper switch to open), open the cover.
• Connect the direct current power supply wires (13.8 V ) to terminals 1 and 2 of CON3
(MICRO-RAY Interface).
• Open the tamper removing the terminal block MS1 of the TX circuit. Only the rays 2, 3, 4 (the
ray 1 tamper is already open because column tamper)
• Perform the installation / setting of the channel and the barrier number
4.1.1.1 Read/Write Channel
By rotate the function switch SW1 to position 1 it is possible to read and/or set one of the 16
modulation channels available.
NB: Set the same channel number for all rays of the same barrier.
Write channel number:
• Select the desired channel number (from 0 to 15) using the switches SW2 (tens) and SW3
(units)
• Press the microswitch "S2". In this phase the Fault (D6) and Tamper (D5) LEDs will change
their functionality: they will light up, confirming the acquisition of the new channel set.
Read channel number:
• Turn the SW2 switch (tens) until the red LED D6 is on
• Turn the SW3 switch (unit) until the red LED D5 is on