Procedure
Step 1
Locate the threaded holes on the side of the chassis. Ensure that you hold the rear rack-mount bracket with
the ear and holes facing outward and towards the rear of the chassis.
The following figures show where to attach the rear rack-mount brackets to the Cisco ASR 1001-HX Router
and Cisco ASR 1002-HX Router.
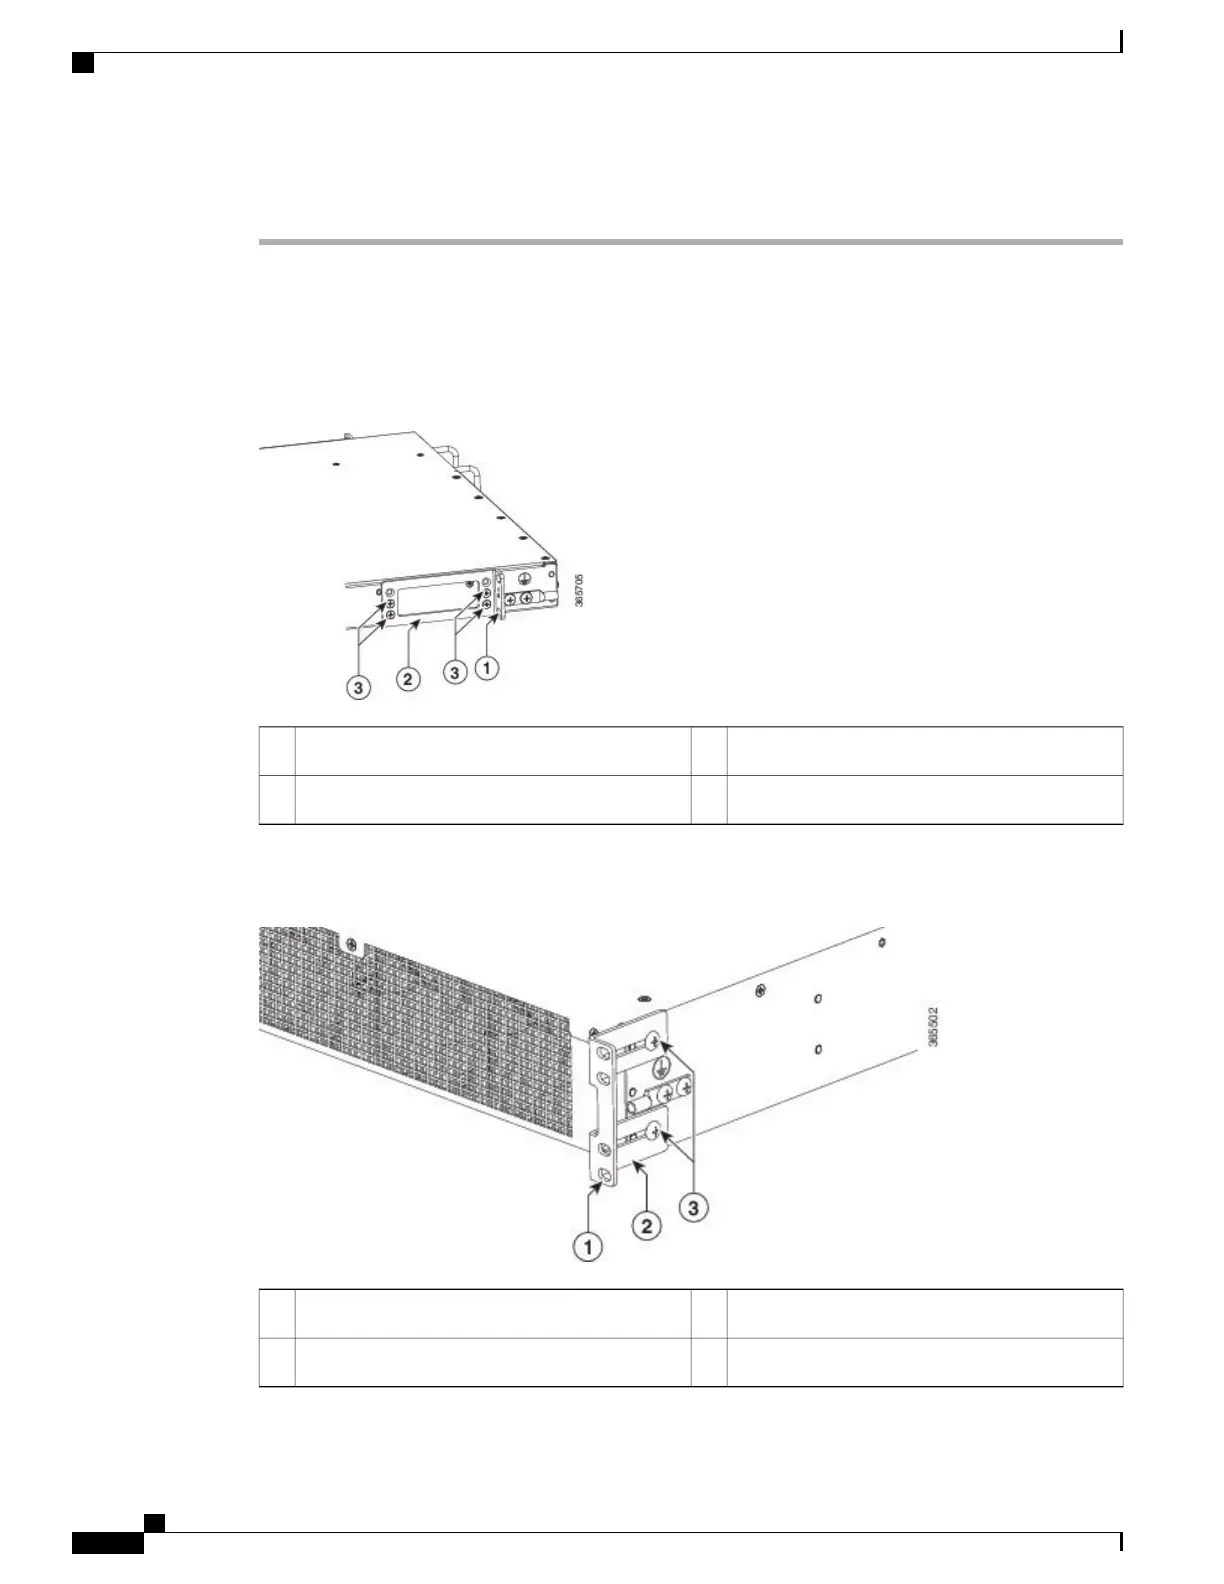
Figure 23: Attaching the Rear Rack-Mount Brackets to the Cisco ASR 1001-HX Router
Rear rack-mount bracket screws3Rear rack-mount bracket ear and holes1
Rear rack-mount bracket2
Figure 24: Attaching the Rear Rack-Mount Brackets to the Cisco ASR 1002-HX Router
Rear rack-mount bracket screws3Rear rack-mount bracket ear and holes1
Rear rack-mount bracket2
Cisco ASR 1001-HX Router and Cisco ASR 1002-HX Router Hardware Installation Guide
56
Installing the Router
Attaching the Rear Rack-Mount Brackets

 Loading...


