Step 2 Proceed with removing the fan tray from the chassis. Loosen the two captive installation screws on the front
panel of the fan tray (the side with the fan STATUS LED).
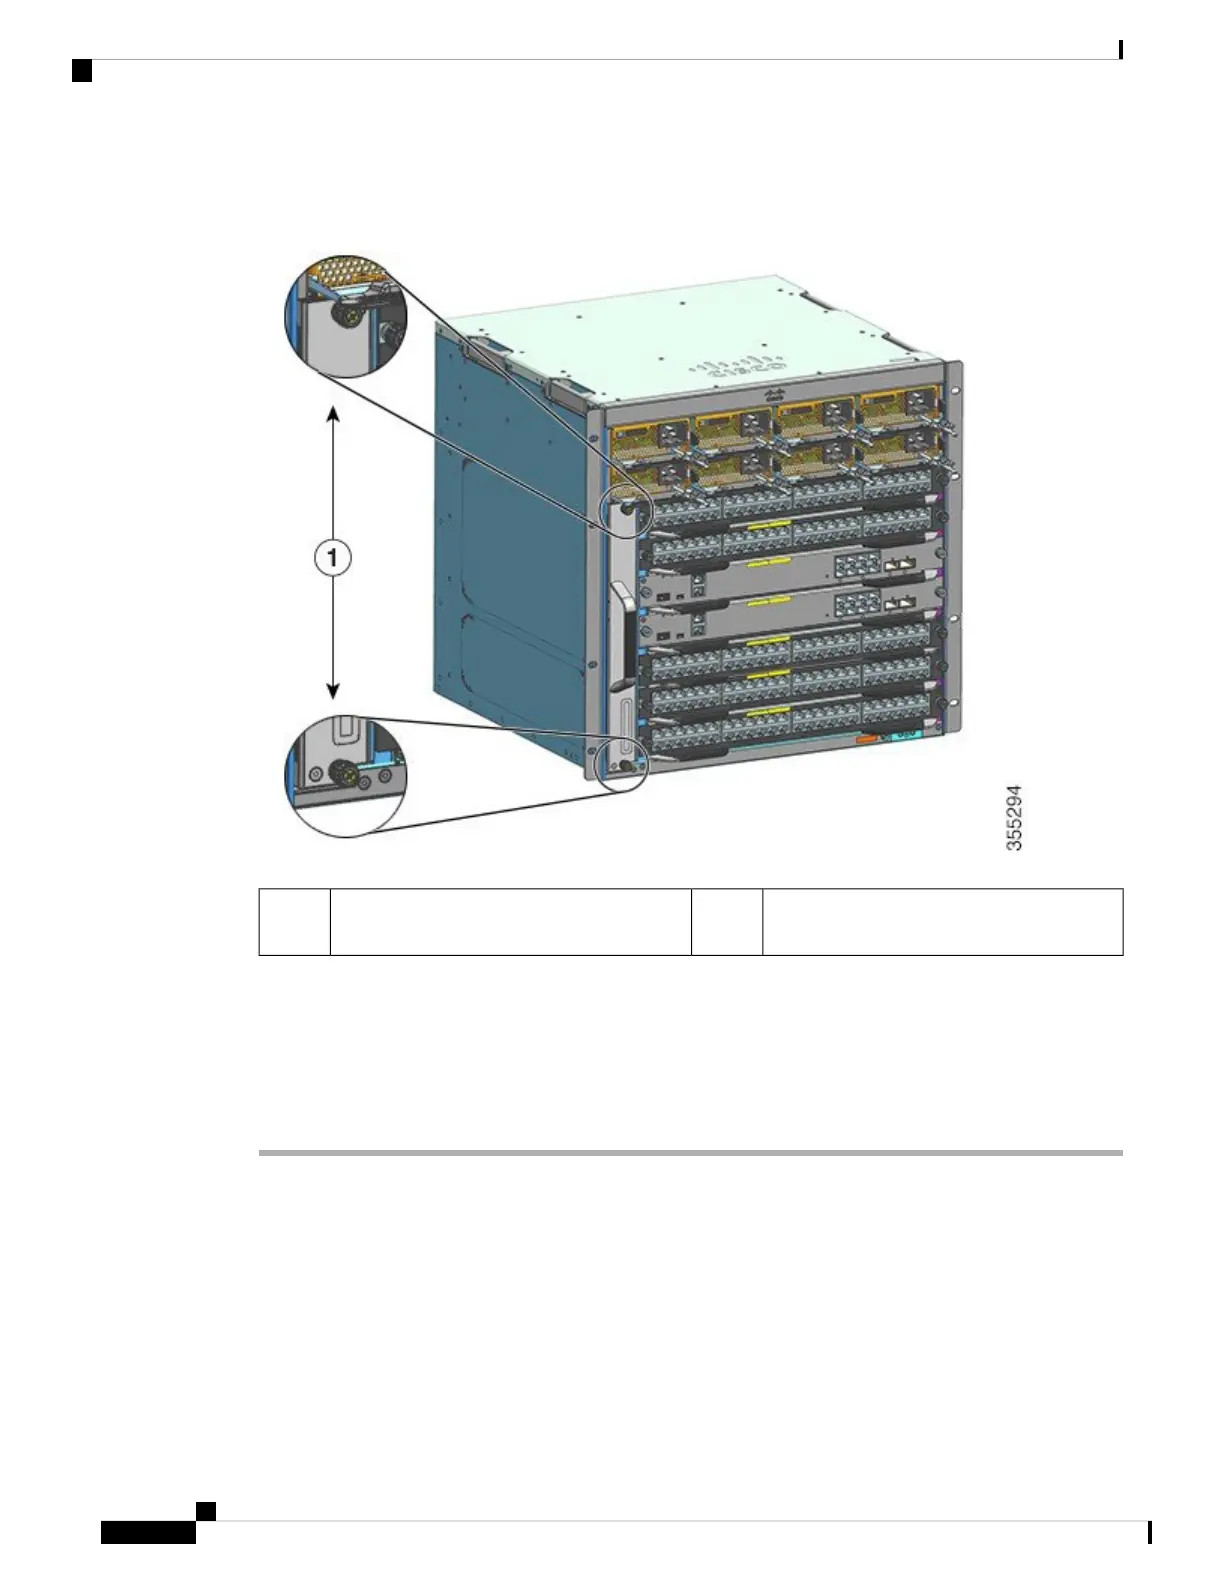
--Captive installation screws on the front of
the fan tray assembly in the chassis
1
Step 3 Grasp the fan tray handle and slide the fan tray half-way out of the bay. Gently move it from side to side, if
necessary, to unseat it from the backplane.
Step 4 Wait for the fan blades to stop spinning; place your other hand underneath to support the bottom of the fan
tray and then remove the fan tray completely.
Only the fan tray is removed from the chassis (excluding the adapter).
What to do next
Set the removed fan tray aside and proceed with installing the replacement or spare fan tray.
Cisco Catalyst 9400 Series Switches Hardware Installation Guide
82
Removing and Replacing FRUs
Removing the Fan Tray from the Front