1-12
Cisco ONS 15454 Procedure Guide, R4.0
March 2003
Chapter 1 Install the Shelf and Backplane Cable
NTP-A3 Open and Remove the Front Door
NTP-A3 Open and Remove the Front Door
Step 1 Complete the “DLP-A8 Open the Front Cabinet Compartment (Door)” task on page 1-12.
Step 2 Complete the “DLP-A9 Remove the Front Door” task on page 1-13.
Step 3 Continue with the “NTP-A4 Remove the Backplane Covers” procedure on page 1-15.
Stop. You have completed this procedure.
DLP-A8 Open the Front Cabinet Compartment (Door)
Note The ONS 15454 has an ESD plug input and is shipped with an ESD wrist strap. The ESD plug input is
located on the outside edge of the shelf assembly on the right-hand side. It is labeled “ESD” on the top
and bottom. Always wear an ESD wrist strap and connect the strap to the ESD plug when working on
the ONS 15454.
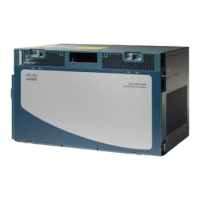
Step 1 Open the front door lock (Figure 1-3 on page 1-13).
The ONS 15454 comes with a pinned hex key for locking and unlocking the front door. Turn the key
counterclockwise to unlock the door and clockwise to lock it.
Step 2 Press the door button to release the latch.
Step 3 Swing the door open.
Purpose This procedure describes how to open and remove the front door to access
the equipment.
Tools/Equipment Open-end wrench
Pinned hex key
Prerequisite Procedures NTP-A2 Install the Shelf Assembly, page 1-5
Required/As Needed Required
Onsite/Remote Onsite
Security Level None
Purpose This task describes how to open the front cabinet compartment door.
Tools/Equipment Pinned hex key
Prerequisite Procedures NTP-A2 Install the Shelf Assembly, page 1-5
Required/As Needed Required
Onsite/Remote Onsite
Security Level None
 Loading...


