OPERATING MANUAL
800.749.2761 www.coachcomm.com
43
To pair your RP, use the following steps.
IMPORTANT
While pairing, do not disconnect the RP until you are instructed to do
so.
1. Connect the RTs (on the mounting bracket) to the sideline cart’s rear patch panel. Then, power on the CU(s).
2. When prompted on the top (master) CU, select either
Home
or
Away
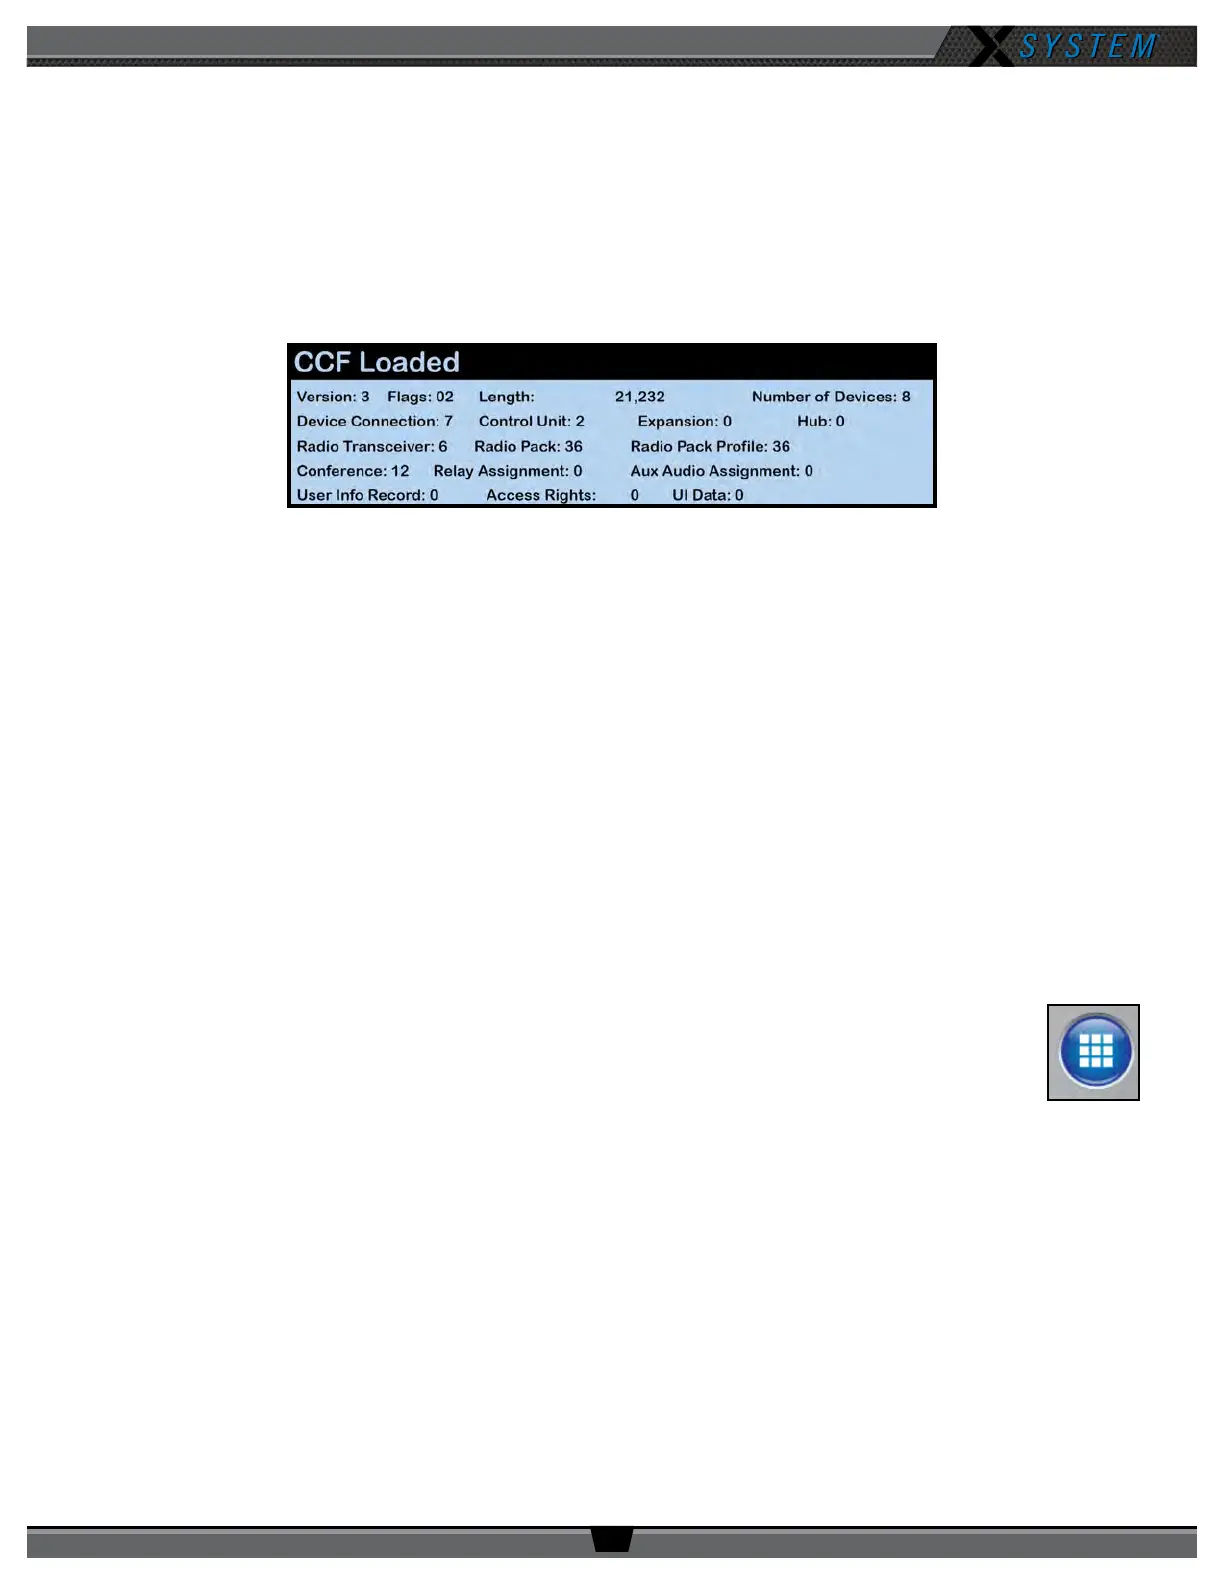
. Wait about 2 minutes for the conguration
le to load on the system—all CUs will display a “CCF Loaded” message and a conguration le summary—wait
until this message has cleared from all screens before taking further action. Once the message times out, the
home screen will display on the front of the CUs.
IMPORTANT: If your system supports both 900MHz and 2.4GHz devices, you should pair 900MHz RPs to the top
CU and pair 2.4GHz RPs to the bottom CU, since only 18 RPs can be active on a single CU.
3. Connect a USB-to-Micro-USB cable from the top CU to the device (micro end goes into the RP’s USB port beneath
its rubber port cover). The RP will power on by itself. Pairing begins automatically and should take about 30
seconds.
Note: If the RP you are pairing has the dual pairing feature enabled (from the RP’s menu choose Device
Settings then Pairing), the new CU pairing will be added to the list of available CUs for that RP, and
the new CU will become the active pairing. If the RP already has already been paired to two CUs,
pairing to a third CU will override and replace the non-active pairing. The new CU will become the
active pairing; the previous active pairing would still be available in the list of dual pairings.
4. When prompted, use the RP volume knob and function buttons to choose a Prole from those available in the list
on the RP’s LCD.
5. Wait for the Prole to load. The LCD will display a “Pairing Complete” message when the prole is nished
loading.
6. Disconnect the USB cable from the device. The RP will power down automatically when
disconnected.
7. Power on the RP and wait for it to log in to the system. The initial login may take up to 90 seconds.
When an RP is logged in, its RSSI indicator will display on the primary LCD screen.
8. Verify that the RP paired correctly and is displayed on the CU LCD and in X-Ware. You may need to refresh the
X-Ware display by touching the grid button on the right-hand side.
NOTE: If you’re using a new or recently serviced CU, or if you are pairing an RP that has never been
paired to your system, the RP icon(s) in X-Ware will default to the top left corner of the software
Home screen. Position the icon(s) as desired for your conguration.
9. The RP is ready for use. Repeat steps 4–9 until every RP is paired.
Tip:
RPs with dual pairing can switch the active pairing between CUs with this shortcut: Hold down both
Function buttons for 5 seconds.
Figure 52: CCF Loaded Screen
Figure 53: X-Ware Grid
Button